
This post may contain affiliate links to products I use and highly recommend. You can read my full disclosure . As an Amazon Associate I earn from qualifying purchases.
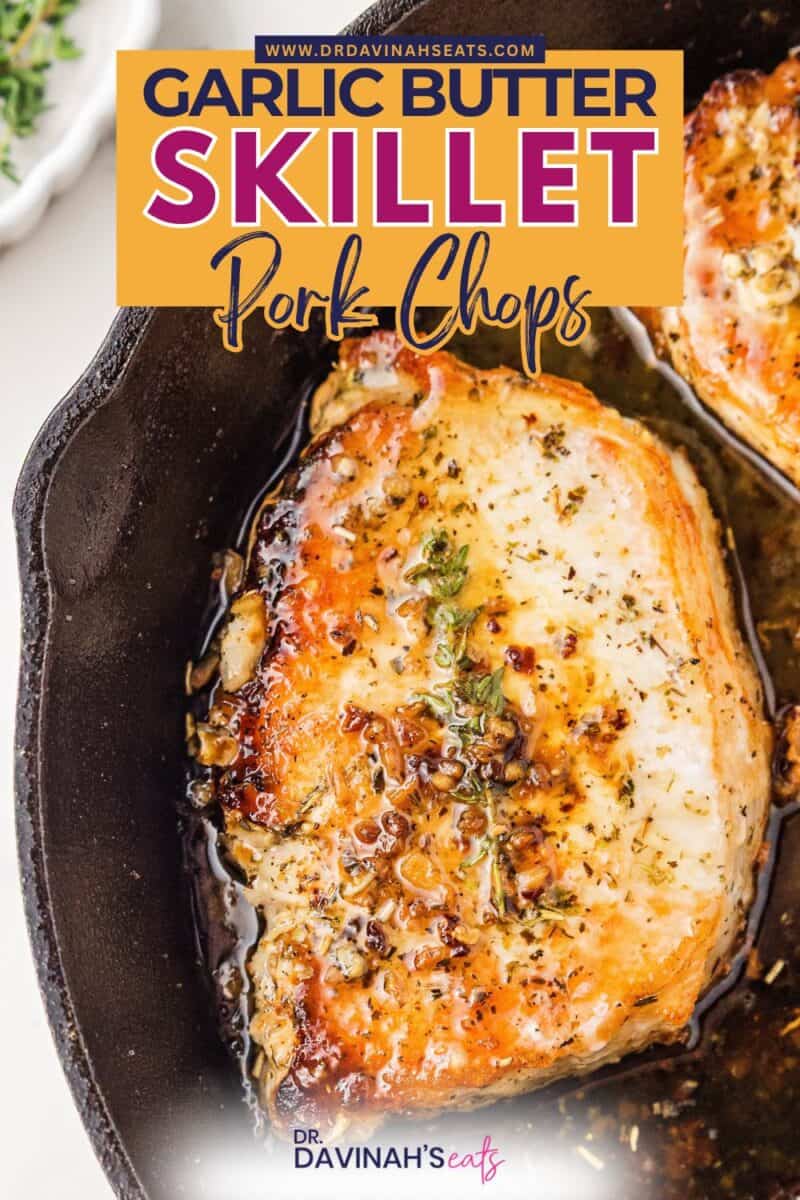
Garlic Butter Pork Chops are seared until golden, then cooked with garlic butter in the same skillet so every bite picks up that rich, garlicky flavor. They cook in about 15 minutes, which makes them especially good for a busy weeknight.
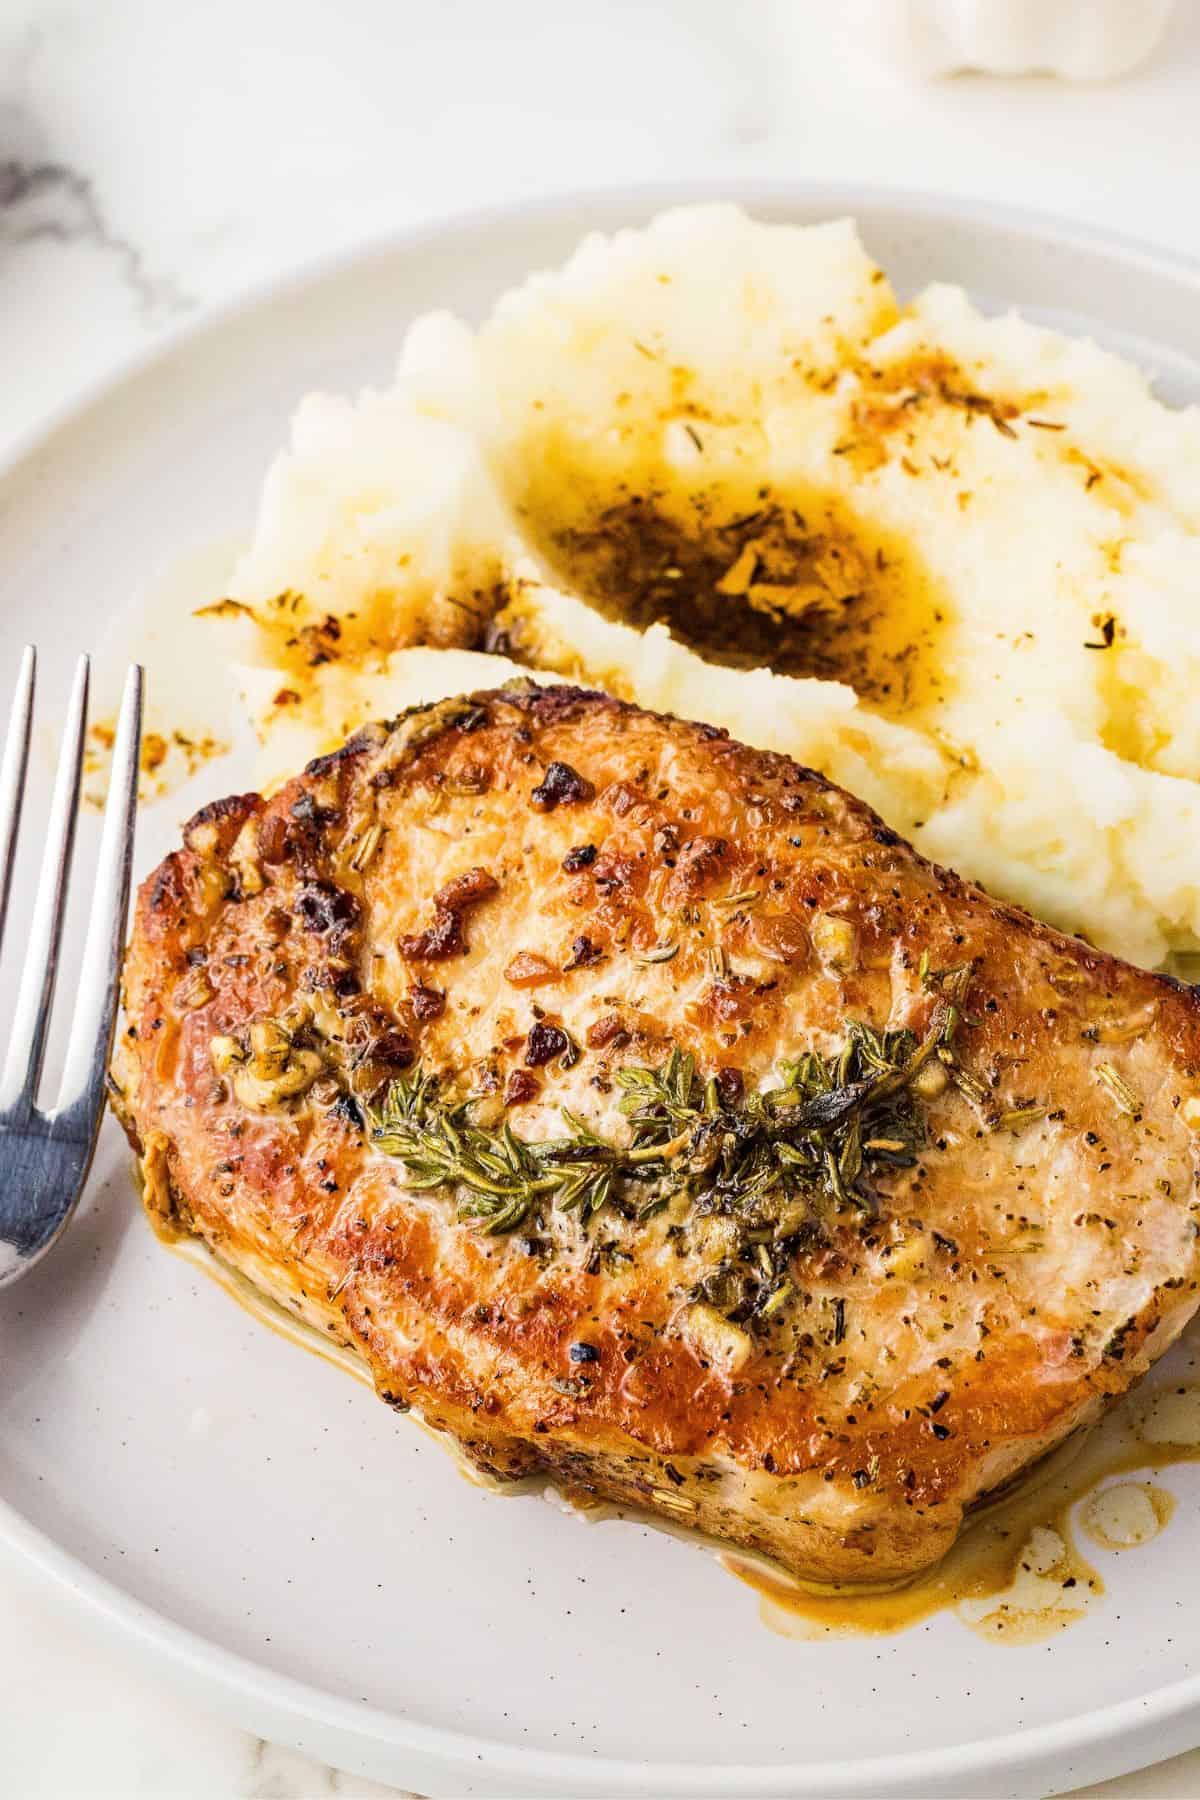
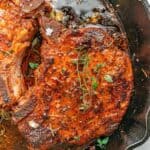
If you already make my Cast Iron Pork Chops, these pork chops with garlic butter give you another easy way to switch things up without changing the whole dinner.
The main difference is what you want spooned over the pork chops. These cook with butter, garlic, and herbs right in the skillet. With my cast iron pork chops, you get a creamy mushroom sauce made in the same pan, without making a roux. And if you want something more Southern-style, my Smothered Pork Chops come with a homemade onion gravy built from the browned bits left after searing.
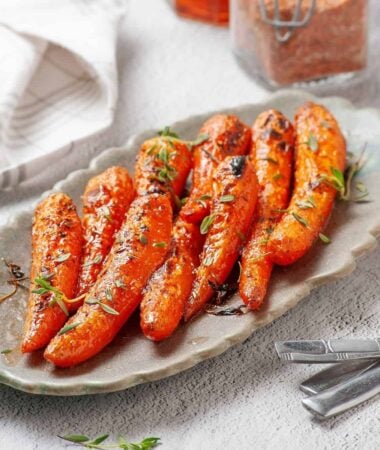
For an easy weeknight meal, serve these with Baked Asparagus and Garlic Butter Rice. If you want something a little more comforting, pair them with Browned Butter Mashed Potatoes and Crockpot Green Beans.
Why You’ll Want to Make These Garlic Butter Pork Chops
- The garlic butter builds right in the skillet: After the first side sears, the butter, garlic, and herbs go into the pan so the pork chops pick up that flavor as they finish cooking.
- They cook quickly enough for a busy weeknight: This recipe comes together in about 15 minutes, which makes it easy to get dinner moving without a lot of extra prep.
- They’re easy to pair with simple sides: Add a vegetable, rice, or something soft and creamy depending on what sounds good that night.
Ingredients for Boneless Pork Chops
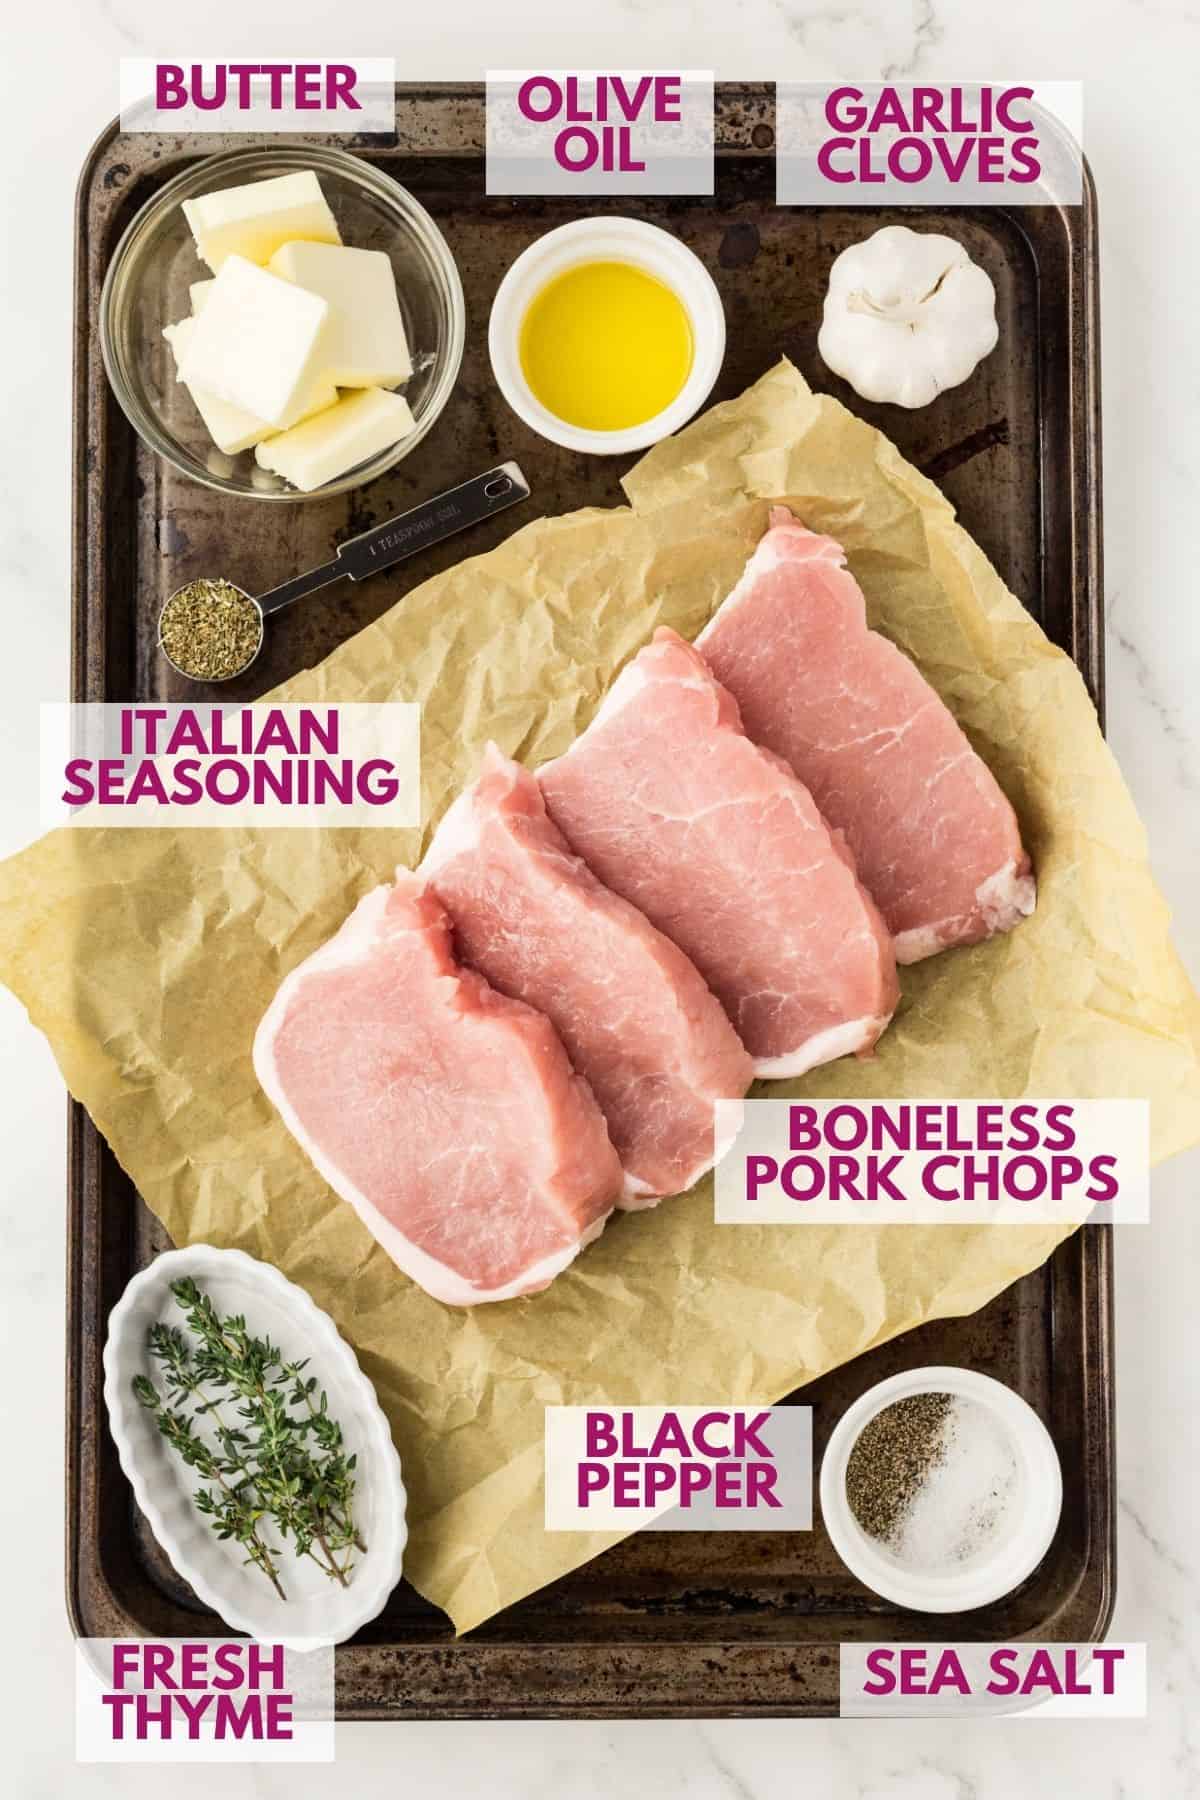
These ingredient notes will help you make garlic butter pork chops successfully. Grab the exact amounts from the recipe card at the bottom of the post.
- Boneless pork chops: Use boneless pork chops that are about 1 inch thick so they have time to brown without drying out. I used boneless pork loin center cut pork chops.
- Sea salt: Fine sea salt seasons the pork chops more evenly than coarse flakes.
- Black pepper: This adds a little bite and balances the butter.
- Olive oil: Use olive oil to start the sear before the butter goes into the skillet.
- Butter: Unsalted butter works best so you can control the seasoning more easily.
- Garlic cloves: Fresh garlic gives this recipe its main flavor.
- Italian seasoning: This adds an easy herb layer that works well with butter and pork.
- Fresh thyme: Thyme is optional, but it gives the garlic butter a deeper finish.
How to Make Garlic Butter Pork Chops
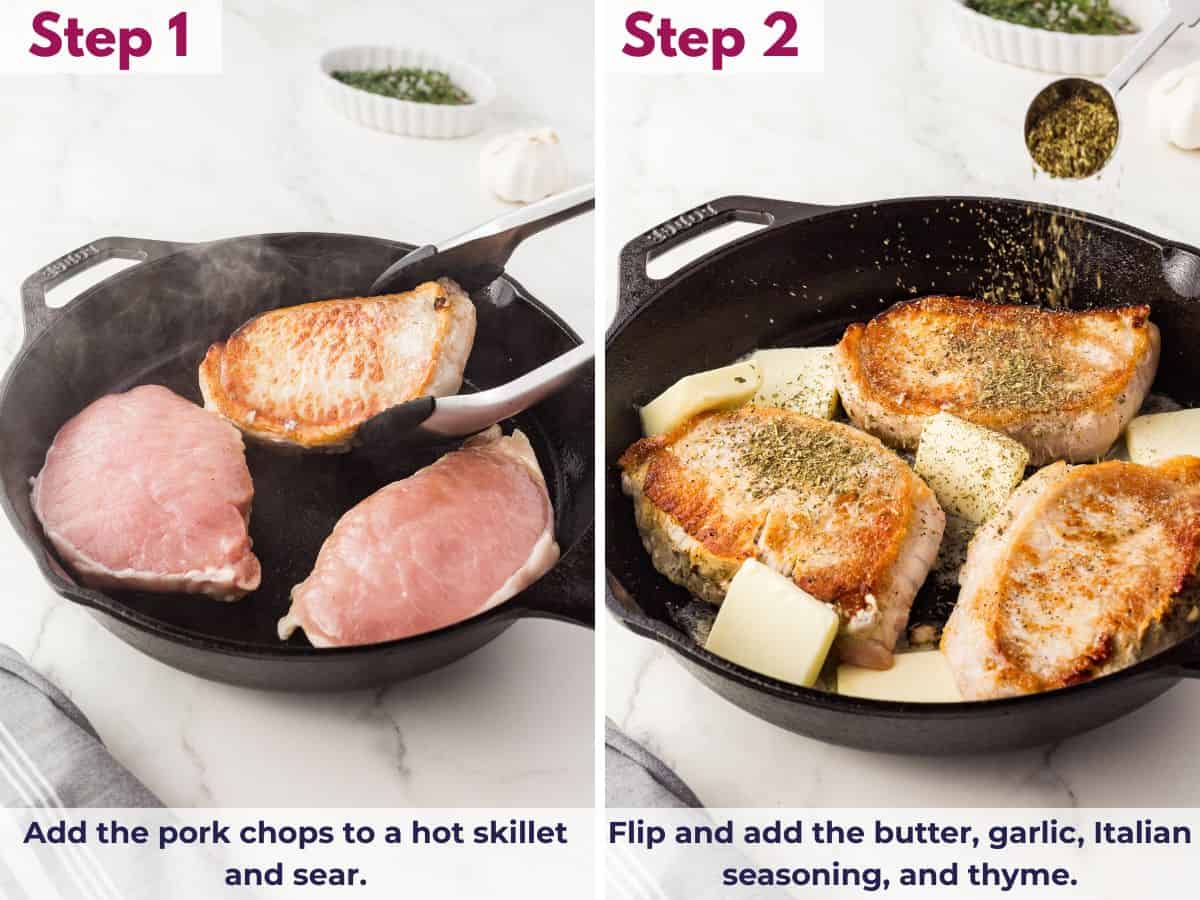
Making buttery garlic pork chops is simple. These step-by-step photos will help you see how the recipe comes together in the skillet.
Start with dry pork chops and a hot skillet
Pat the pork chops dry, season both sides, and let the skillet heat before the pork goes in. This helps the pork chops sear instead of steam.
Let the first side build good color
Once the pork chops hit the skillet, let them cook undisturbed until the first side is golden. That sear gives the pork chops better texture and flavor.
SAVE THIS RECIPE
Add the butter and garlic after flipping
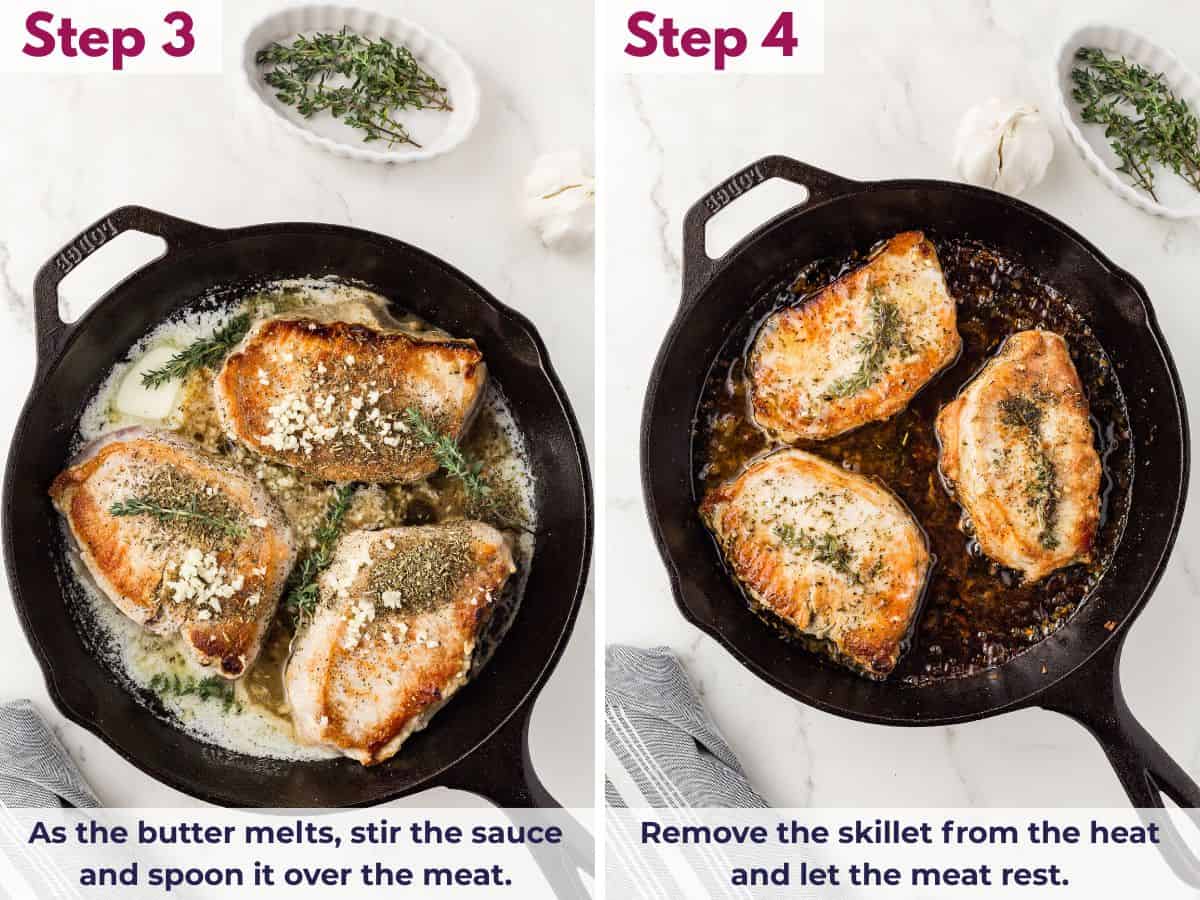
After you flip the pork chops, add the butter, garlic, Italian seasoning, and thyme. Spoon the melted garlic butter over the pork chops as they finish cooking.
Let them rest in the warm skillet
When the pork chops reach about 140°F in the thickest part, take the skillet off the heat and let them rest in the warm pan for 5 to 10 minutes. Spoon the garlic butter over the top again before serving.
More Pork Chop Recipes to Try
If you want to switch up pork chop night, these recipes give you a few different ways to cook them:
- Air fryer: My Air Fryer Pork Chops use boneless chops and get a Parmesan-crusted top.
- Bone-in + oven: Make my oven baked bone-in pork chops when you want thick chops with a seasoned crust and garlic-herb butter.
- Bone-in + stovetop: My Cast Iron Pork Chops stay on the stovetop and finish with a creamy mushroom pan sauce.
Tips for the Best Buttery Garlic Pork Chops
- Pat the pork chops dry: Dry pork chops brown better than damp ones.
- Use chops about 1 inch thick: That thickness gives you a better balance of sear and tenderness.
- Let the skillet heat first: A properly heated skillet helps the pork chops develop color right away.
- Add the butter after flipping: This keeps the garlic from cooking too long.
- Use a meat thermometer: Pull the pork chops from the heat around 140°F so they can finish cooking as they rest.
- Let them rest in the skillet: Resting them off the heat in the warm skillet helps them finish gently.
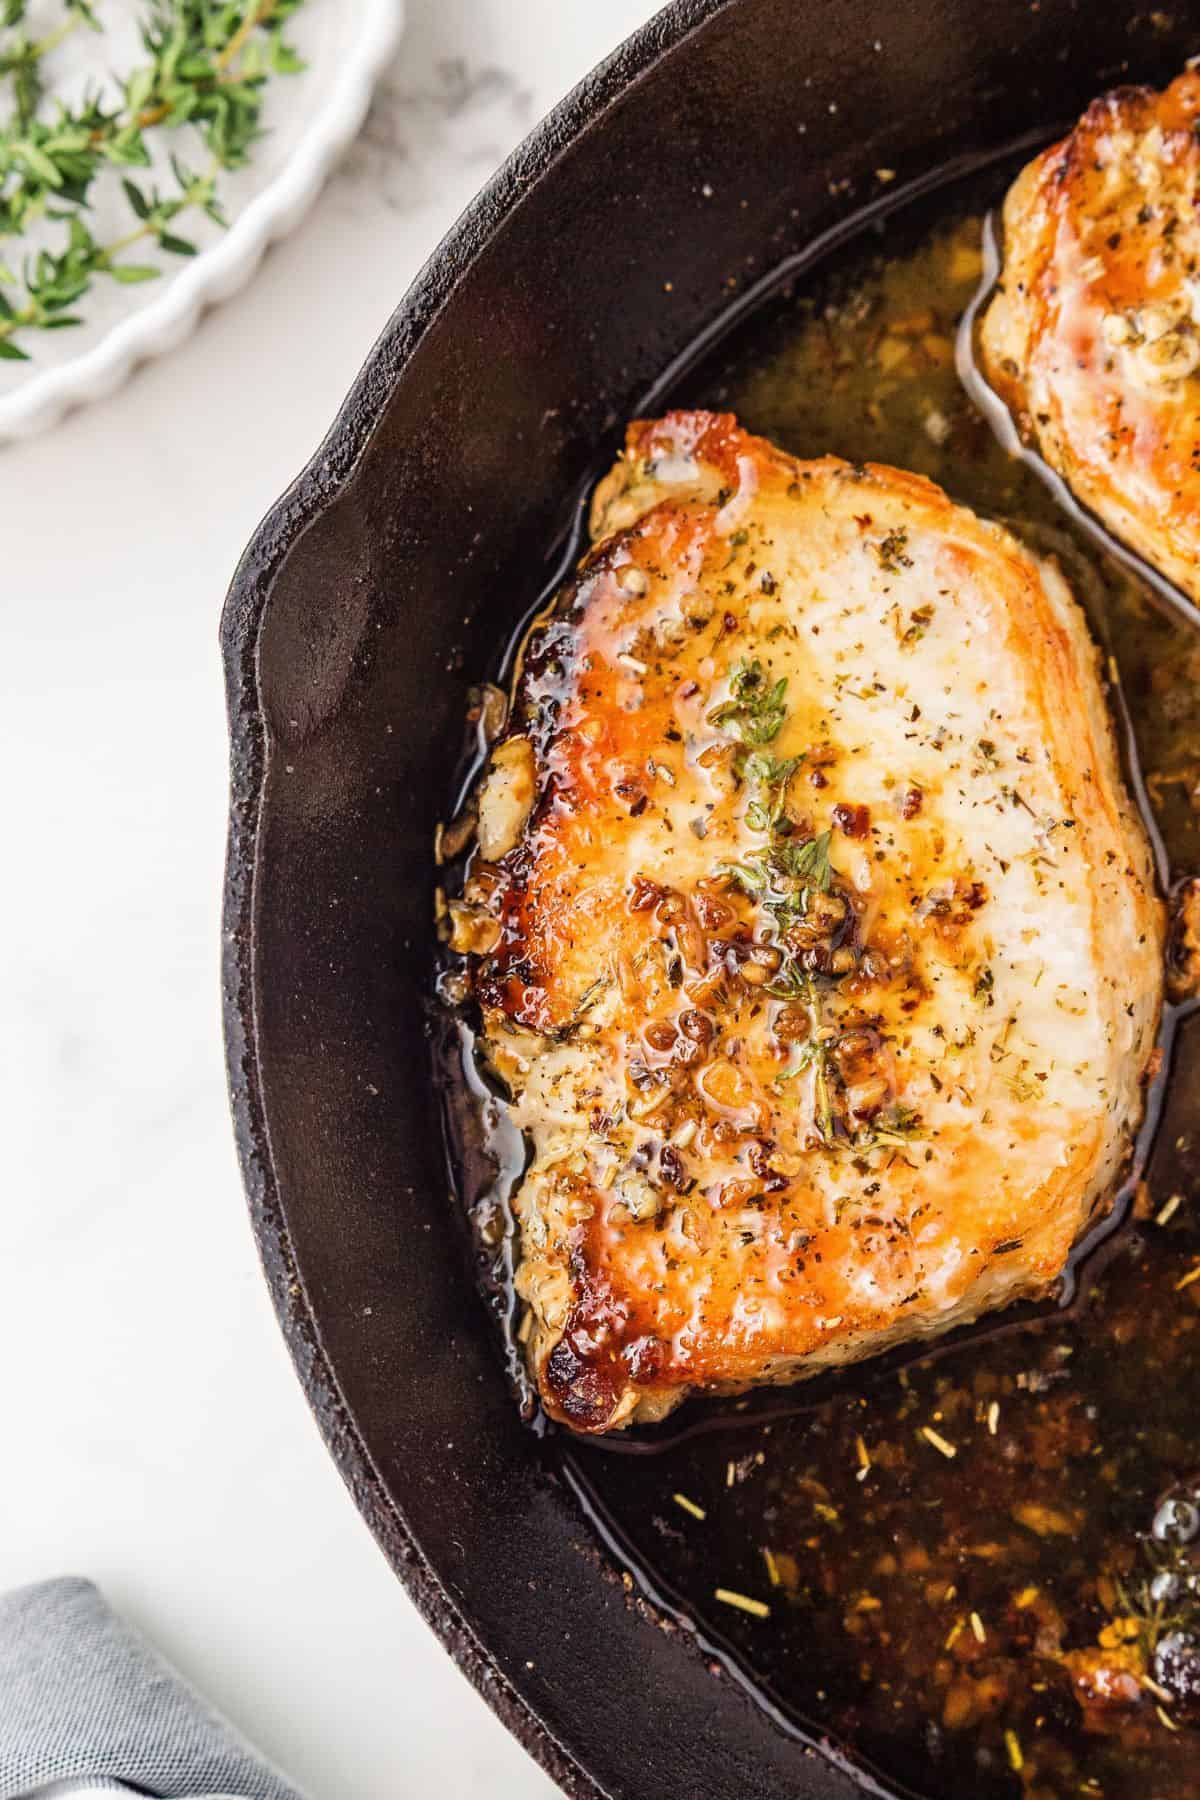
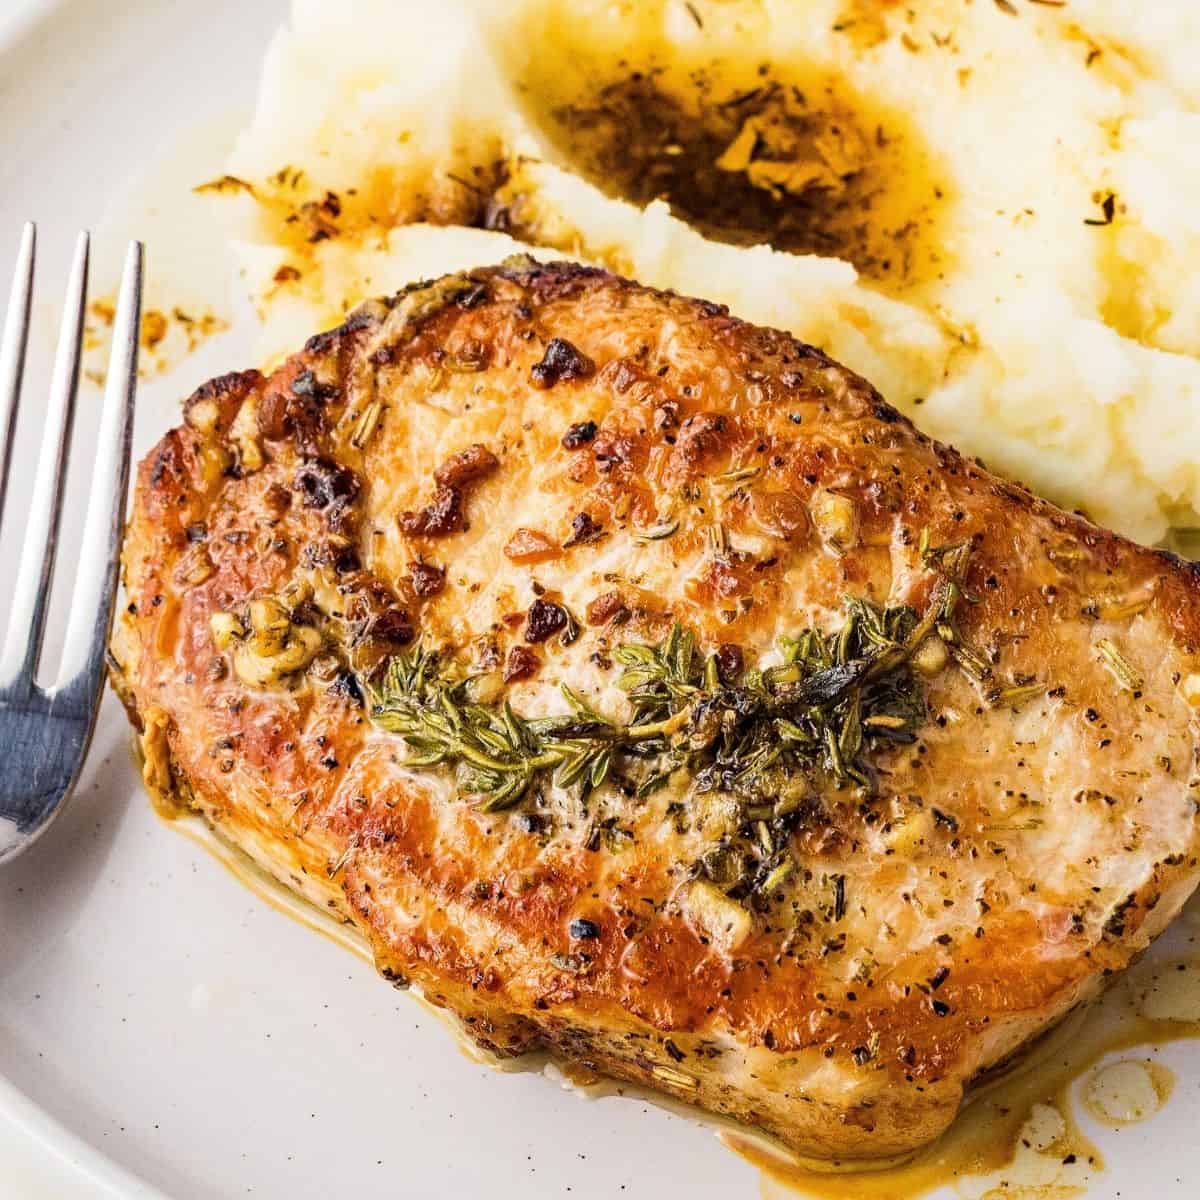
- Spoon the garlic butter over the top before serving: That final layer adds a lot to the finished flavor.
Easy Ways to Change Up These Pork Chops
- Use bone-in pork chops: They can work here too, but may need a little more time depending on thickness.
- Swap the herbs: Rosemary or sage can work in place of thyme.
- Build in more seasoning from the start: If you want a more built-out flavor, you can use pork chop seasoning instead of the salt, black pepper and Italian seasoning in this recipe.
- Change the garlic flavor: If you want a deeper, more caramelized garlic flavor, use Roasted Garlic Butter in place of the butter and fresh garlic in the skillet.
What to Serve With Garlic Butter Pork Chops
- Garlic Butter Rice: if you want something to catch the extra garlic butter from the skillet.
- Roasted Garlic Cauliflower Mash: when you want something soft and comforting with the pork chops.
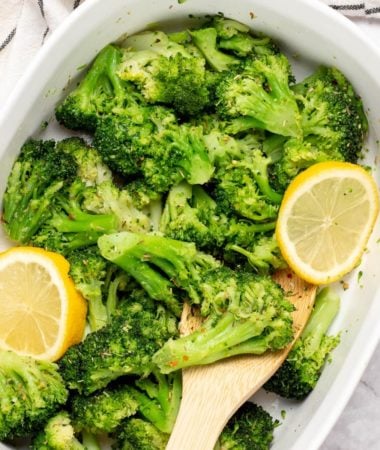
- Baked Asparagus: when you want the vegetable side roasting in the oven while the pork chops cook on the stove. The garlic Parmesan topping also tastes so good on a plate with the butter and herbs in the skillet.
FAQs
Use pork chops that are about 1 inch thick, sear them in a hot skillet, and use a meat thermometer so you do not overcook them. Letting them rest before serving helps too.
Add the butter and garlic after you flip the pork chops. That gives the first side time to sear and keeps the garlic from cooking too long.
Yes. A cast iron skillet works especially well because it holds heat well and helps the pork chops brown better.
Pull them from the heat around 140°F, then let them rest. They should finish close to 145°F as they sit.
Yes. Fresh thyme gives the skillet sauce a fresher flavor, but dried thyme works too. You can also skip it since Italian seasoning includes dried thyme.
How to Store and Reheat Pork Chops
- Store: Keep leftover pork chops in an airtight container in the refrigerator for 3 to 4 days.
- Freeze: I do not usually recommend freezing these once cooked since boneless pork chops can lose some of their best texture after reheating.
- Reheat: Warm them gently in a skillet over low heat with a small splash of water or broth, then spoon the pan juices over the top. You can also microwave them in short bursts.
Garlic Butter Pork Chops
Use DRDAVINAHS at checkout to save on some equipment & ingredients!
Ingredients
- 1.5 lbs boneless pork chops, I used 4 boneless pork loin chops that were 1 inch thick and about 6 oz each.
- 1 tsp Natural Ancient Sea Salt, or more to taste
- ½ tsp Black Pepper, or more to taste
- 2 tbsp Olive Oil
- 4 tbsp Butter
- 4 cloves Garlic, minced
- 1 tsp Italian Seasoning
- 4 sprigs Thyme, fresh, optional
Instructions
- Heat the olive oil in a large skillet or cast iron skillet over medium heat.
- Pat the pork chops dry, then season both sides with the salt and black pepper.
- Add the pork chops to the hot skillet and cook undisturbed for about 4 minutes on the first side, until golden.
- Flip the pork chops, then immediately add the butter, garlic, Italian seasoning, and thyme to the skillet.
- As the butter melts, stir in the garlic, Italian seasoning, and thyme. Spoon the garlic butter over the pork chops while they cook for 3 to 4 minutes on the second side.
- Once the pork chops reach about 140°F in the thickest part, remove the skillet from the heat.
- Let the pork chops rest in the skillet for 5 to 10 minutes. While they rest and before serving, spoon the garlic butter over the pork chops.
SAVE THIS RECIPE
Nutrition Details
The nutrition facts come from entering the recipe ingredients into a database of food ingredients. They may vary for any recipe based on the exact product used.





Leave a Reply