
This post may contain affiliate links to products I use and highly recommend. You can read my full disclosure . As an Amazon Associate I earn from qualifying purchases.
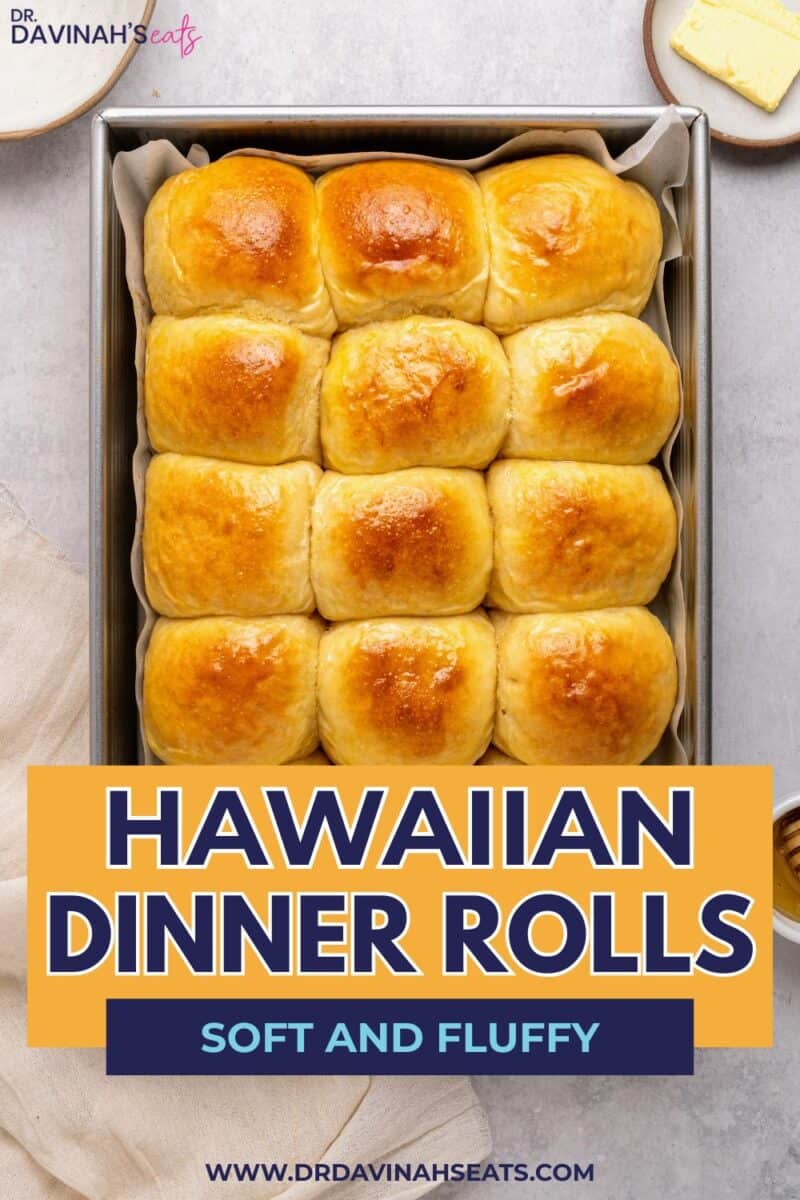
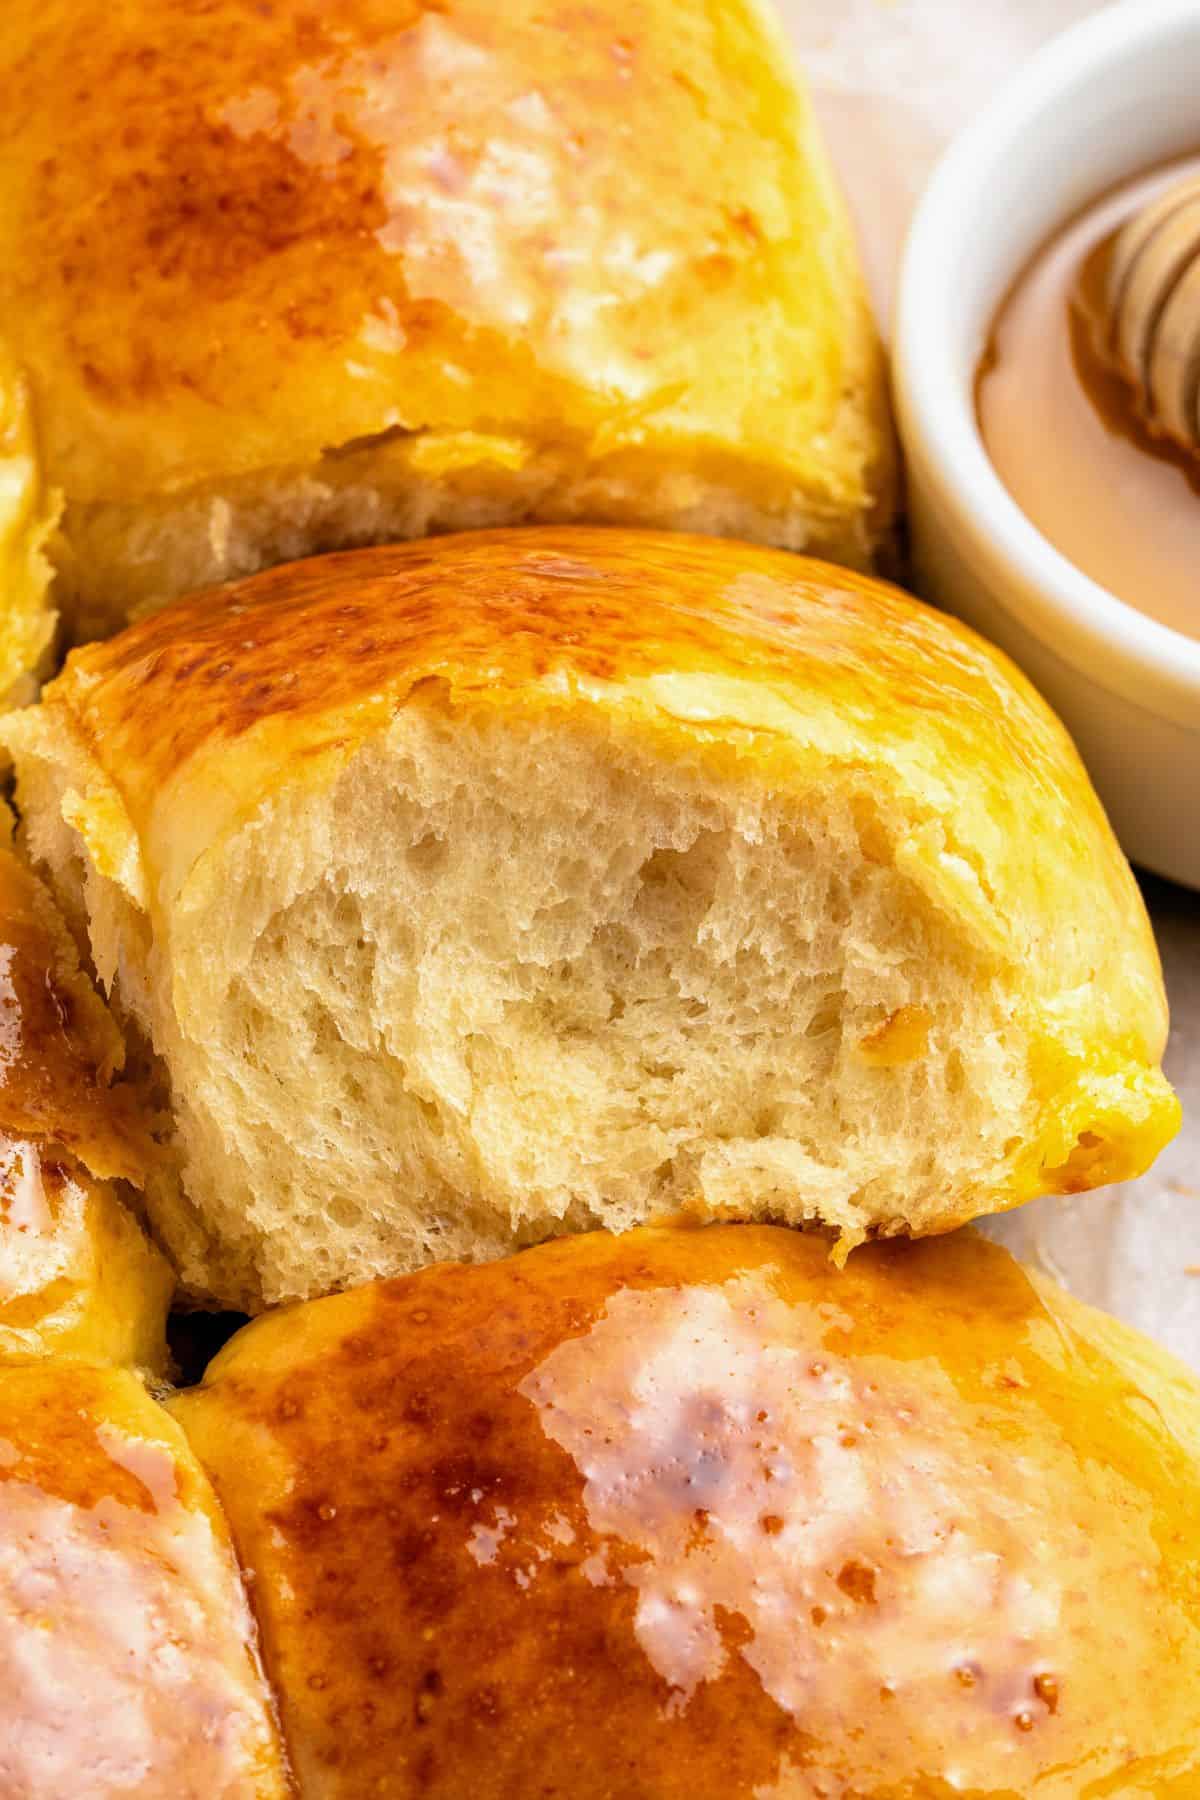
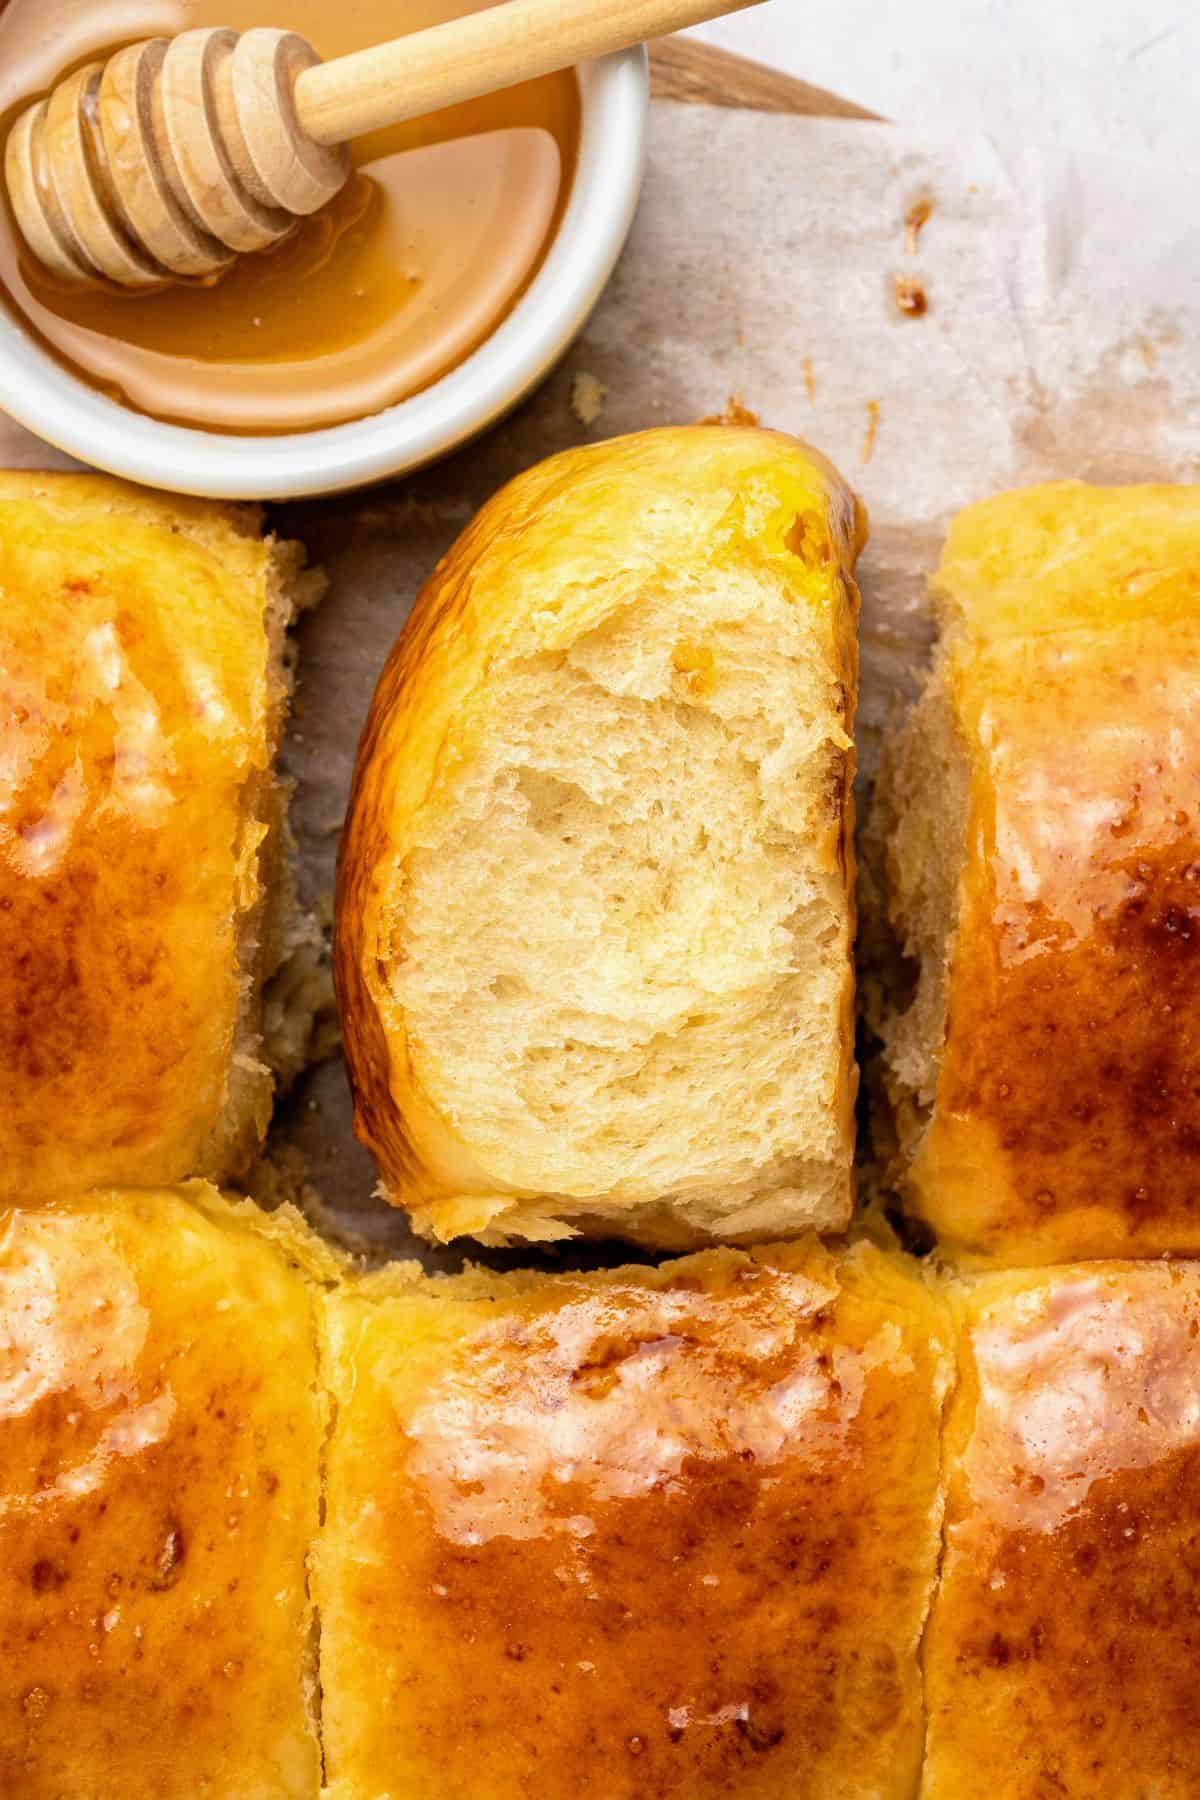
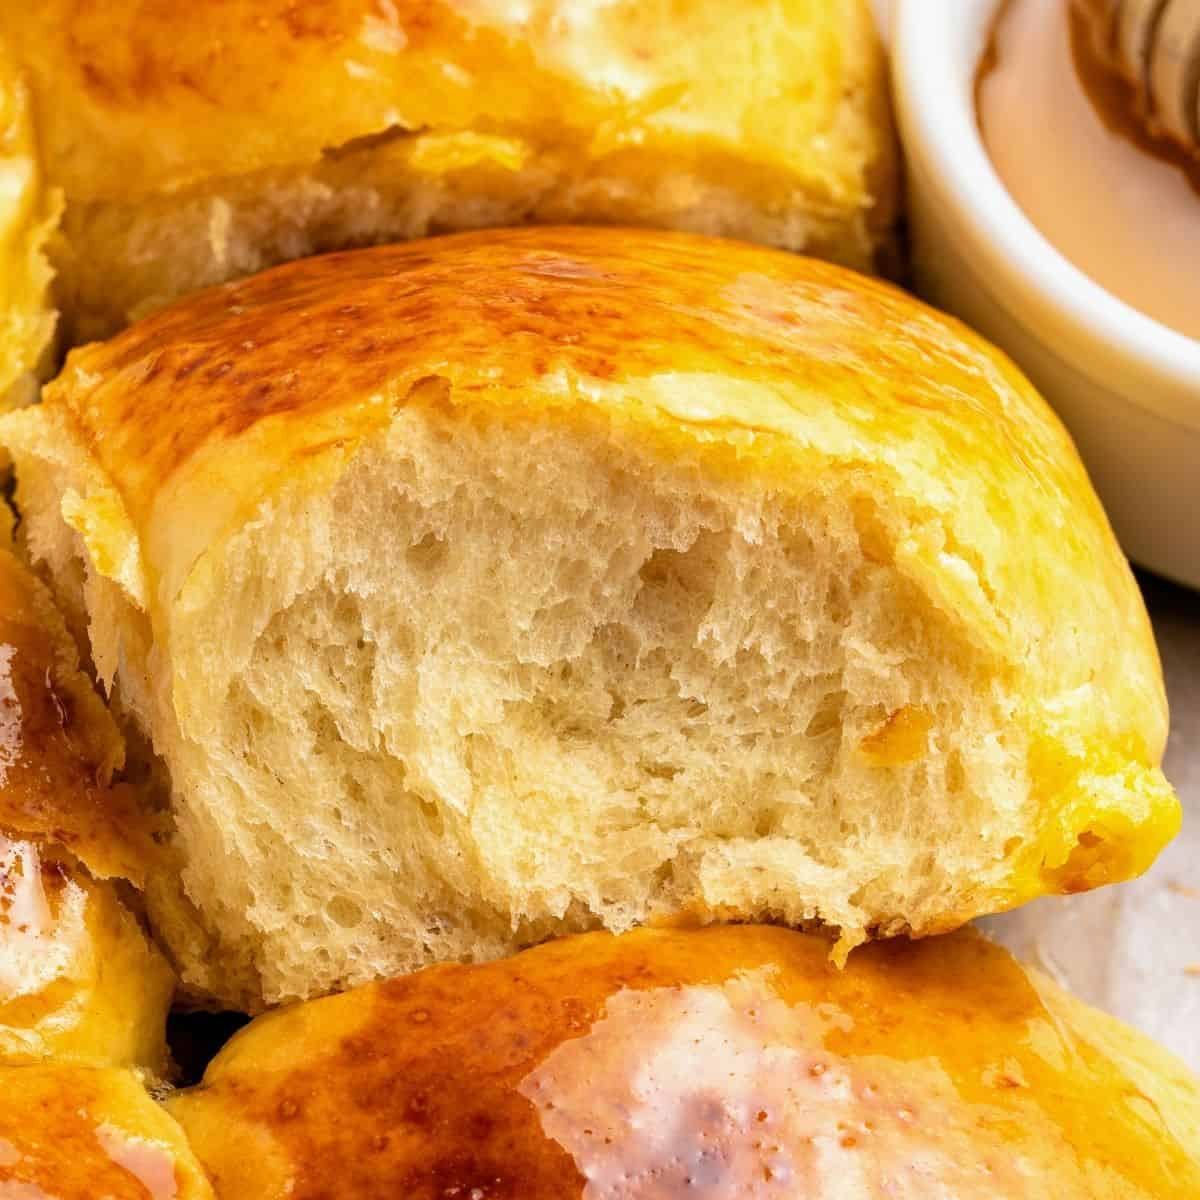
Hawaiian Dinner Rolls are soft, fluffy, and lightly sweet with buttery golden tops. Pineapple juice gives them their signature sweetness, while the dough bakes into tender rolls that pull apart easily.
Make these homemade Hawaiian rolls for holiday dinners, BBQs, soups, sandwiches, or sliders. Serve them with Bone-In Roasted Turkey Breast for a holiday meal or Slow Cooker Ham and Bean Soup for a cozy dinner. You can also use the whole pan for BBQ Pulled Pork Sliders or Cheeseburger Sliders.
Why You’ll Love This Recipe
- Soft and pillowy: The centers stay tender while the egg wash gives the tops a deep golden finish.
- Make them ahead or the same day: Refrigerate the dough overnight for easier shaping, or let it rise in a warm place when you want to bake the rolls the same day.
- Great for sliders: The rolls bake together, so you can slice through the whole batch and add your favorite filling.
Ingredients You’ll Need
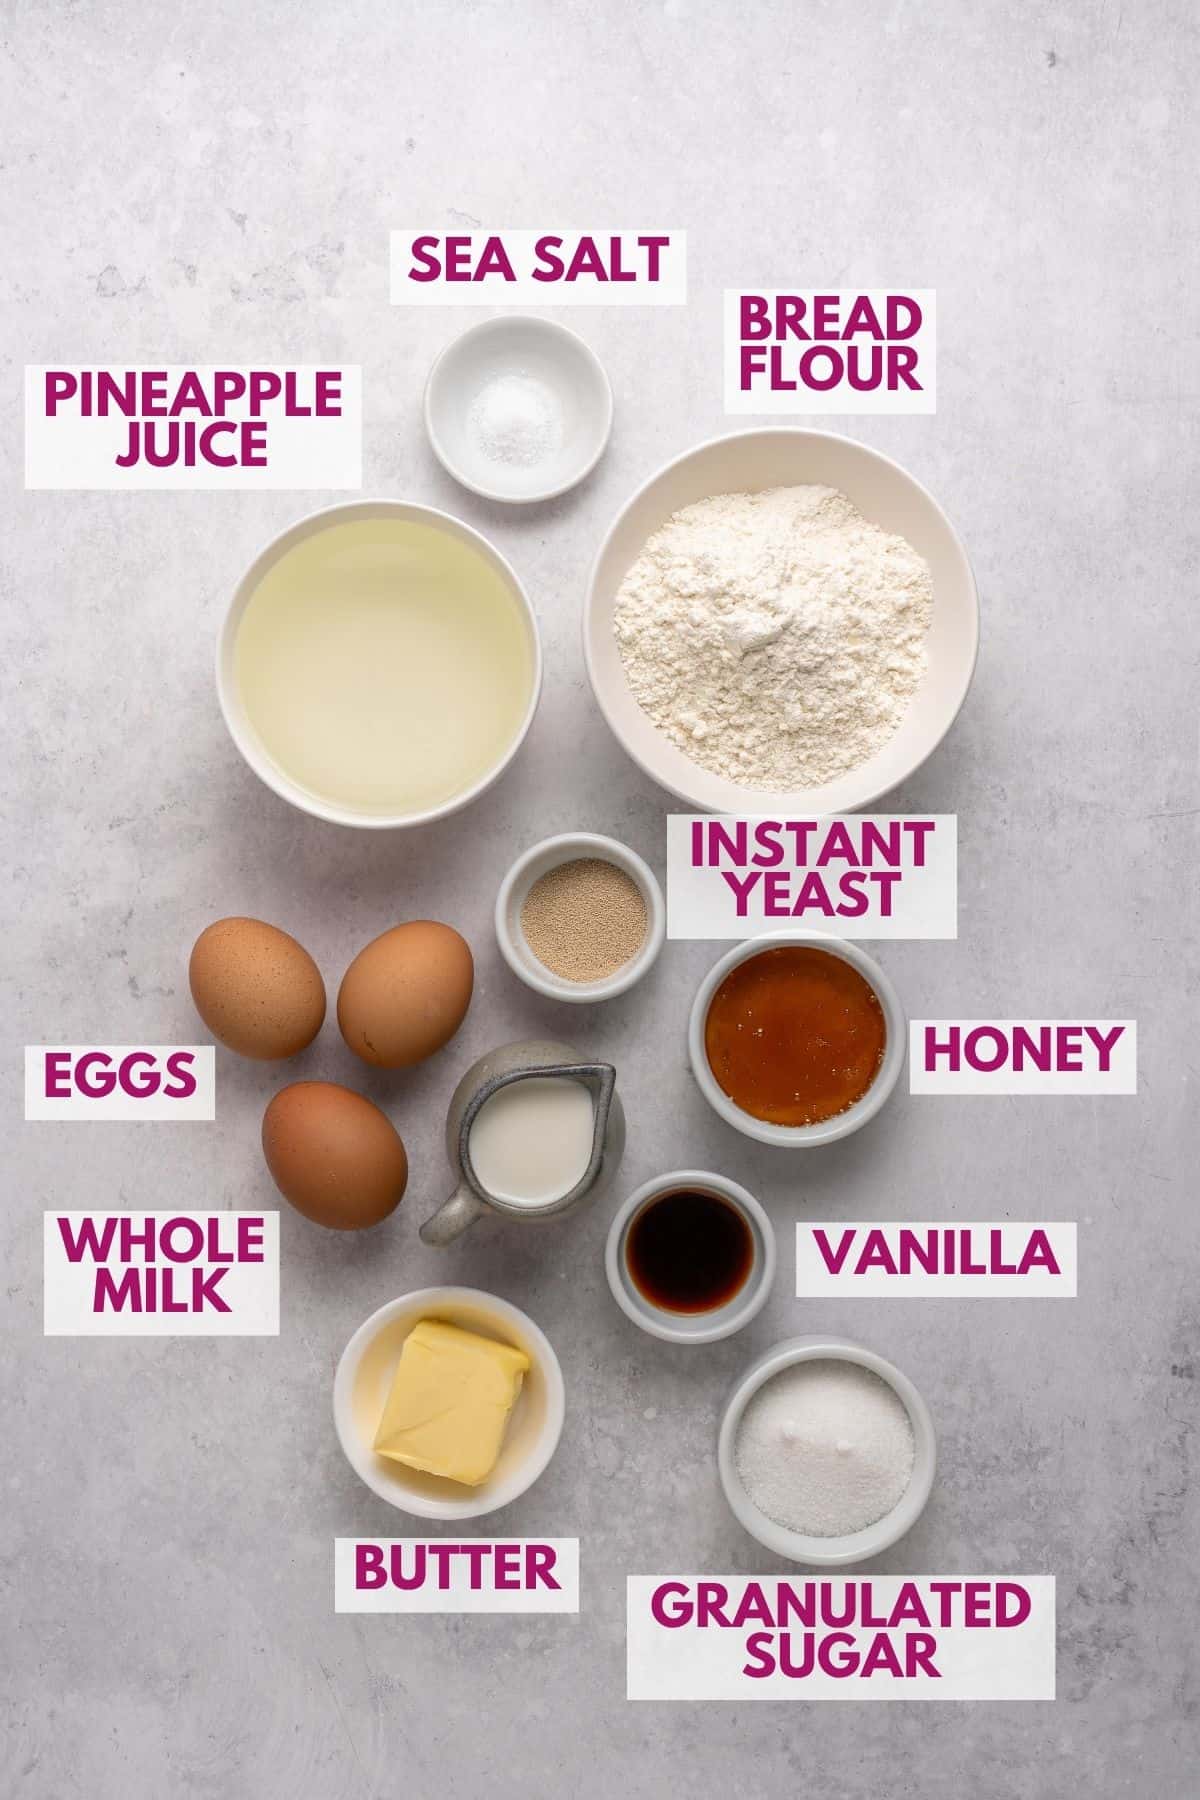
Find the exact amounts in the recipe card at the bottom of the post.
For the Dough
- Pineapple juice: Use pasteurized bottled, canned, or carton juice. Avoid fresh pineapple juice because its natural enzymes can weaken the gluten and leave the dough sticky and difficult to shape. Warm the juice before mixing so the yeast has the right environment to get started.
- Whole milk: Whole milk adds richness and helps keep the rolls tender. Warm it with the pineapple juice before adding the yeast. Cold milk can slow the yeast down, while milk that is too hot can damage it.
- Instant yeast: Gives the rolls their rise and fluffy texture. Make sure yours is fresh and within the expiration date.
- Granulated sugar and honey: Give the rolls their lightly sweet flavor.
- Eggs: Bring them to room temperature so they mix more easily into the dough.
- Unsalted butter: Melt it, then let it cool slightly before adding it so the butter does not heat the eggs.
- Bread flour: My first choice because it gives the rolls a little more structure. All-purpose flour also works in a pinch.
- Sea salt: Balances the sweetness.
- Vanilla extract: Optional, but adds a little extra flavor.
For Finishing
- Egg yolk and whole milk: Used for the egg wash that gives the rolls their shiny, deep golden tops.
- Unsalted butter: Melt this separately and brush it over the hot rolls for a soft, buttery finish.
How to Make Hawaiian Dinner Rolls
Wake Up the Yeast
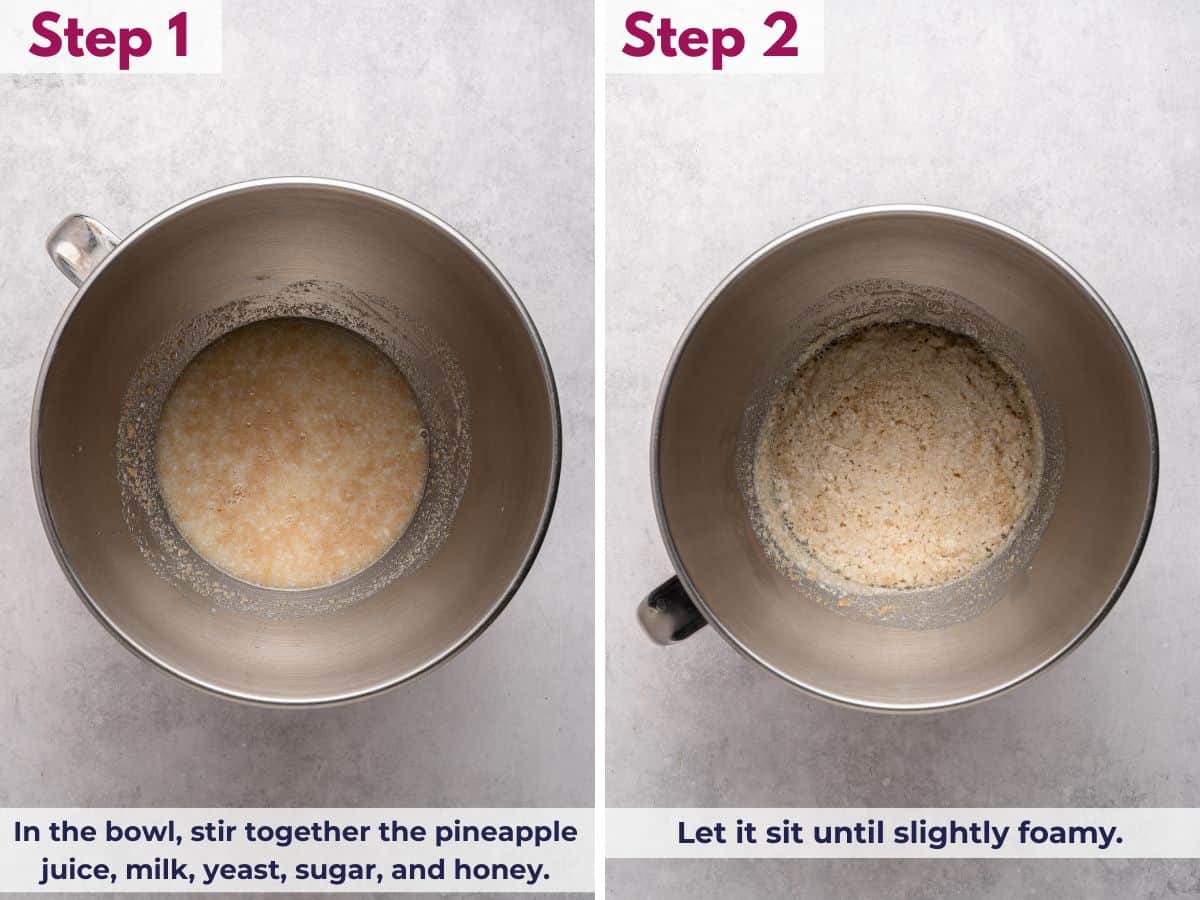
Look for small bubbles on the surface and yeast that has started to swell before moving on. If the yeast is still sitting on top of the liquid, stir it again and give it more time. A cool or drafty kitchen can make this step take longer.
Mix Until the Eggs Disappear
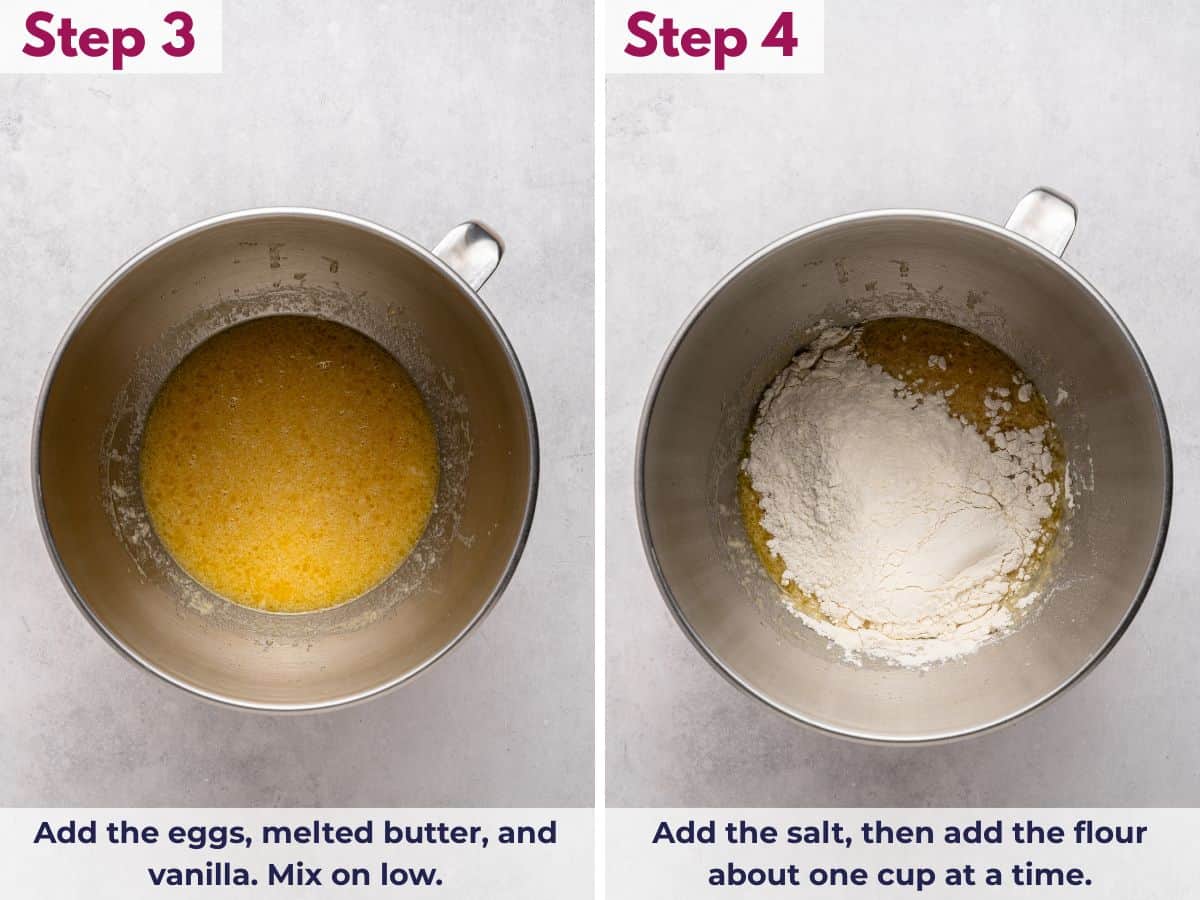
Once the eggs and butter go in, make sure everything is fully mixed. You should not see streaks or pieces of egg before adding the flour.
Knead Until Smooth and Slightly Tacky
The dough will start rough and gradually become smooth and even. It should feel firm but not dry, and a gentle press should very slowly begin to spring back. Slightly tacky is fine. When you touch the dough, your finger should still come away clean.
Give the Dough Time to Rise
This dough is very sensitive to temperature, so watch the dough instead of the clock. It should look noticeably larger and feel lighter before you move on. If refrigerated dough is still cold or has not risen much, let it warm in a draft-free place first. Cold dough needs time to warm before the yeast really gets moving again.
SAVE THIS RECIPE
Shape Smooth Rolls
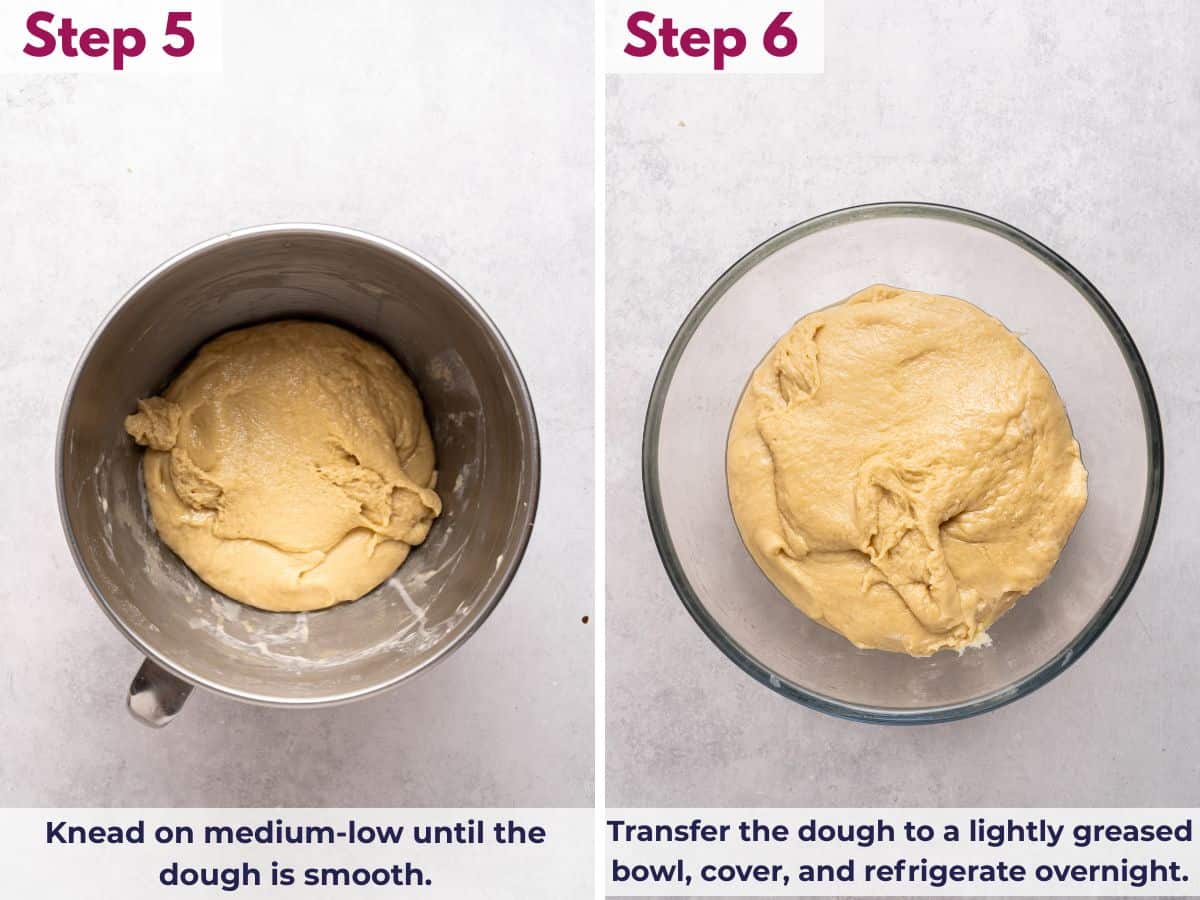
If the dough has risen and looks noticeably larger, shape it while it is still slightly cool. If it has barely risen, let it warm up and rise more first. Use lightly oiled hands and a lightly oiled work surface instead of adding more flour.
Let the Rolls Rise Again
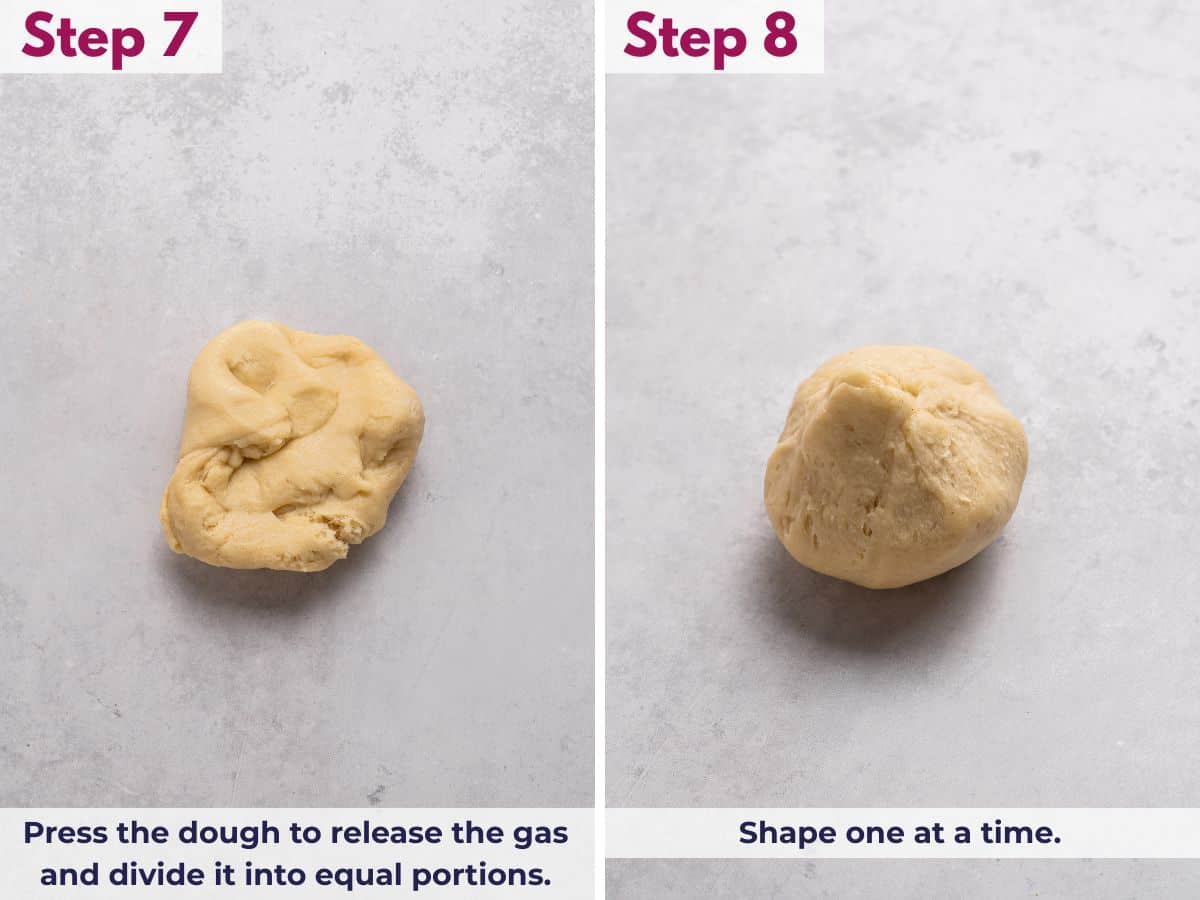
Let the rolls rise until they look plump and have grown into each other in the pan. When you gently press one, the indentation should slowly begin to fill back in.
Bake Until Deep Golden
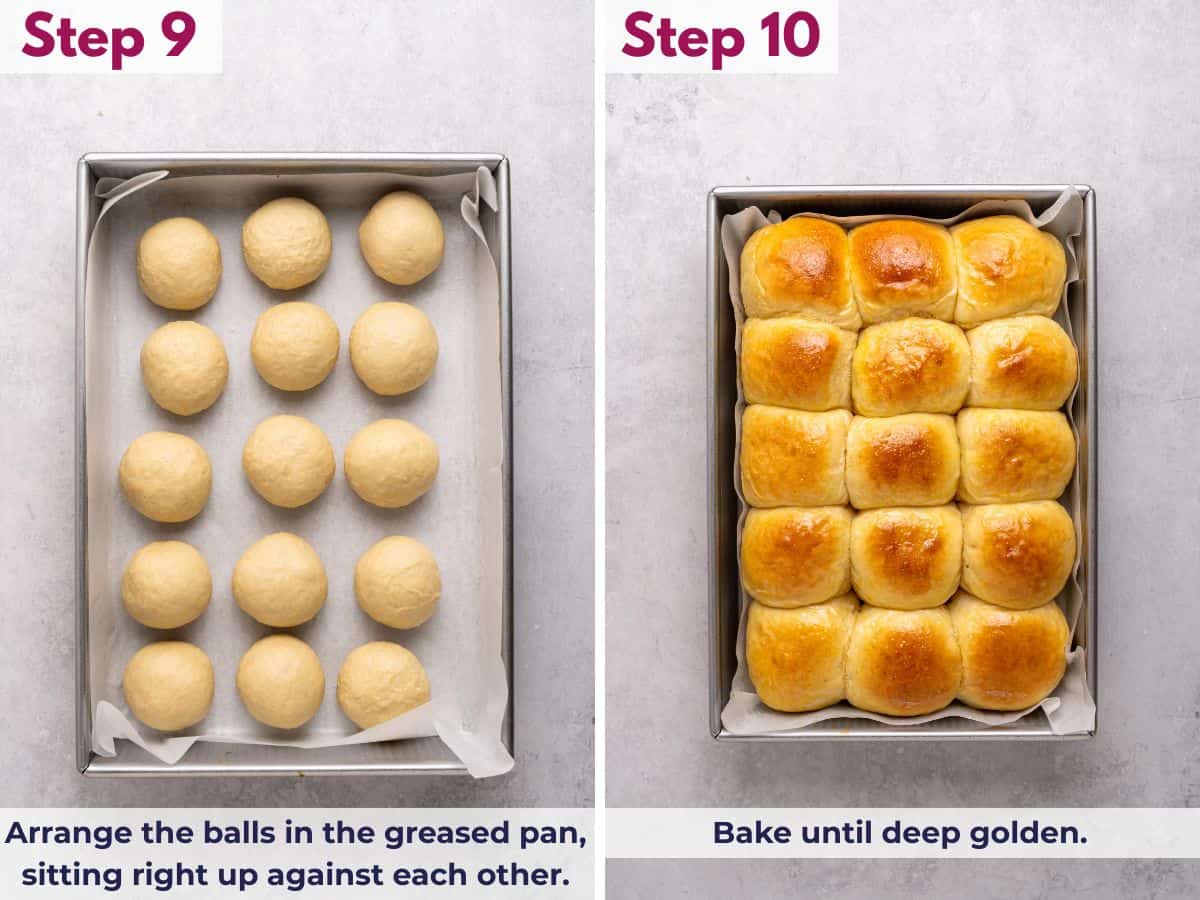
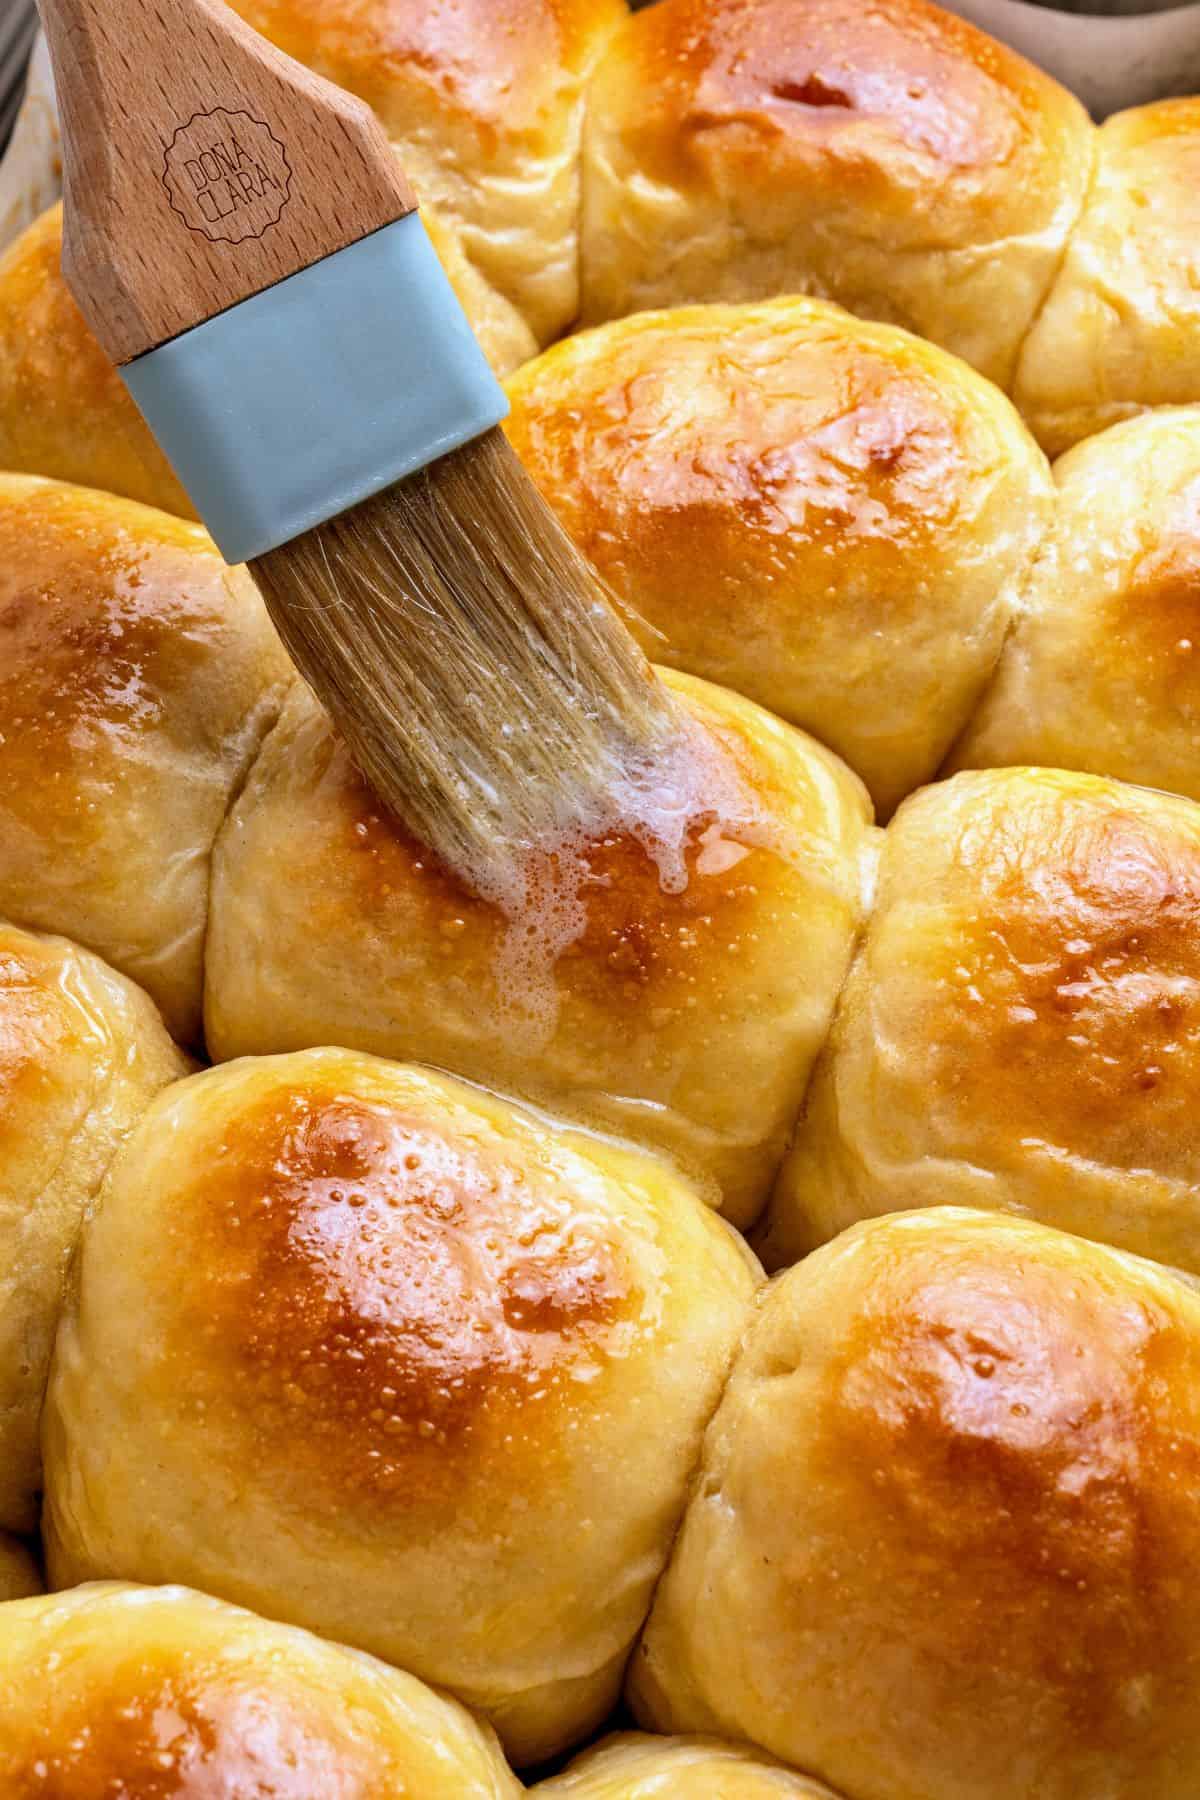
Brush the tops gently with egg wash so you do not press out the air. The finished rolls should be deeply golden on top and soft through the center. Brush them with melted butter while they are still hot for a softer finish.
Tips for Soft and Fluffy Hawaiian Rolls
- Go by look and feel, not the clock: This dough rises much more slowly when it is cold. A drafty kitchen, air conditioning, or a cold refrigerator can all change the timing.
- Do not rush the yeast: Wait for bubbles and visible swelling before adding the flour.
- Give cold dough time to warm: If it is still very cold after refrigerating, move it somewhere warm and draft-free before shaping.
- Use a warm, turned-off oven if needed: This gives the dough a warm place to rise when your kitchen is cool. Make sure the oven is completely off before putting the covered dough inside.
- Use oil instead of flour for shaping: It keeps the dough from sticking without working more flour into the rolls.
- Do not rush the final rise: If the rolls still look compact, they are not ready to bake.
Easy Swaps and Variations
- Make them the same day: Skip the overnight refrigerator rest and let the dough rise in a warm place before shaping.
- Use all-purpose flour: It works when you do not have bread flour, although the rolls may have slightly less structure.
- Skip the vanilla: The pineapple juice and honey still give the rolls plenty of flavor.
- Add honey butter: Mix a little honey into the melted butter before brushing it over the warm rolls.
What to Serve With Hawaiian Dinner Rolls
For Thanksgiving, Christmas, or Easter, serve them with Baked Macaroni and Cheese, Southern Candied Yams, and Sweet Potato Casserole with Marshmallows.
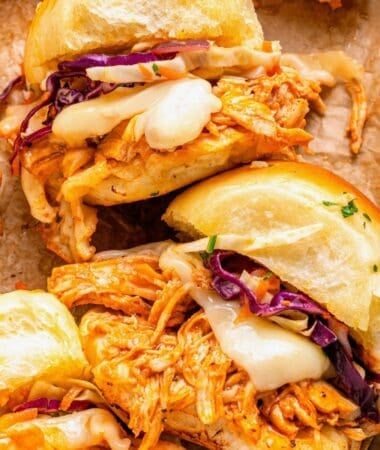
They also work especially well for sliders because the rolls bake together in one pan. Slice across the whole batch to make BBQ Pulled Pork Sliders, Baked Cheeseburger Sliders, or Buffalo Chicken Sliders. You could also use leftover Crockpot Ham to make Ham and Cheese Sliders.
These rolls are also perfect for soaking up the homemade gravy from my Slow Cooker Pot Roast, Smothered Pork Chops, or Slow Cooker Beef Tips and Gravy.
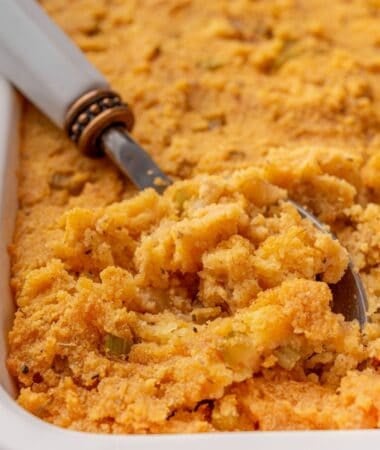
For a yeast-free bread option to serve with dinner, try Cornbread Muffins or Homemade Cornbread.
Make-Ahead and Storage
- Make ahead: Let the dough rest in the refrigerator overnight, then give it time to warm and rise as needed before shaping.
- Store: Keep cooled rolls in an airtight container at room temperature for up to 3 days.
- Reheat: Warm individual rolls briefly in the microwave or wrap several in foil and warm them in the oven.
- Freeze: Freeze cooled rolls in an airtight container for up to 2 months. Thaw at room temperature before reheating.
FAQs
Check the temperature first (does the dough feel cold to touch?). This dough moves slowly when it is cold, so a drafty kitchen, air conditioning, or cold refrigerator can make the rise take much longer. Move the dough somewhere warm and give it more time rather than assuming the yeast has failed.
The dough may have needed more time to rise. Before baking, the rolls should look very puffy and should have expanded into each other. Too much flour can also make the rolls dense. This dough should feel firm and slightly tacky, but your finger should come away clean when you touch it. If it feels a little tacky, give it time to knead before deciding anything needs to be adjusted.
Yes. Let the dough rise in a warm place until it has noticeably expanded, then shape the rolls and continue with the recipe.
Not quite. The pineapple juice adds sweetness and helps give Hawaiian rolls their signature flavor, but the finished rolls do not taste like pineapple bread.
No. I recommend pasteurized bottled, canned, or carton pineapple juice. Fresh pineapple contains enzymes that can weaken the gluten structure and make the dough harder to work with.
Hawaiian Dinner Rolls
Use DRDAVINAHS at checkout to save on some equipment & ingredients!
Recommended Equipment
Ingredients
Dough
- ½ cup Pineapple Juice, bottled, carton, or canned and pasteurized, not fresh, warmed
- ¼ cup Whole Milk, warmed
- 2 ¼ tsp Instant Yeast, one packet, 7g
- ¼ cup White Sugar
- 2 tbsp Honey
- 2 large Eggs, room temperature
- 6 tbsp Butter, unsalted, melted and slightly cooled
- 1½ tsp Natural Ancient Sea Salt, use DRDAVINAHS to save
- 1 tsp Vanilla Extract, optional
- 4 cups Bread Flour, or all-purpose flour in a pinch
Egg Wash
- 1 Egg Yolk
- ½ tbsp Whole Milk
For Brushing
- 2 tbsp Butter, unsalted,melted
Instructions
- Warm the liquids: Add the pineapple juice and milk to the bowl of a stand mixer fitted with a dough hook. Warm to about 100–110°F (should be warm to touch). As a shortcut, microwave them together for about 30–40 seconds.
- Activate the yeast: Stir in the yeast, sugar, and honey. Let the mixture sit until you see small bubbles and light foam on the surface and the yeast begins to enlarge, about 5–15 minutes. If the yeast is sitting on top of the liquid, stir it again so it gets fully wet. Do not add the flour until you see signs that the yeast is active.
- Add the remaining wet ingredients: Add the eggs, melted butter, and vanilla. Mix until completely combined. Increase the mixer speed briefly if needed to make sure the eggs are fully mixed in.
- Add the flour and knead: Add the salt, then gradually mix in the 4 cups of flour. Knead on medium-low for 8–10 minutes, until the dough is smooth, elastic, and slightly tacky. The surface should look even instead of shaggy. When gently pressed, the dough should very slowly and gradually begin to spring back, and your finger should come away clean. The dough should also clear the sides of the bowl. If it feels unusually dry or tight, add milk 1 tablespoon at a time.
- Refrigerate overnight: Transfer the dough to a lightly greased bowl and cover. Refrigerate for 8–12 hours. The dough rises slowly as it chills and firms up, which makes it easier to shape. Same-day option: Let the covered dough rise in a warm, draft-free place until noticeably larger and about doubled in volume, then continue with shaping.
- Warm the dough if needed: After refrigerating, check the dough before shaping. If it is still very cold or has not risen much, let it warm and continue rising first. For a warm, draft-free space, heat the oven to 175°F, turn it completely off, then place the covered dough inside for 30–60 minutes.
- Divide the dough: Grease a 9×13-inch baking dish. Lightly oil your work surface and hands. Gently press down the dough to release some of the gas, then divide it into 15 equal portions.
- Shape the rolls: Working one at a time, stretch each piece slightly and fold the edges toward the center a few times. Flip it seam-side down, then round it by dragging it against the counter under a cupped hand. Re-oil your hands and work surface as needed.
- Arrange the rolls: Place the shaped rolls in the prepared baking dish in a 3×5 grid.
- Let the rolls rise: Cover loosely with greased plastic wrap and let rise in a warm, draft-free place for about 3–4 hours. Go by the rolls rather than the clock. They should look very puffy, have grown into one another, and slowly spring back when gently pressed. If they still look tight or spring back quickly, give them more time. You can use the warm oven method again by heating the oven to 175°F, turning it completely off, and placing the covered rolls inside.
- Preheat the oven: Remove the rolls from the oven if you used it for proofing. Preheat the oven to 375°F.
- Add the egg wash: Whisk the egg yolk and milk together. Brush gently over the tops of the risen rolls, being careful not to deflate them.
- Bake: Bake for 18–20 minutes, until the tops are deep golden and the center rolls reach about 190°F on an instant-read thermometer. If the tops brown too quickly, loosely tent the pan with foil.
- Brush with butter: Brush the rolls with melted butter as soon as they come out of the oven.
- Cool: Let the rolls cool in the pan for at least 15 minutes before pulling them apart. Serve warm.
SAVE THIS RECIPE
Recipe Notes
- Flour: Use 4 cups. The dough should be firm and slightly tacky, but it should not stick to your finger.
- Pineapple juice: Use pasteurized bottled, canned, or carton juice. Do not use fresh pineapple juice.
- Rising: This dough is very temperature-sensitive. If your kitchen or dough is cold, expect the rises to take longer and go by how the dough looks rather than the clock.
- Shaping: Lightly oil your hands and work surface instead of adding flour.
- Storage: Store airtight for up to 3 days or freeze for up to 2 months.
Nutrition Details
The nutrition facts come from entering the recipe ingredients into a database of food ingredients. They may vary for any recipe based on the exact product used.





Leave a Reply