This post may contain affiliate links to products I use and highly recommend. You can read my full disclosure . As an Amazon Associate I earn from qualifying purchases.
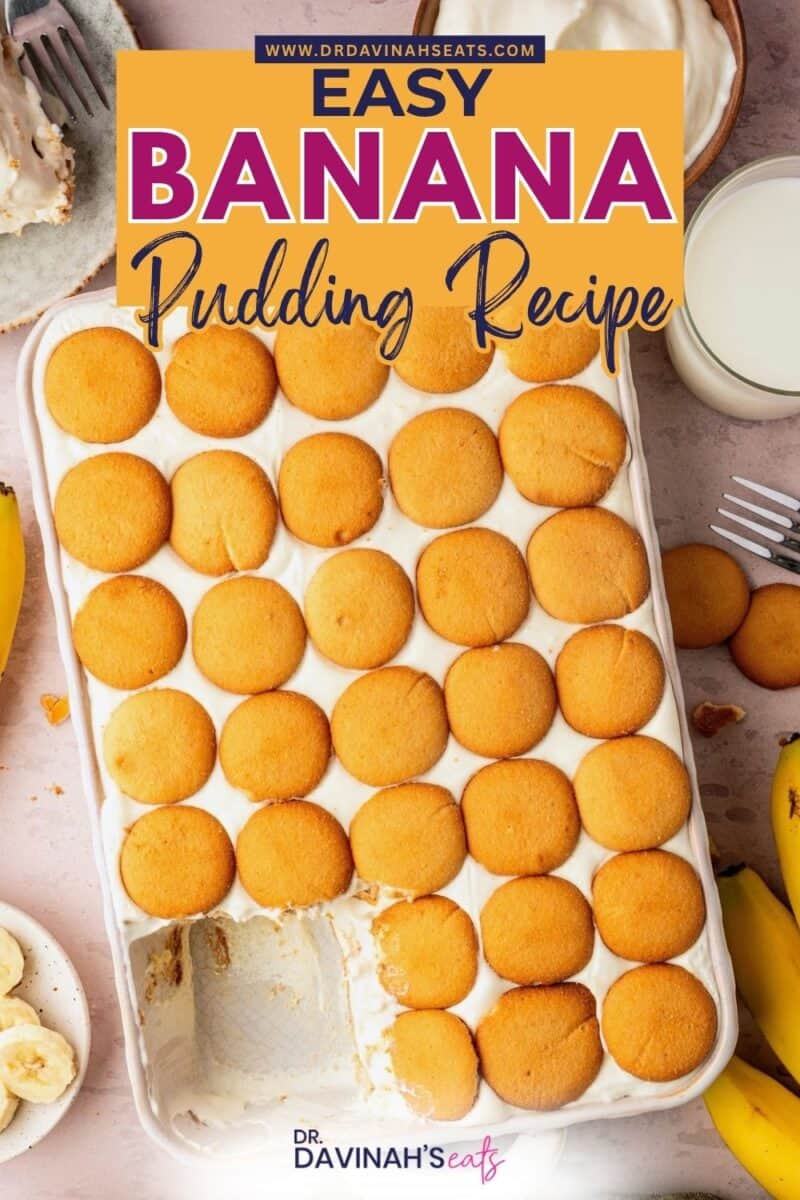
This banana pudding recipe has layers of creamy vanilla pudding, sweet bananas, and vanilla wafers that soften into a cake-like texture as the dessert chills. Every spoonful is rich, fluffy, and full of vanilla flavor, with tender cookies throughout.
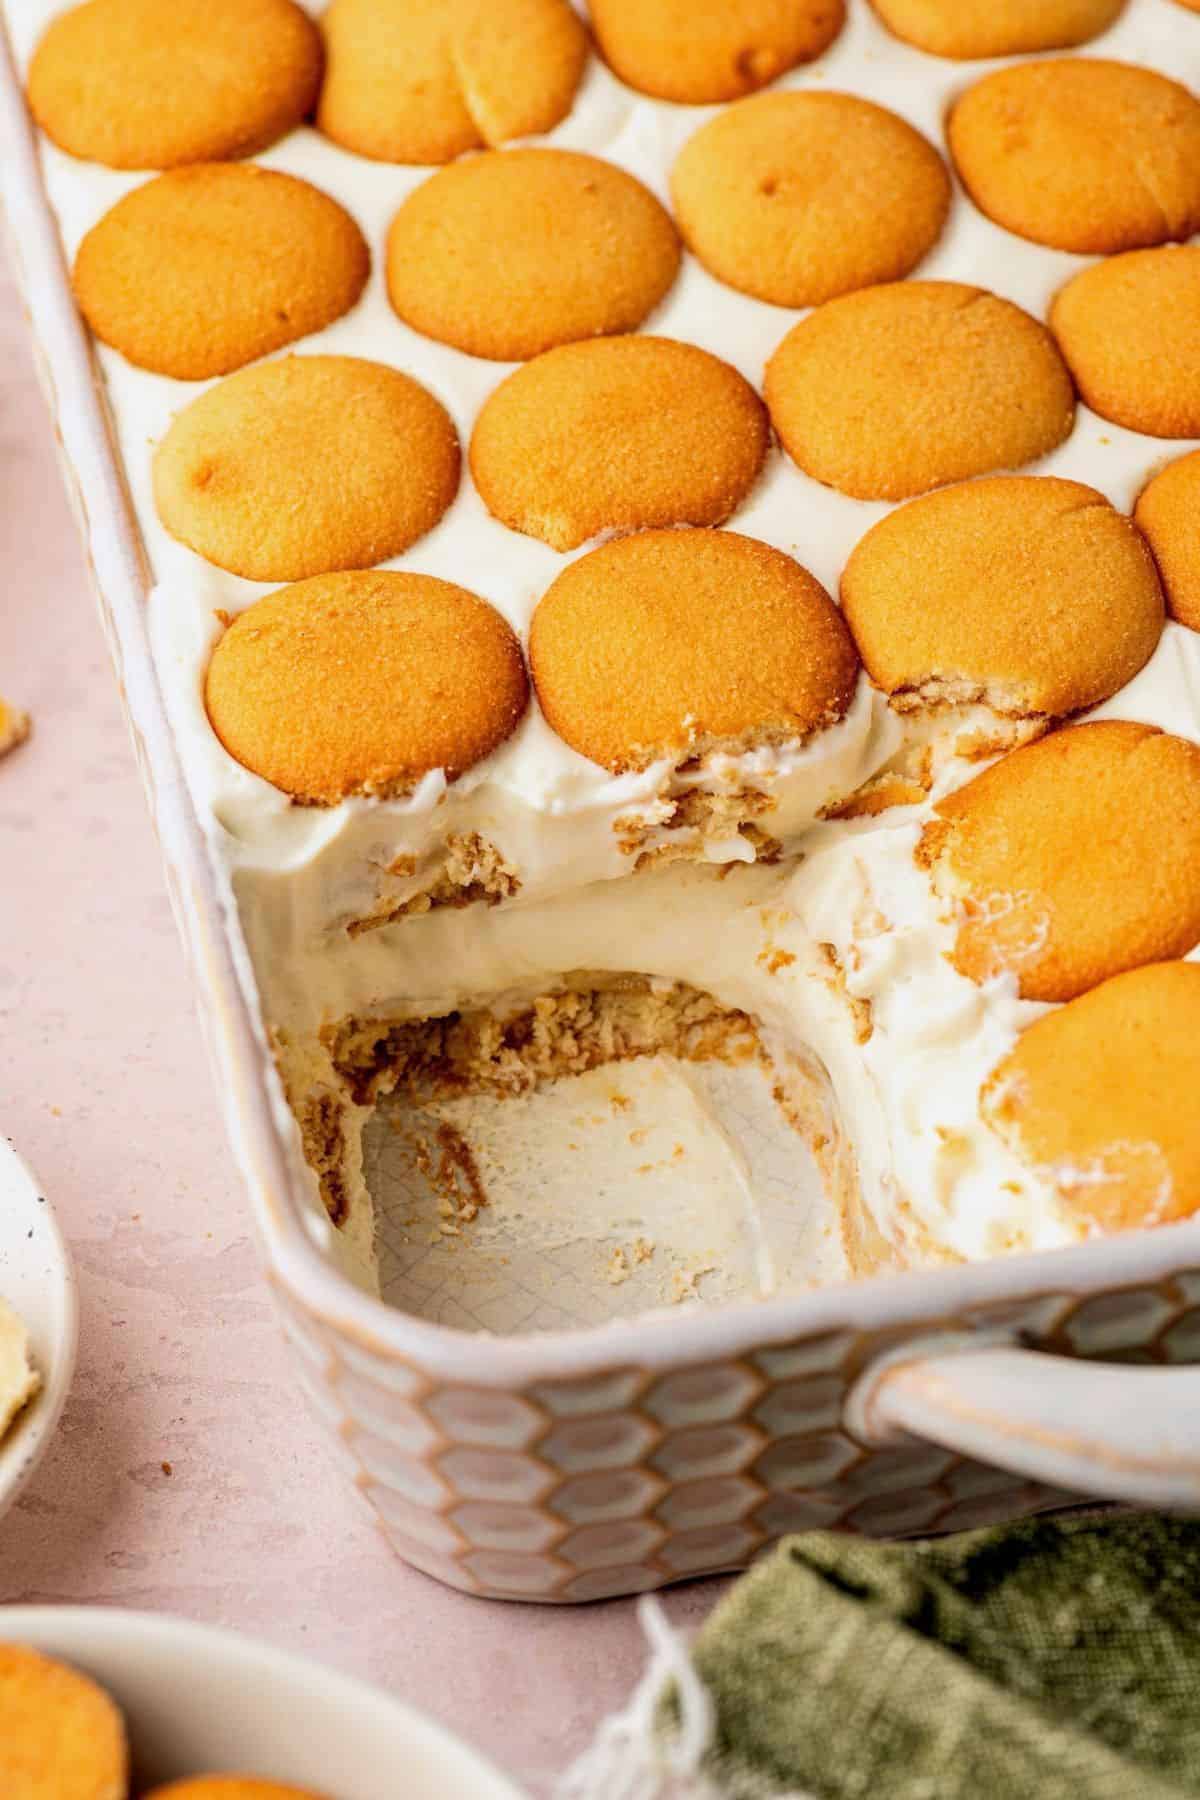
This homemade banana pudding is an easy make-ahead dessert for holidays, potlucks, and family gatherings. I use my Vanilla Pudding Recipe as the base, but you can also use instant pudding when you’re short on time. For another comforting dessert, try my Chocolate Pudding Cake or Peach Cobbler Recipe.
Why You’ll Love This Recipe
- Rich, creamy filling: Homemade vanilla pudding, cream cheese, and freshly whipped heavy cream create a smooth, fluffy filling without making the dessert overly sweet.
- Perfect for making ahead: Assemble it the night before so the cookies have plenty of time to soften.
- No baking required: Once the filling is prepared, simply assemble the layers and refrigerate until ready to serve.
Ingredients Needed
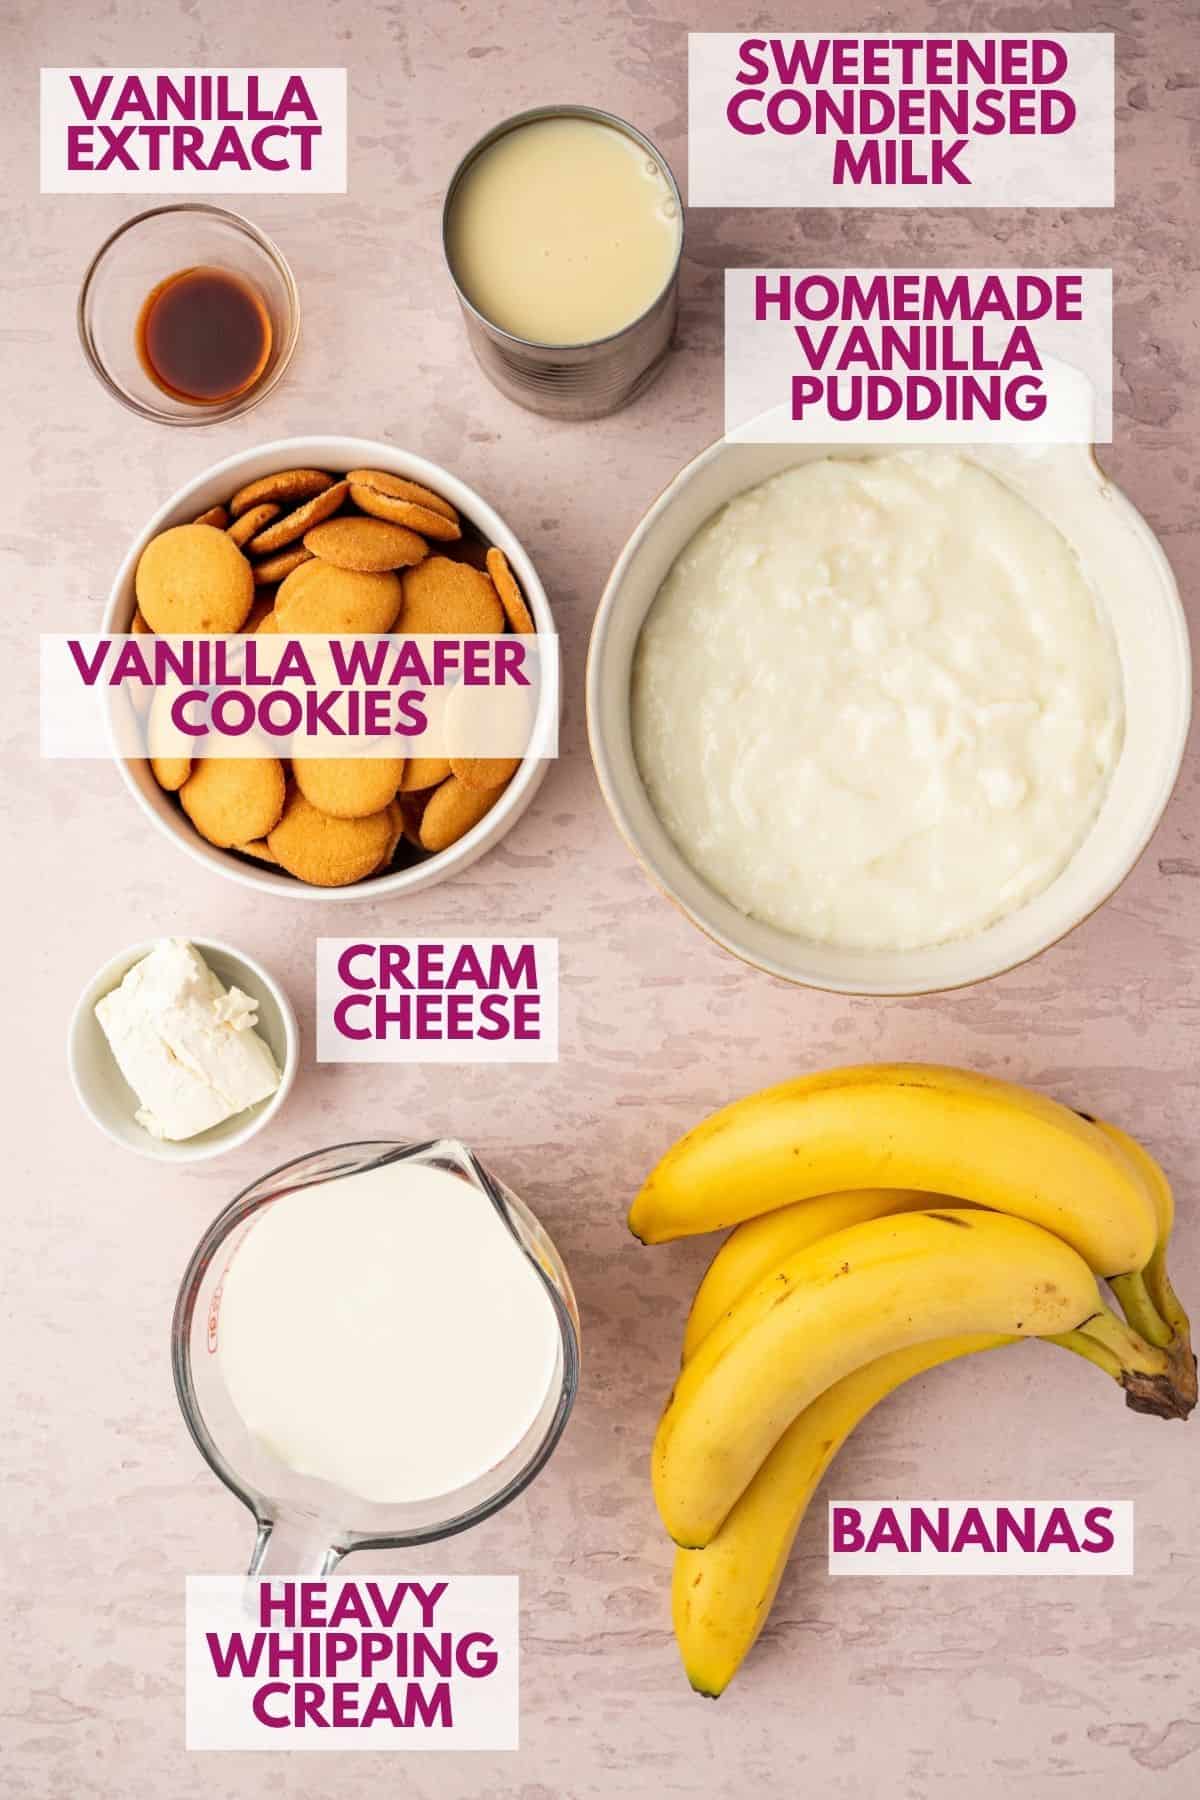
Grab the exact ingredient amounts from the recipe card at the bottom of the post.
- Heavy whipping cream: I prefer whipping my own cream instead of using Cool Whip or another prepared whipped topping. Since the sweetened condensed milk already adds plenty of sweetness, using unsweetened whipped cream helps me control how sweet the finished pudding tastes.
- Sweetened condensed milk: Adds sweetness and richness. Be sure to use sweetened condensed milk, not evaporated milk.
- Cream cheese: Let it soften before mixing to help prevent lumps in the filling.
- Vanilla extract: Adds extra vanilla flavor to the pudding mixture.
- Homemade vanilla pudding: You’ll need 3 cups of completely chilled pudding. My Vanilla Pudding Recipe works perfectly, or you can use the instant pudding shortcut below.
- Vanilla wafer cookies: Classic Nilla Wafers soften as they absorb moisture from the pudding. You can also use sturdier cookies or mix them with the wafers.
- Bananas: Choose yellow bananas with a few brown freckles. They should be sweet but still firm enough to hold their shape when sliced.
How to Make Banana Pudding
Making this easy banana pudding recipe is mostly a matter of preparing the creamy filling and assembling the layers. Start with chilled vanilla pudding and use the step-by-step photos as a guide.
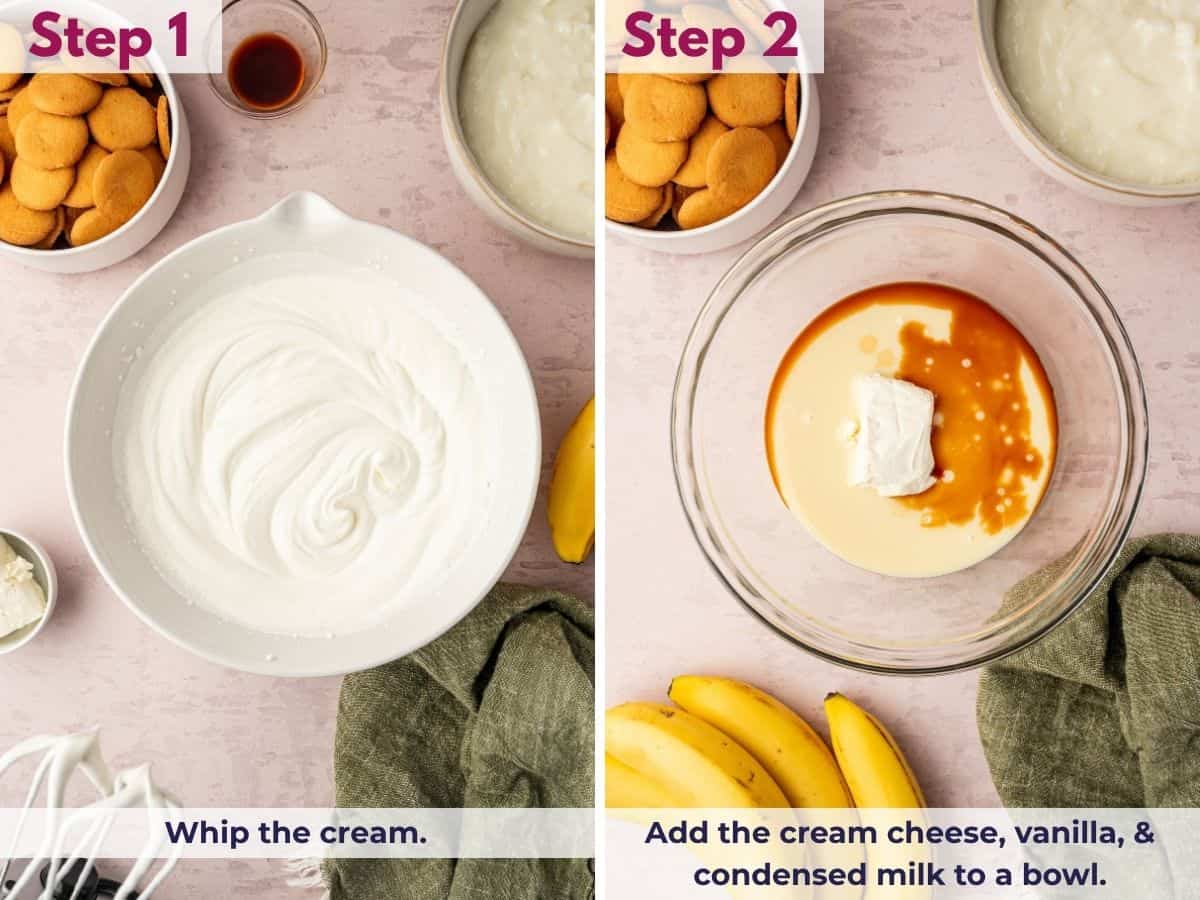
Whip the Heavy Cream
Beat the cold heavy whipping cream until stiff peaks form. The cream should hold its shape when you lift the beaters.
Make the Cream Cheese Mixture
Add the softened cream cheese, sweetened condensed milk, and vanilla extract to a large bowl. Beat until smooth and creamy, with no visible lumps of cream cheese.
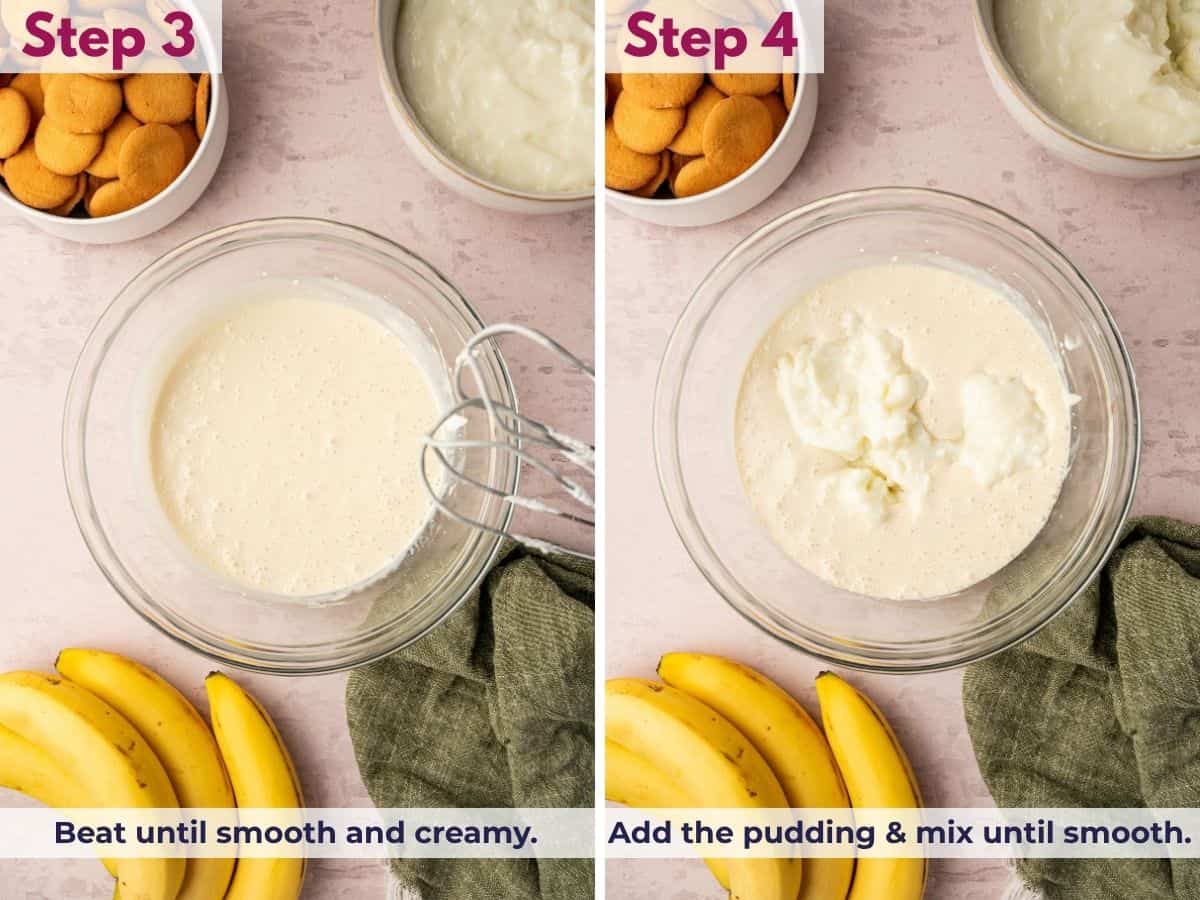
Add the Vanilla Pudding
Mix the chilled vanilla pudding into the cream cheese mixture until everything is smooth and evenly combined.
Fold in the Whipped Cream
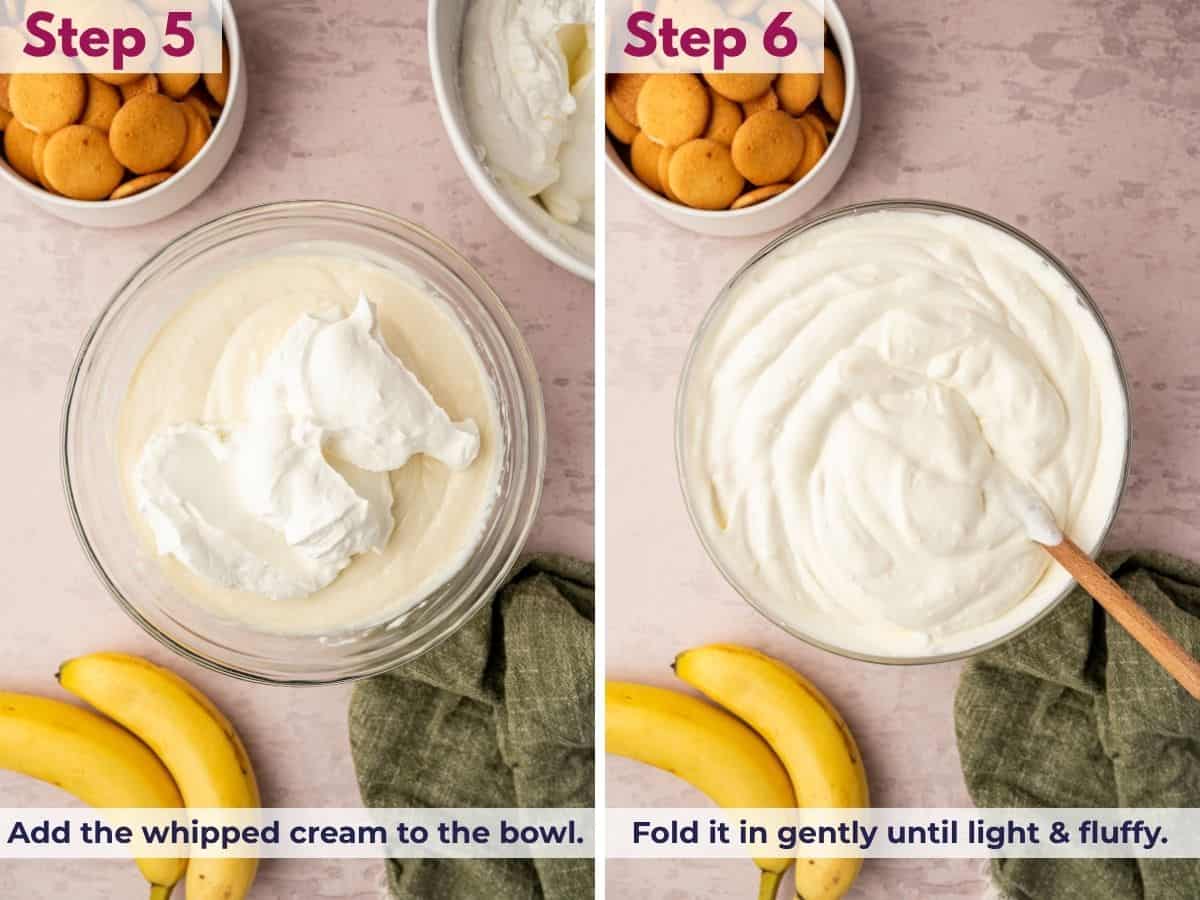
Gently fold the whipped cream into the pudding mixture until light and fluffy. Use a spatula rather than beating it again so the filling keeps its airy texture.
Layer the Wafers and Bananas
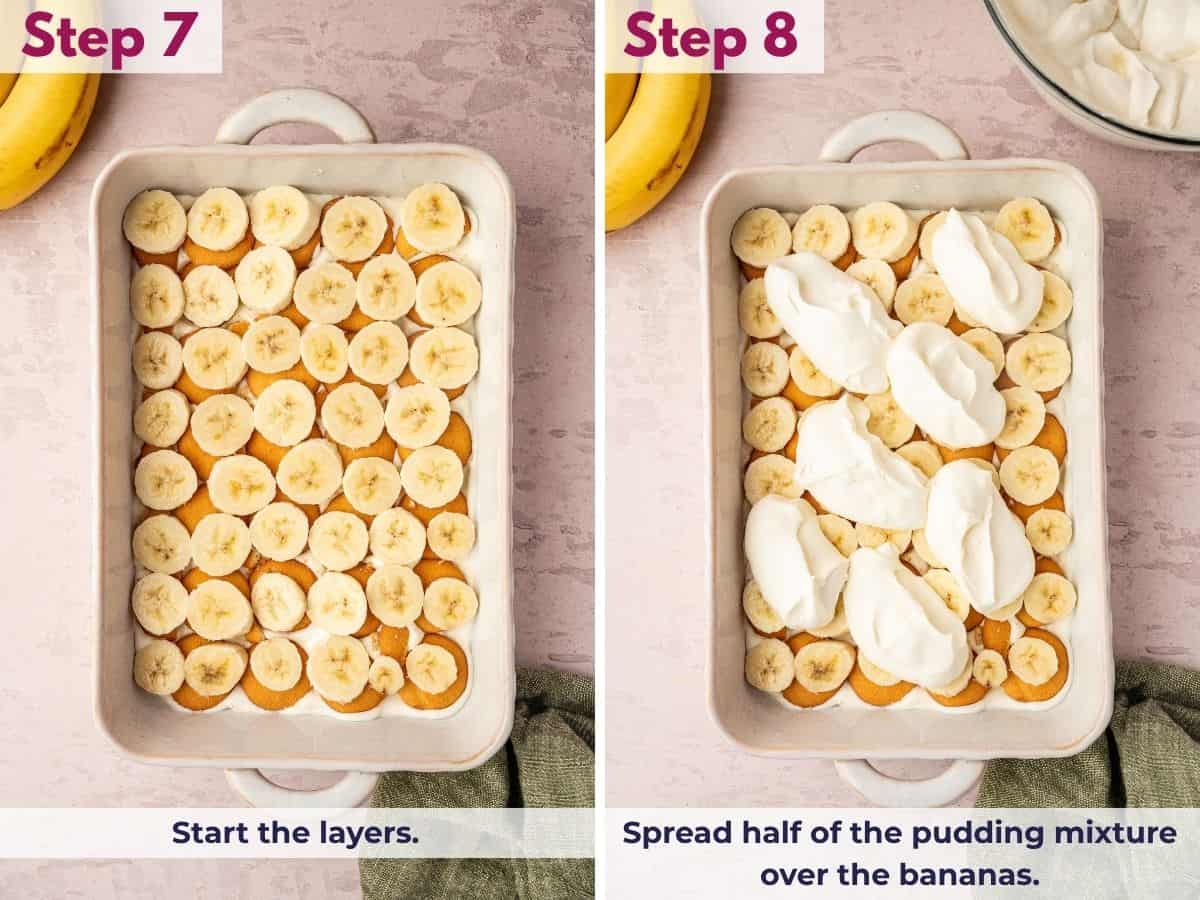
Spread a thin layer of pudding across the bottom of a 9×13-inch dish. Arrange the wafers close together, breaking a few in half to fill gaps.
SAVE THIS RECIPE
Slice the bananas about ¼ inch thick and arrange them over the wafers, covering the edges and corners.
Finish the Layers
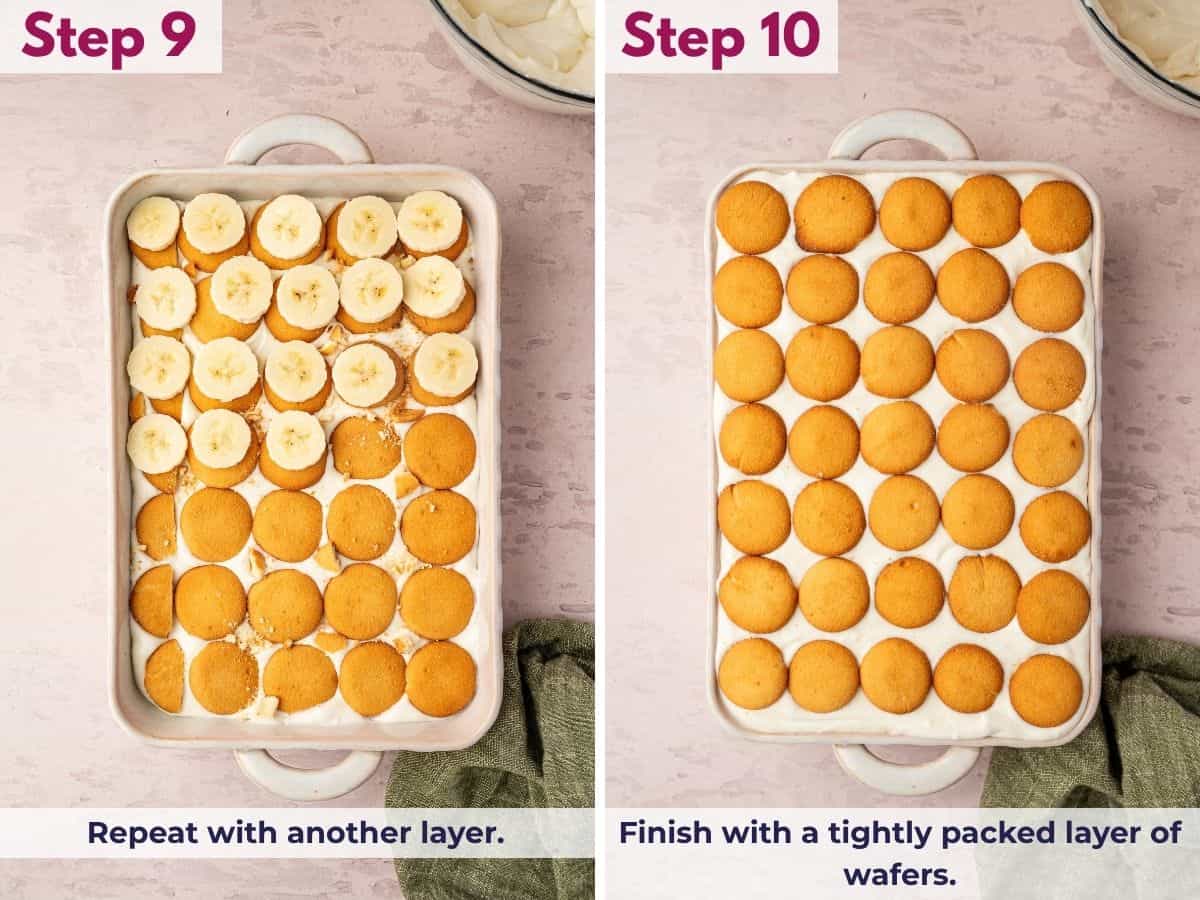
Spread half of the pudding mixture over the bananas, reaching all the way to the edges. Repeat with another layer of wafers, bananas, and the remaining pudding.
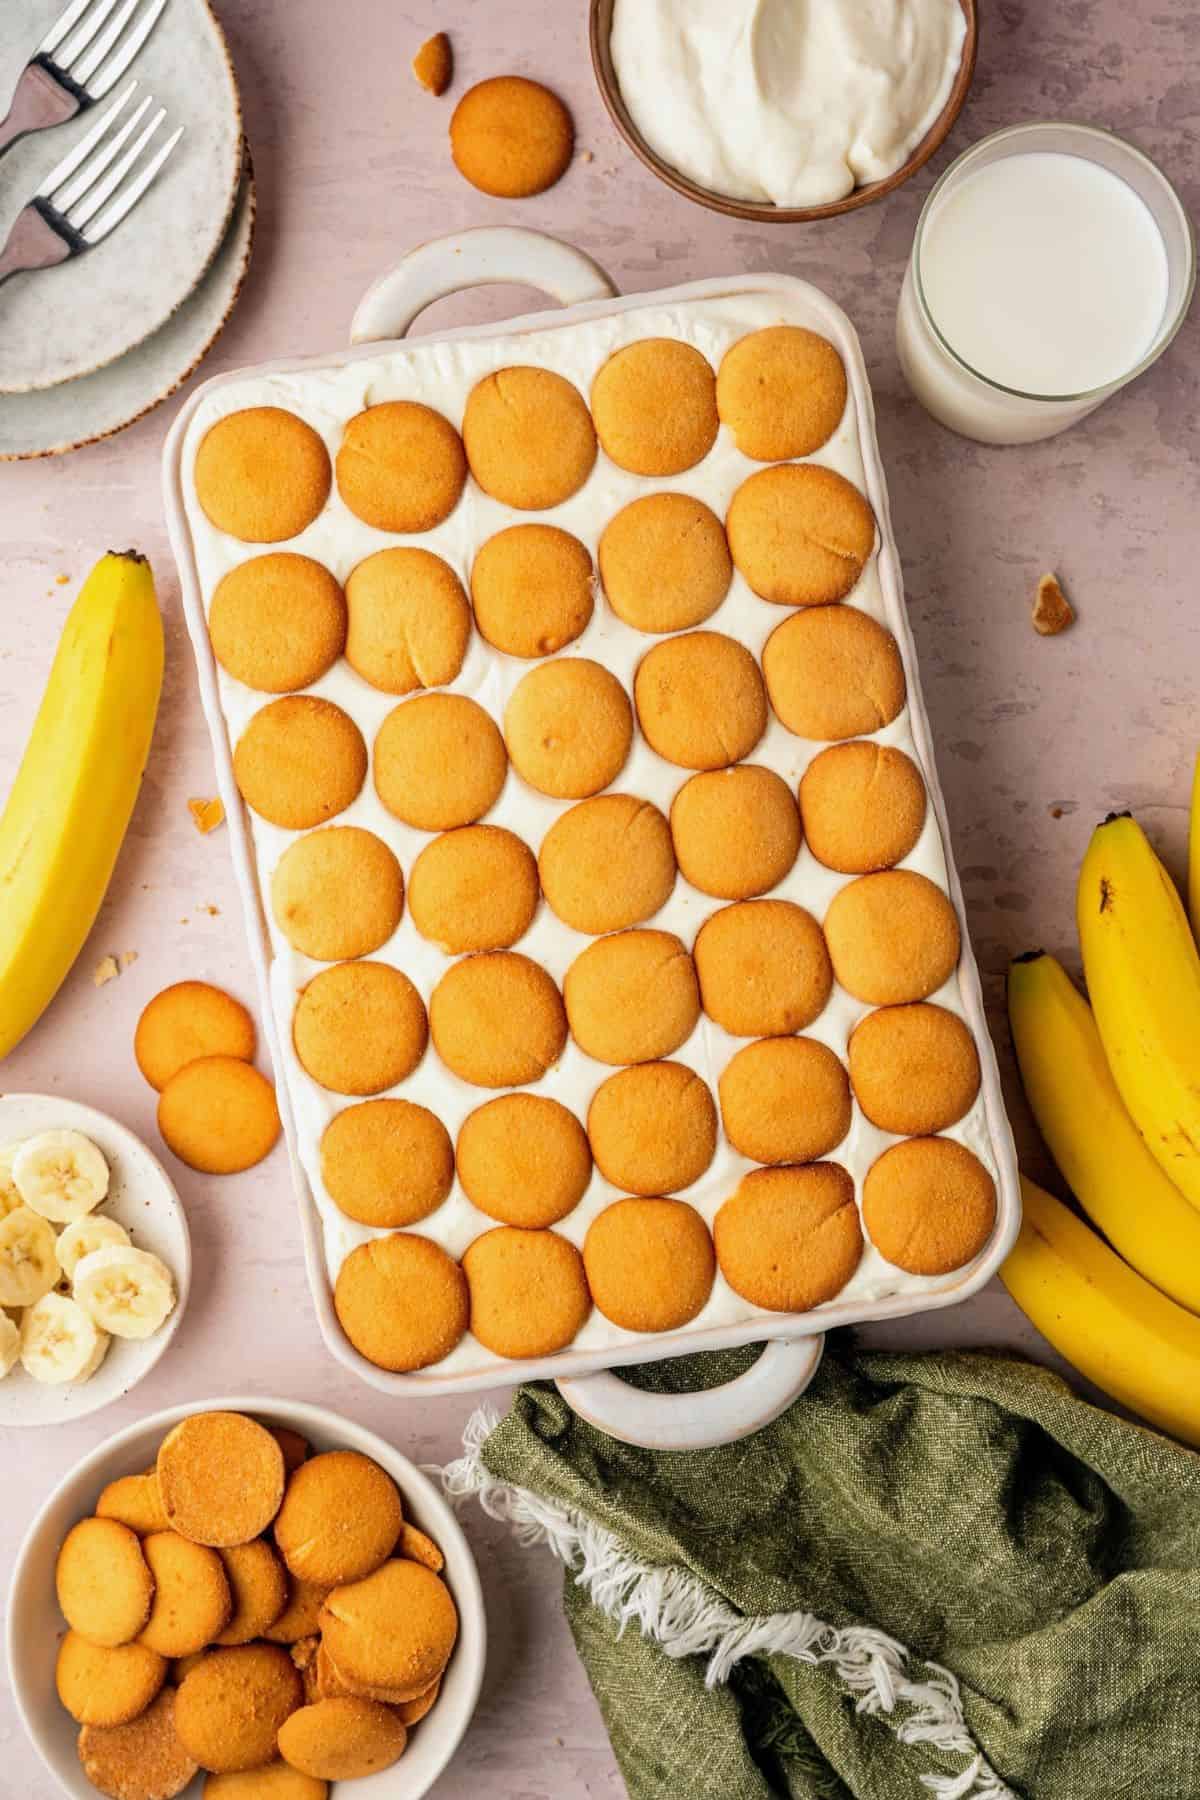
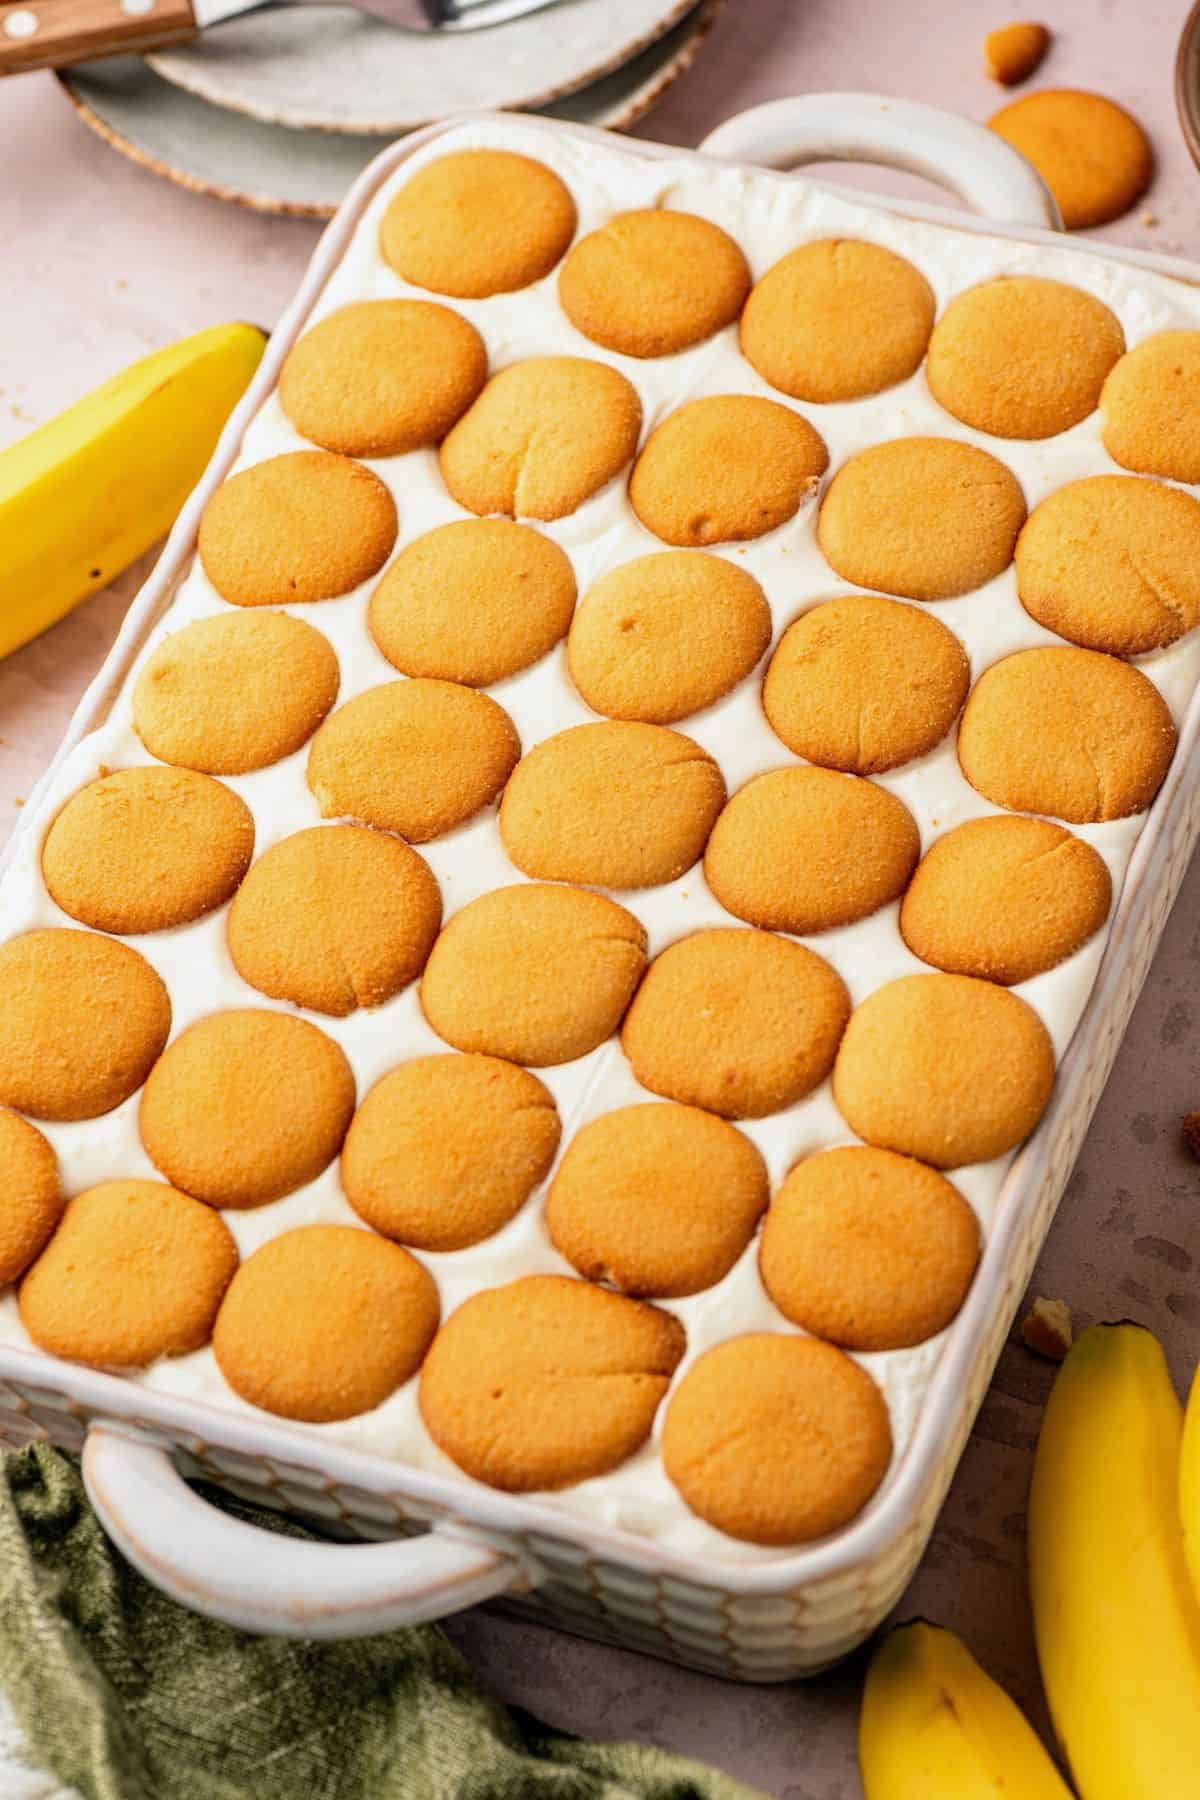
Finish with a tightly packed layer of vanilla wafers on top, rounded side up.
Chill Until Set
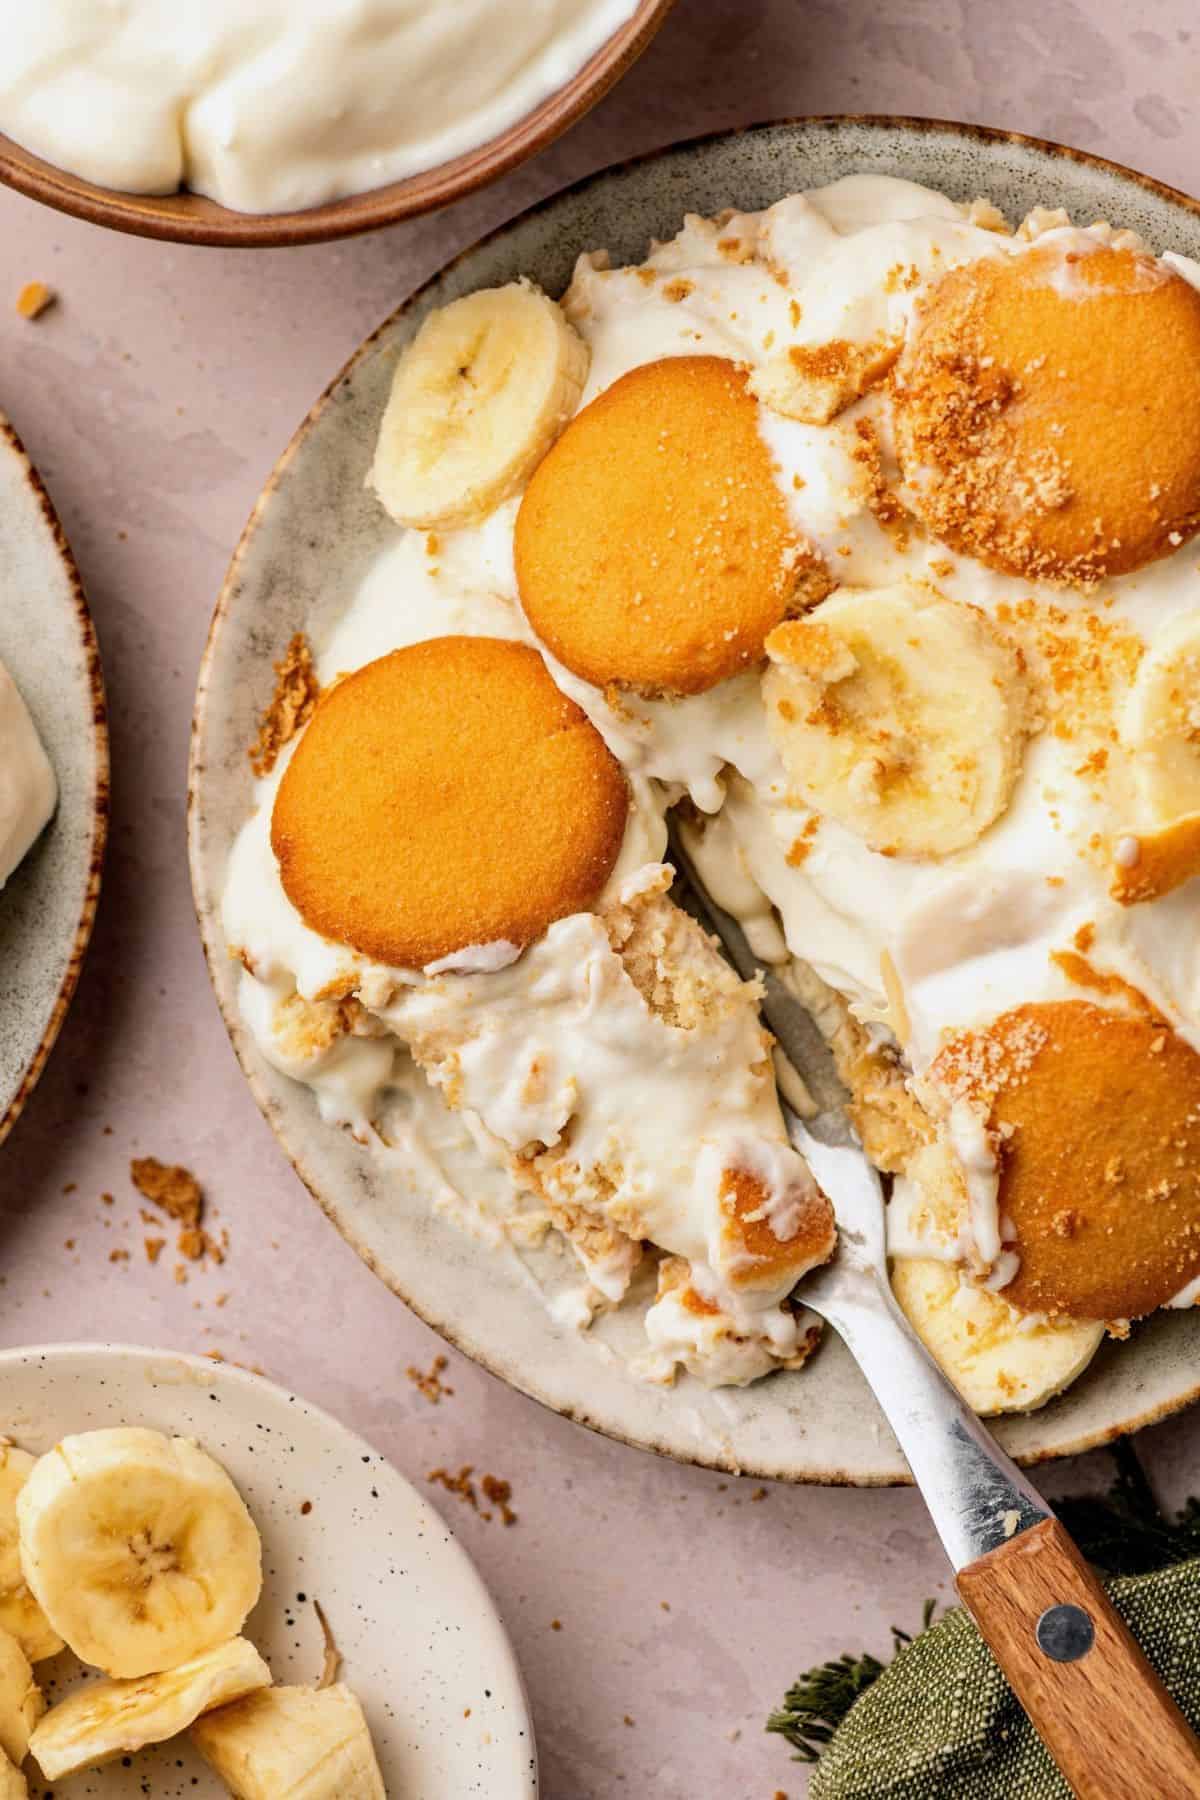
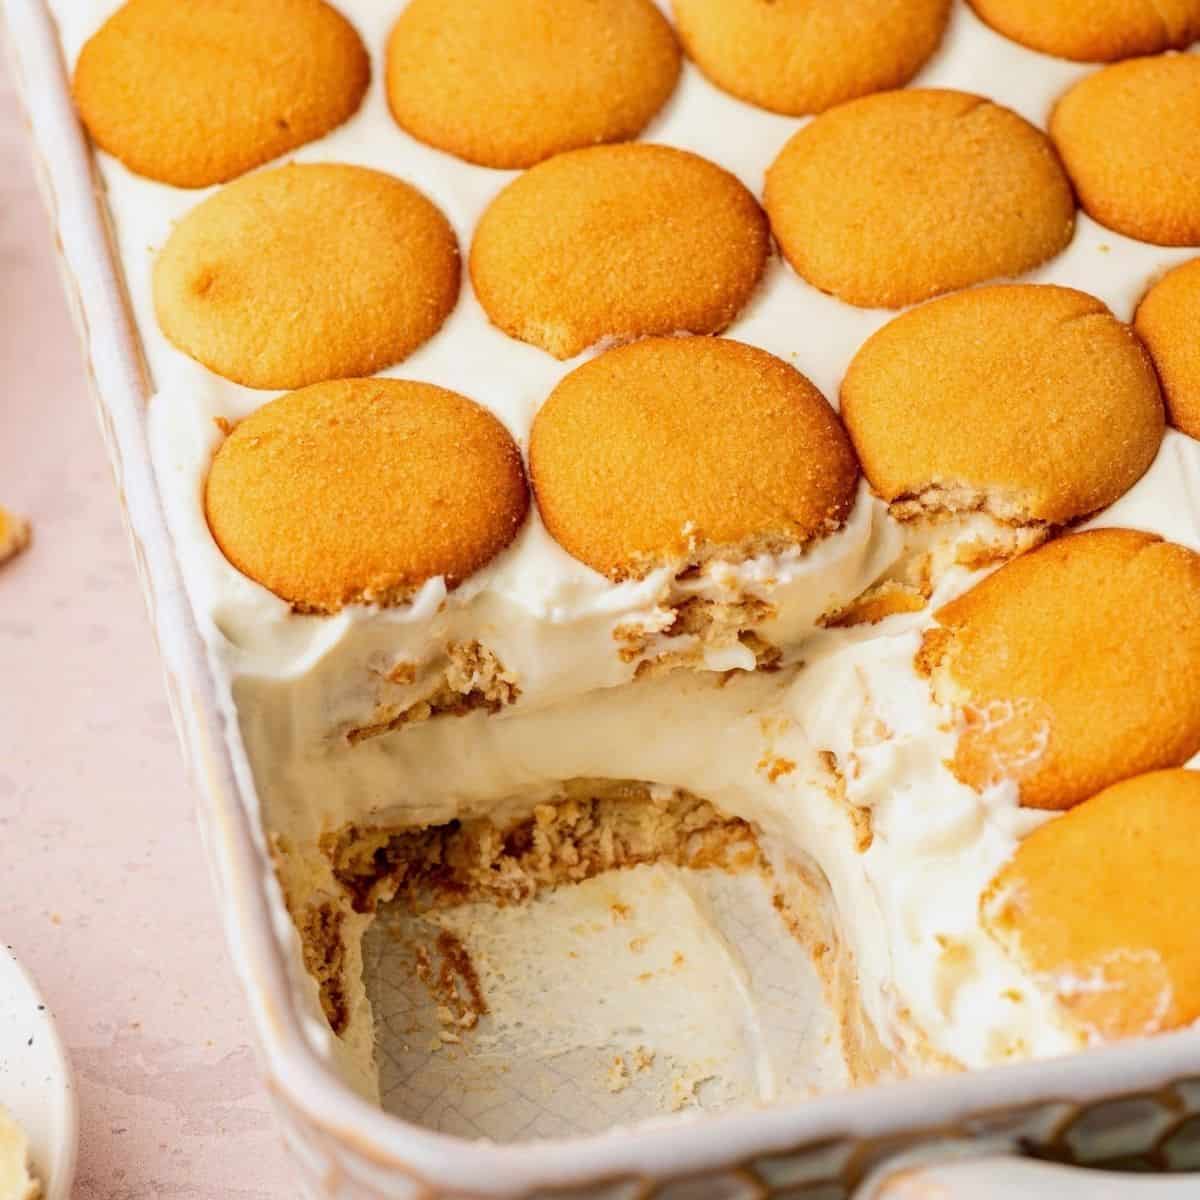
Cover and refrigerate for 6–8 hours before serving. The wafers will soften as they absorb moisture from the pudding, while the filling sets.
Tips for the Best Banana Pudding
- Start with chilled pudding: Warm pudding can deflate the whipped cream and soften the bananas too quickly. Refrigerate homemade pudding until completely cold before assembling.
- Prevent banana browning: Some recipes recommend using lemon, lime, or pineapple juice to keep bananas from browning, but I find that these change the flavor of the dessert. Instead, I slice my bananas just before layering and cover them with pudding right away to limit browning without affecting the taste.
- Don’t rush the chilling time: Four hours is the minimum, but 6–8 hours gives you tender wafers that still hold their shape. After 24 hours, they’ll be much softer.
Homemade vs. Instant Vanilla Pudding
I prefer homemade vanilla pudding because it has a richer vanilla flavor and a smooth, creamy texture. Since pudding makes up such a large part of this dessert, using homemade pudding makes a noticeable difference.
My vanilla pudding recipe makes approximately 2 cups, so you’ll need 1½ batches to get the 3 cups used in this dessert. You can prepare it ahead of time and refrigerate it until you’re ready to assemble everything.
For a quicker option, you can use instant pudding.
Instant pudding shortcut: Whisk two 3.4-ounce boxes of instant vanilla pudding with 3 cups of cold milk. I am intentionally using less milk than the package directions to create a thicker pudding that holds up between the banana and wafer layers. Let it set and chill completely before combining it with the cream cheese mixture.
Either option works, but homemade pudding gives the finished dessert a richer, from-scratch flavor.
Swaps & Variations
Try different cookies: I’ve made this with butter cookies, Chessman cookies, shortbread cookies, and Biscoff cookies instead of vanilla wafers. Regular cookies tend to be sturdier than wafers, so I sometimes mix them together for a little more texture. Depending on the cookies you use, they may need longer to soften.
More Homemade Desserts
If you’re planning a holiday dessert table, my Sweet Potato Pie Recipe is another favorite. Pecan Pie and Pound Cake are great classic options, too. For another fruit-filled dessert, try Blackberry Cobbler or Dutch Apple Pie.
FAQs
At least 4 hours, but 6–8 hours is best. This gives the wafers enough time to soften without losing their structure.
Use ripe but firm bananas, slice them immediately before layering, and cover them with pudding to reduce exposure to air. Some browning over time is normal.
Both styles exist. Some traditional Southern banana pudding recipes use warm custard and a baked meringue topping. This version is served chilled because it contains whipped cream folded into the filling.
Yes. Making it the night before is ideal. It’s best eaten within 6–24 hours after assembly, when the wafers are soft and the bananas are still fresh.
Make-Ahead & Storage
- Make ahead: Prepare the homemade vanilla pudding up to 2 days in advance and refrigerate it until you’re ready to assemble the dessert.
- Store: Cover the assembled banana pudding tightly and refrigerate for up to 2 days for the best texture. It may keep for 3 days, but the bananas will darken and the wafers will become increasingly soft.
- Freeze: I don’t recommend freezing banana pudding. The bananas become watery when thawed, and the creamy filling can separate.
Banana Pudding Recipe
Use DRDAVINAHS at checkout to save on some equipment & ingredients!
Ingredients
- 1 ½ cups heavy whipping cream
- 14 oz sweetened condensed milk, 1 can
- 2 oz Cream Cheese, softened
- 1 teaspoon Vanilla Extract
- 3 cups vanilla pudding, click for my homemade version or see the recipe note about using instant pudding, chilled
- 22 oz vanilla wafer cookies
- 5 medium bananas, yellow with a few brown freckles
Instructions
- Whip the cream: In a medium bowl, whip the heavy cream until stiff peaks form.
- Prepare the cream cheese mixture: Add the softened cream cheese, sweetened condensed milk, and vanilla extract to a large bowl. Beat until smooth and creamy.
- Add the pudding: Add the chilled vanilla pudding and mix until smooth and creamy.
- Fold in the whipped cream: Gently fold the whipped cream into the pudding mixture until light and fluffy.
- Start the layers: Spread a thin layer of pudding across the bottom of a 9×13-inch dish. Arrange a tightly packed layer of vanilla wafers, breaking some in half to fill gaps. Slice the bananas into ¼-inch rounds and arrange them evenly over the wafers, covering the edges and corners.
- Finish the layers: Spread half of the pudding mixture over the bananas, smoothing it to the edges. Repeat with another layer of wafers, bananas, and the remaining pudding mixture. Finish with a tightly packed layer of wafers, rounded side up, filling gaps so the pudding is completely covered.
- Chill and serve: Cover and refrigerate for 6–8 hours, until the wafers soften and the layers set.
SAVE THIS RECIPE
Recipe Notes
- Banana ripeness: Use yellow bananas with a few brown freckles. They should be sweet but firm enough to hold their shape. Slice them just before assembling.
- Chilling: Allow at least 4 hours, although 6–8 hours gives the best texture. The wafers become soft while still holding their shape.
- Cookie variations: Chessman cookies, butter cookies, shortbread cookies, and Biscoff cookies can replace some or all of the vanilla wafers. These sturdier cookies take longer to soften.
Nutrition Details
The nutrition facts come from entering the recipe ingredients into a database of food ingredients. They may vary for any recipe based on the exact product used.














Leave a Reply