This post may contain affiliate links to products I use and highly recommend. You can read my full disclosure . As an Amazon Associate I earn from qualifying purchases.
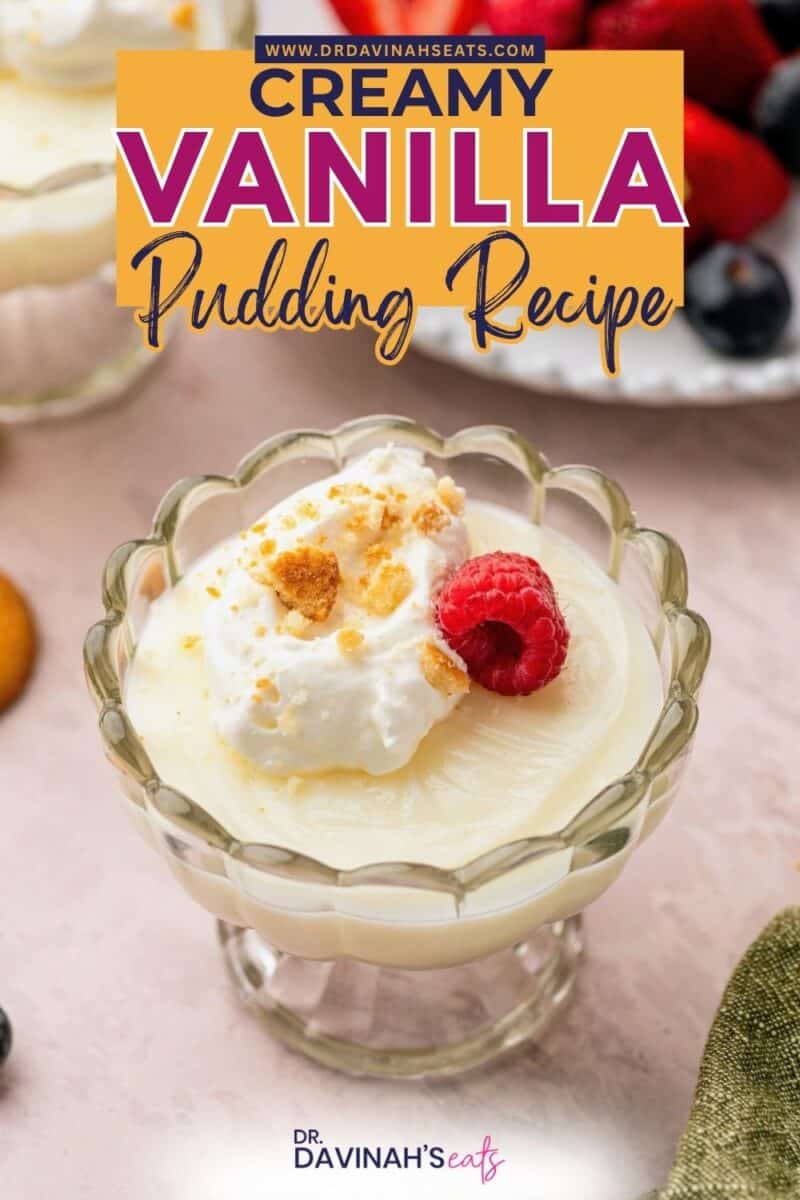
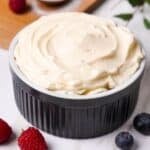
This Vanilla Pudding Recipe is smooth, creamy, and full of classic vanilla flavor. It’s made from scratch with six simple ingredients and no eggs. Everything comes together in one saucepan, making it an easy dessert even if you’ve never made pudding before.
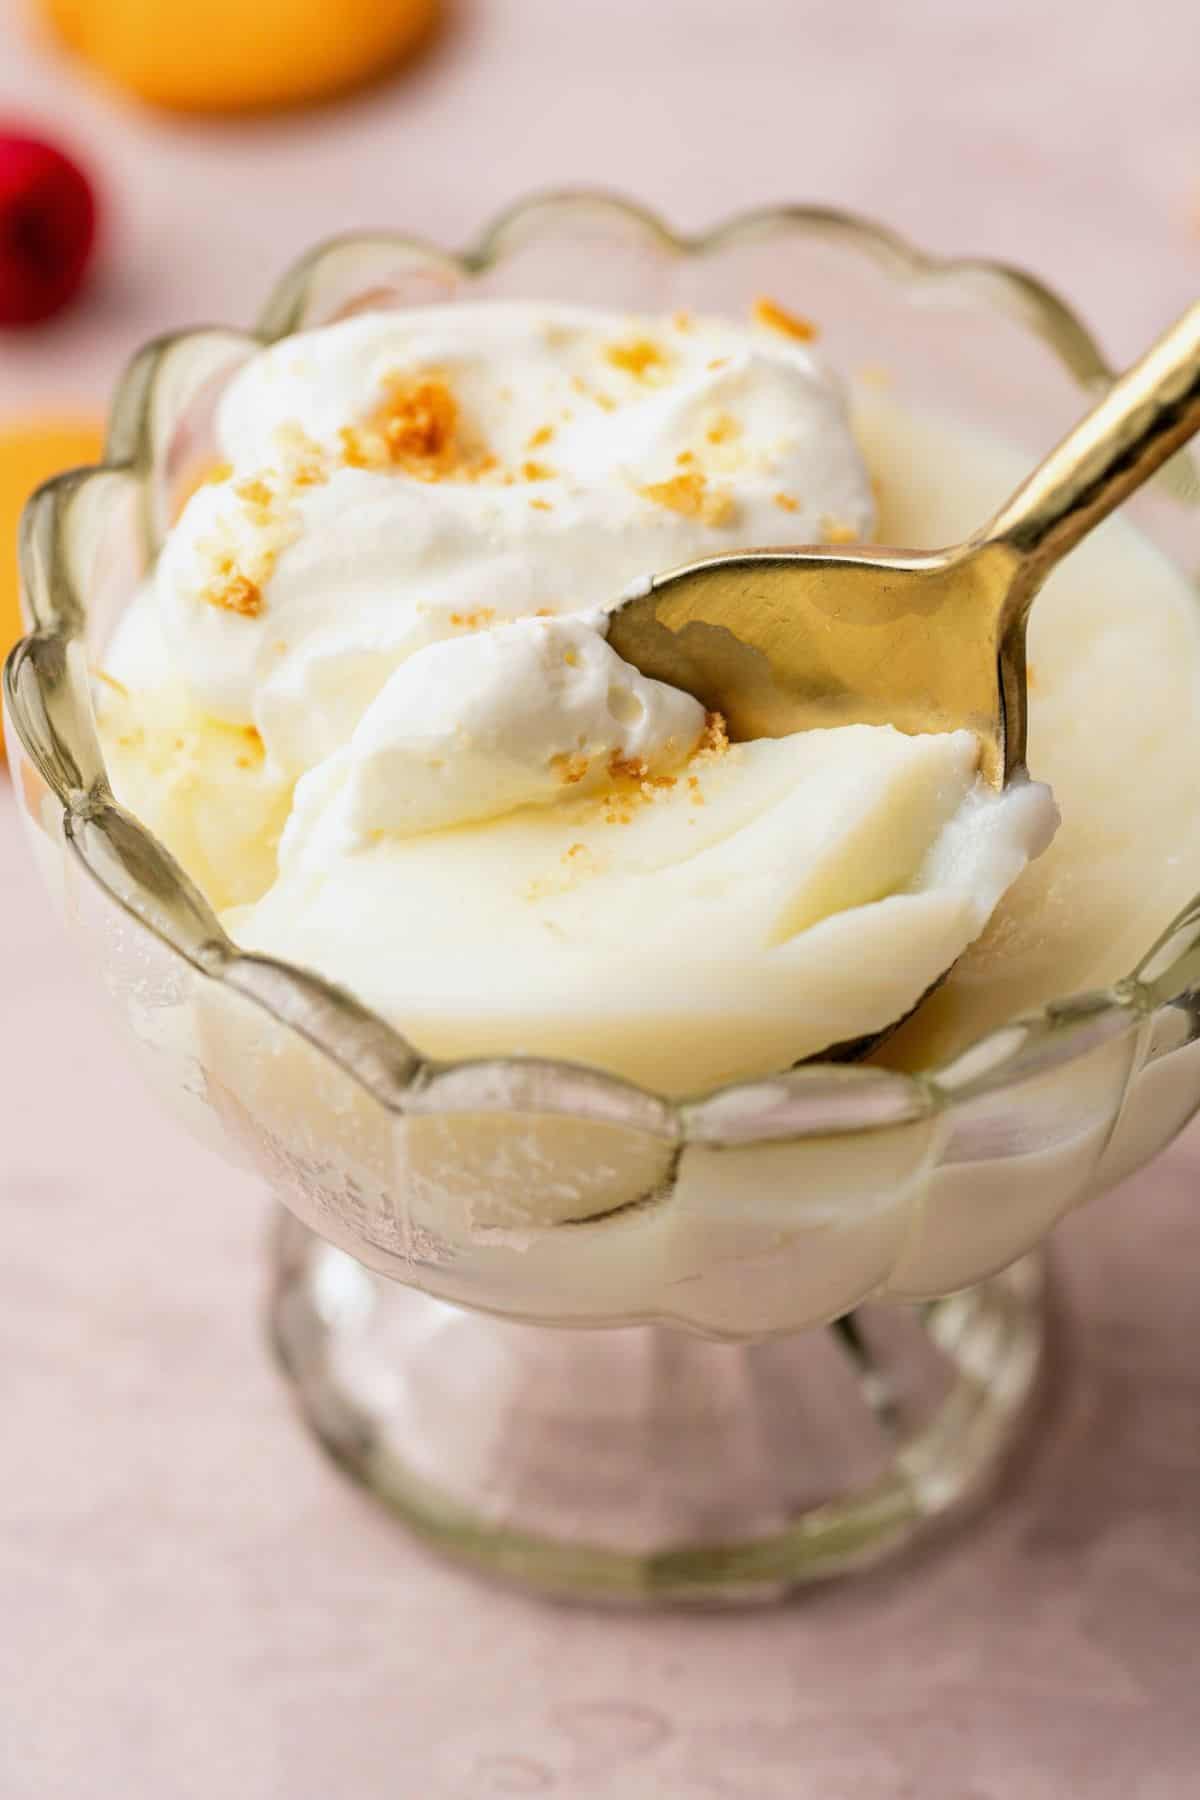
I usually make homemade vanilla pudding to use in desserts like my Banana Pudding, but it’s also delicious on its own, served warm or chilled. Add a little homemade whipped cream, fresh berries, or crushed vanilla wafers for a simple treat.
Why You’ll Love This Recipe
- Easy for beginners: No eggs to temper or special equipment needed. Just whisk the ingredients together and cook until thickened.
- Just six ingredients: Make smooth, creamy vanilla pudding without a boxed mix.
- Enjoy it on its own or in other desserts: Serve it warm or chilled with your favorite toppings, or use it as a homemade alternative to prepared boxed vanilla pudding.
Ingredients Needed
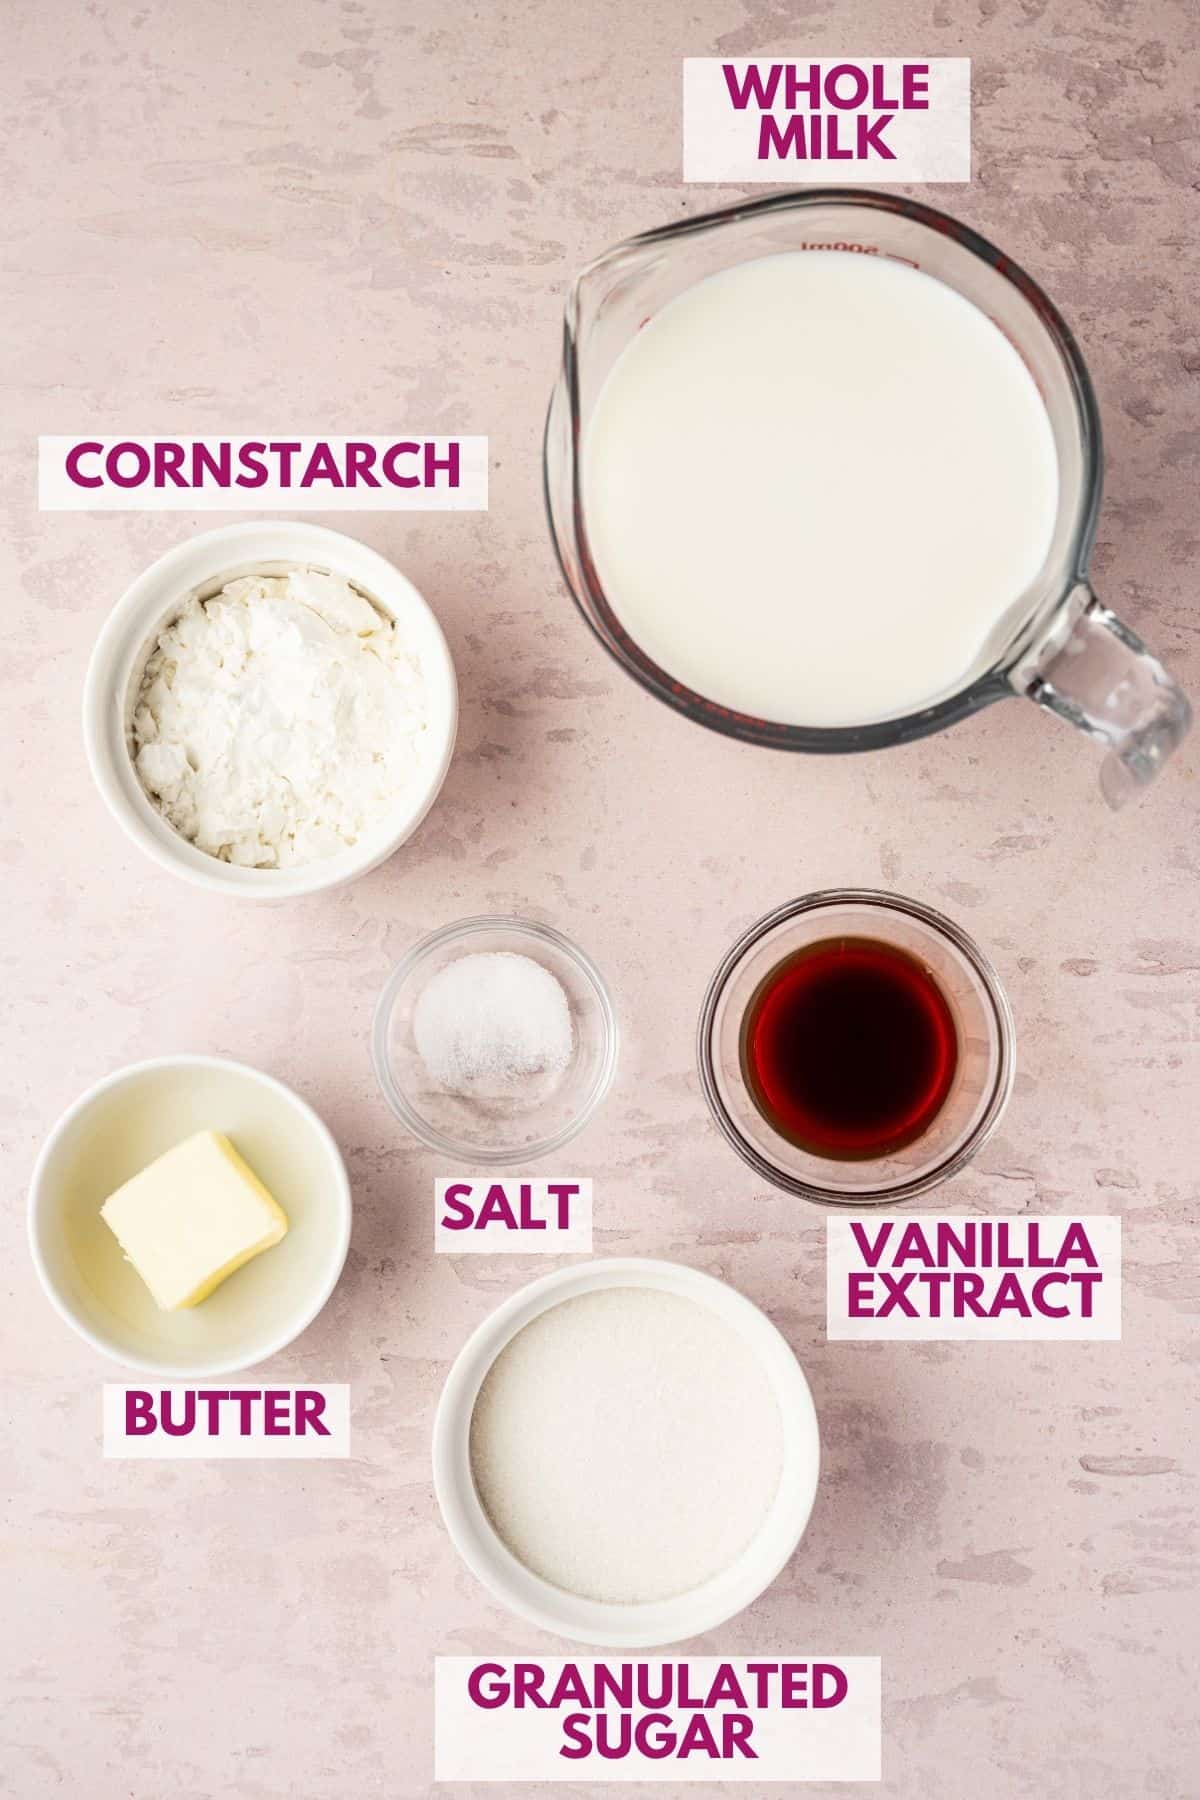
You only need a few ingredients to make vanilla pudding from scratch. Find the exact amounts in the recipe card at the bottom of the post.
- Whole milk: Gives the pudding its creamy texture. I recommend whole milk for the best results.
- Granulated sugar: Sweetens the pudding without overpowering the vanilla.
- Cornstarch: Thickens the pudding without eggs. Measure it accurately so the pudding sets properly.
- Salt: Balances the sweetness and brings out the vanilla flavor.
- Salted butter: Adds richness and gives the pudding a smooth finish.
- Vanilla extract: Gives the pudding its classic flavor. Since vanilla is the main flavor, use a good-quality extract.
How to Make Vanilla Pudding
Follow these steps to make homemade vanilla pudding on the stovetop.
Combine the Dry Ingredients
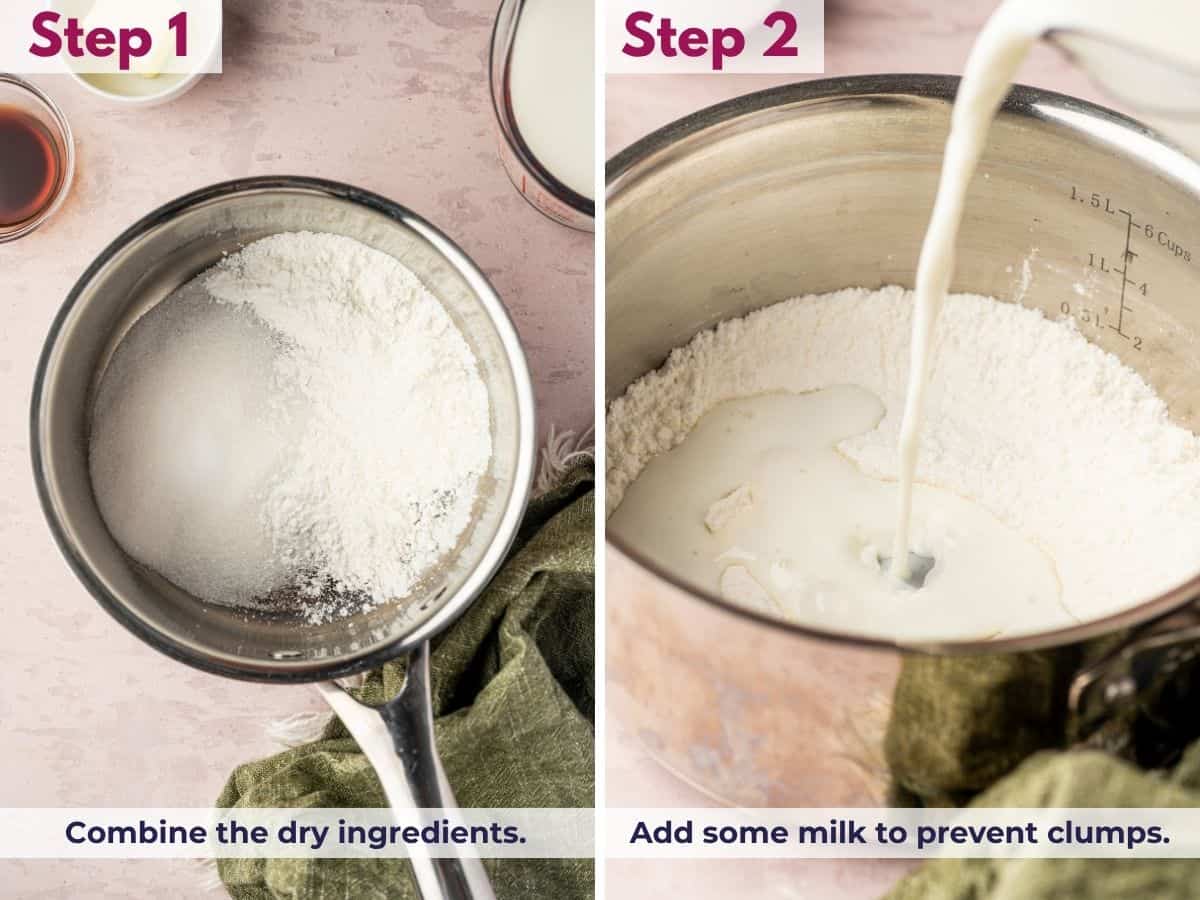
Whisk the sugar, cornstarch, and salt together in a medium saucepan. Mixing these ingredients first helps prevent cornstarch lumps.
Gradually Add the Milk
Slowly whisk in about ½ cup of milk until completely smooth. Once there are no visible lumps, whisk in the remaining milk.
Cook Until Thickened
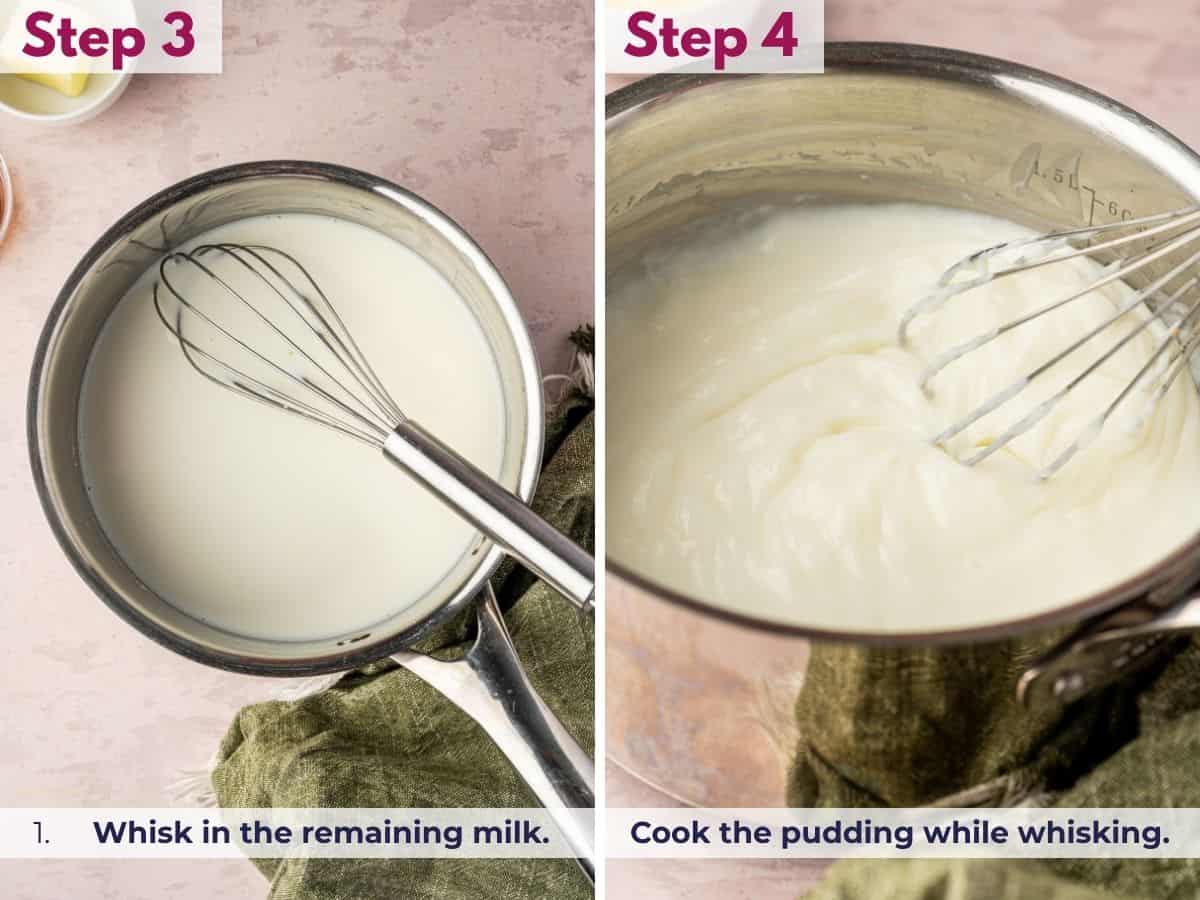
Place the saucepan over medium heat and cook, whisking frequently, for about 5–7 minutes. The mixture will begin to steam and gradually thicken, coating the whisk and leaving visible trails as you stir.
Let the Pudding Bubble
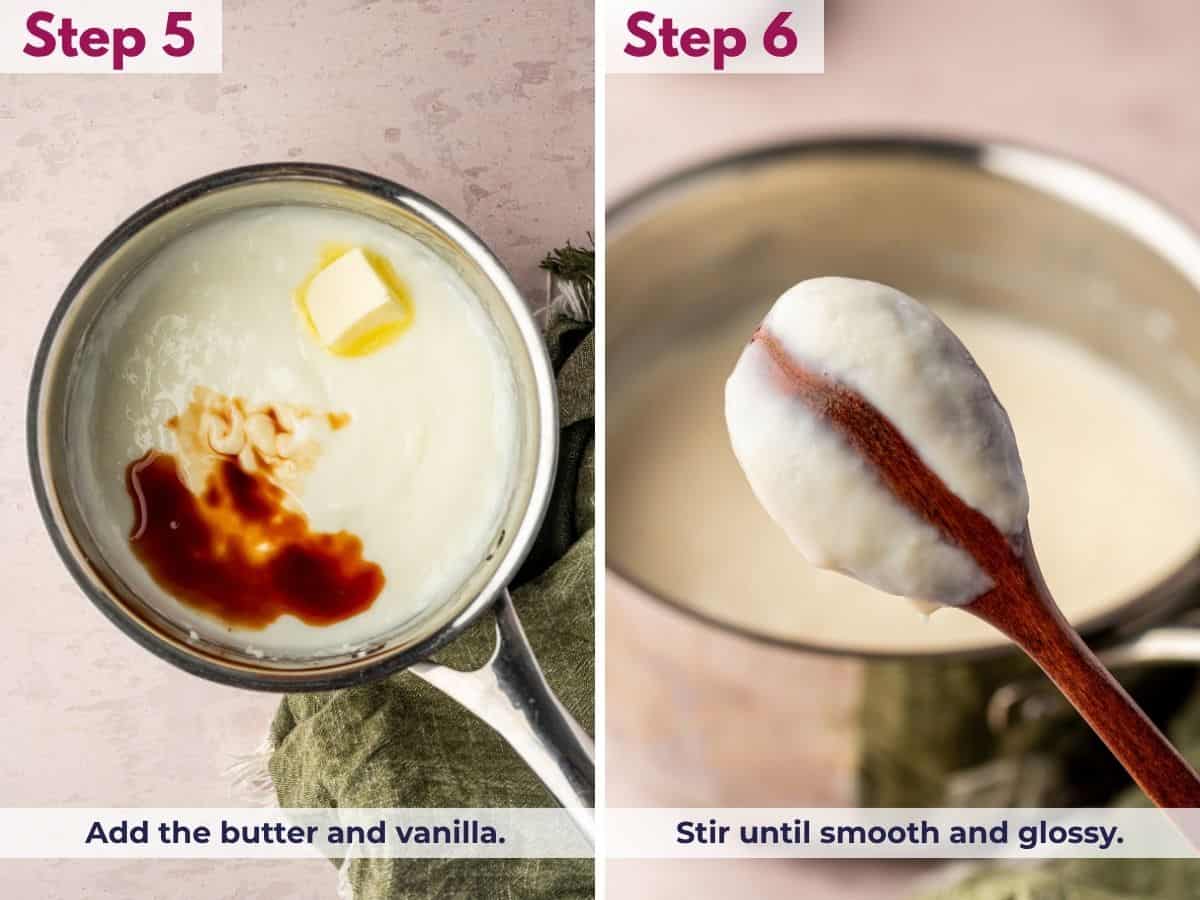
Once gentle bubbles appear, reduce the heat slightly and continue cooking and whisking for about 1 minute. This cooks the cornstarch so the pudding doesn’t have a starchy taste.
Finish and Serve the Pudding
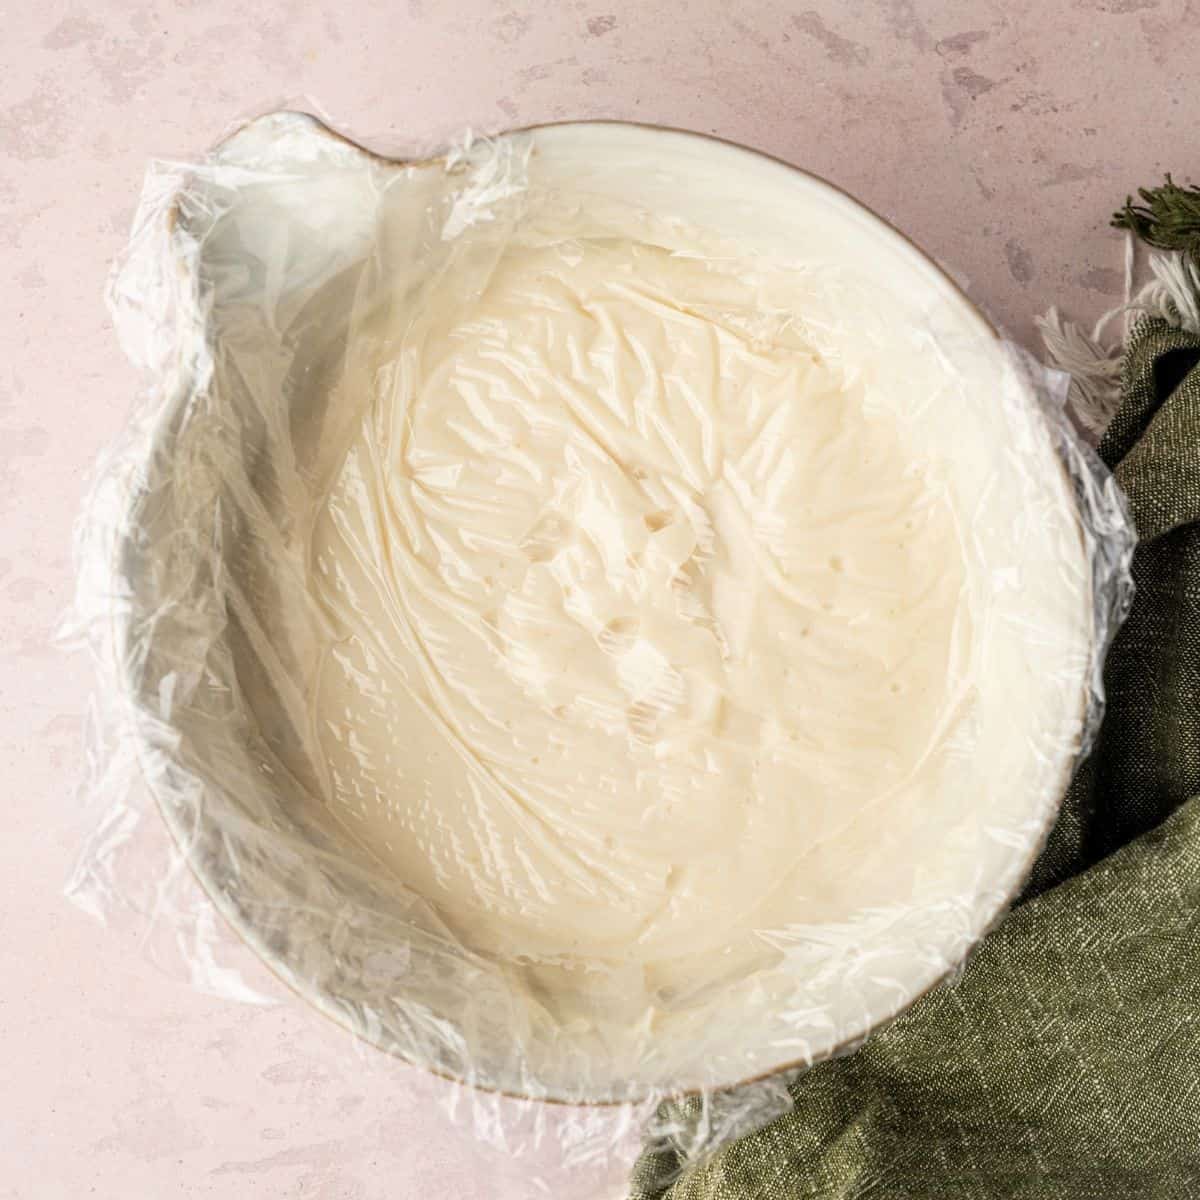
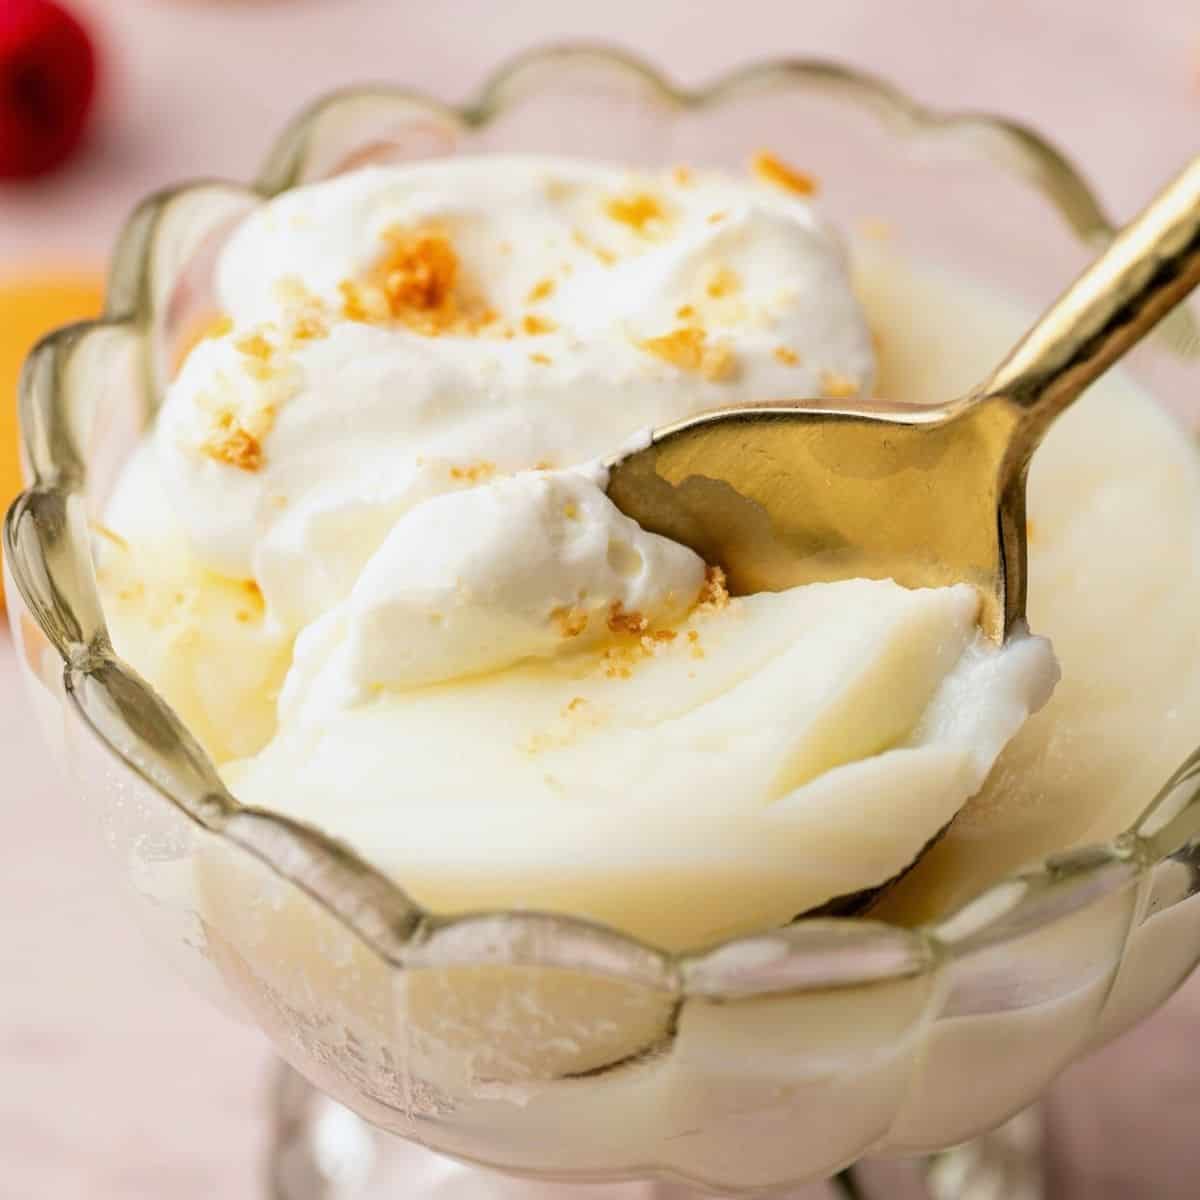
Remove the saucepan from the heat and stir in the butter and vanilla until smooth and glossy. Let the pudding cool for about 10 minutes to serve warm, or transfer it to a bowl, press plastic wrap directly against the surface, and refrigerate for 2–3 hours to serve chilled.
SAVE THIS RECIPE
Tips for the Best Homemade Vanilla Pudding
- Know when it’s thick enough: The pudding should coat the back of a spoon. If you drag a spatula across the bottom of the saucepan, the pudding should slowly close back together.
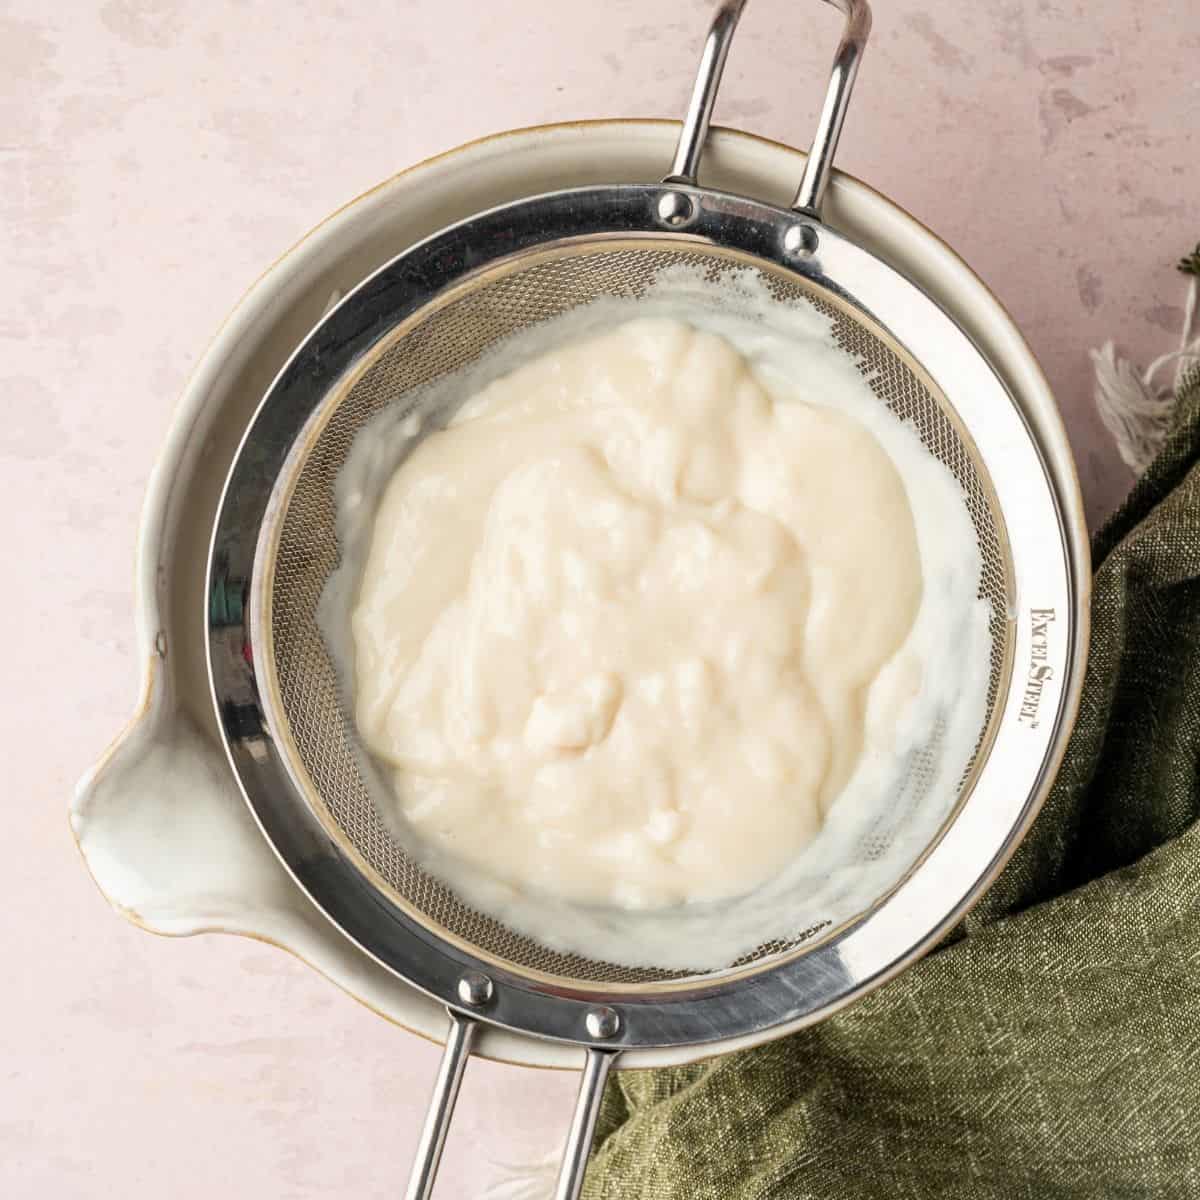
- Fix lumps before chilling: If the pudding isn’t completely smooth, pour it through a fine-mesh strainer while it’s still warm.
- Prevent a skin: Press plastic wrap directly against the pudding’s surface before refrigerating. Skip this if you enjoy pudding skin.
- Chill it for layered desserts: Warm pudding is softer and looser. Refrigerating makes it thicker and easier to layer with other ingredients.
Can You Make Vanilla Pudding With or Without Eggs?
Yes! Both versions make creamy homemade vanilla pudding, but the flavor and texture are a little different.
I prefer making this recipe without eggs because it’s easier for beginners. Cornstarch thickens the pudding, so there’s no need to temper egg yolks or worry about scrambling them.
- Without egg yolks: The pudding is lighter in color, has a clean vanilla flavor, and is smooth and slightly softer.
- With egg yolks: The pudding is richer, pale yellow, and silkier, with a more custard-like texture.
How to Make Vanilla Pudding With Egg Yolks
For the richer version, use 2 egg yolks and reduce the cornstarch from 3 tablespoons to 2½ tablespoons. Keep the milk and other ingredients the same.
- Whisk the egg yolks in a small bowl.
- Heat the milk mixture as directed. Before it fully thickens, gradually whisk about ½ cup of the hot mixture into the yolks.
- Slowly whisk the tempered yolks back into the saucepan.
- Continue cooking over medium-low heat, whisking until the pudding thickens.
Tempering warms the yolks gradually so they don’t scramble when added to the hot milk.
Swaps & Variations
- Try eggnog pudding: I sometimes replace half of the milk with eggnog for a holiday-inspired pudding. Simply use 1 cup of whole milk and 1 cup of eggnog instead of 2 cups of whole milk. Since eggnog is already sweetened and can be thicker than milk, you may want to adjust the sugar to suit your taste.
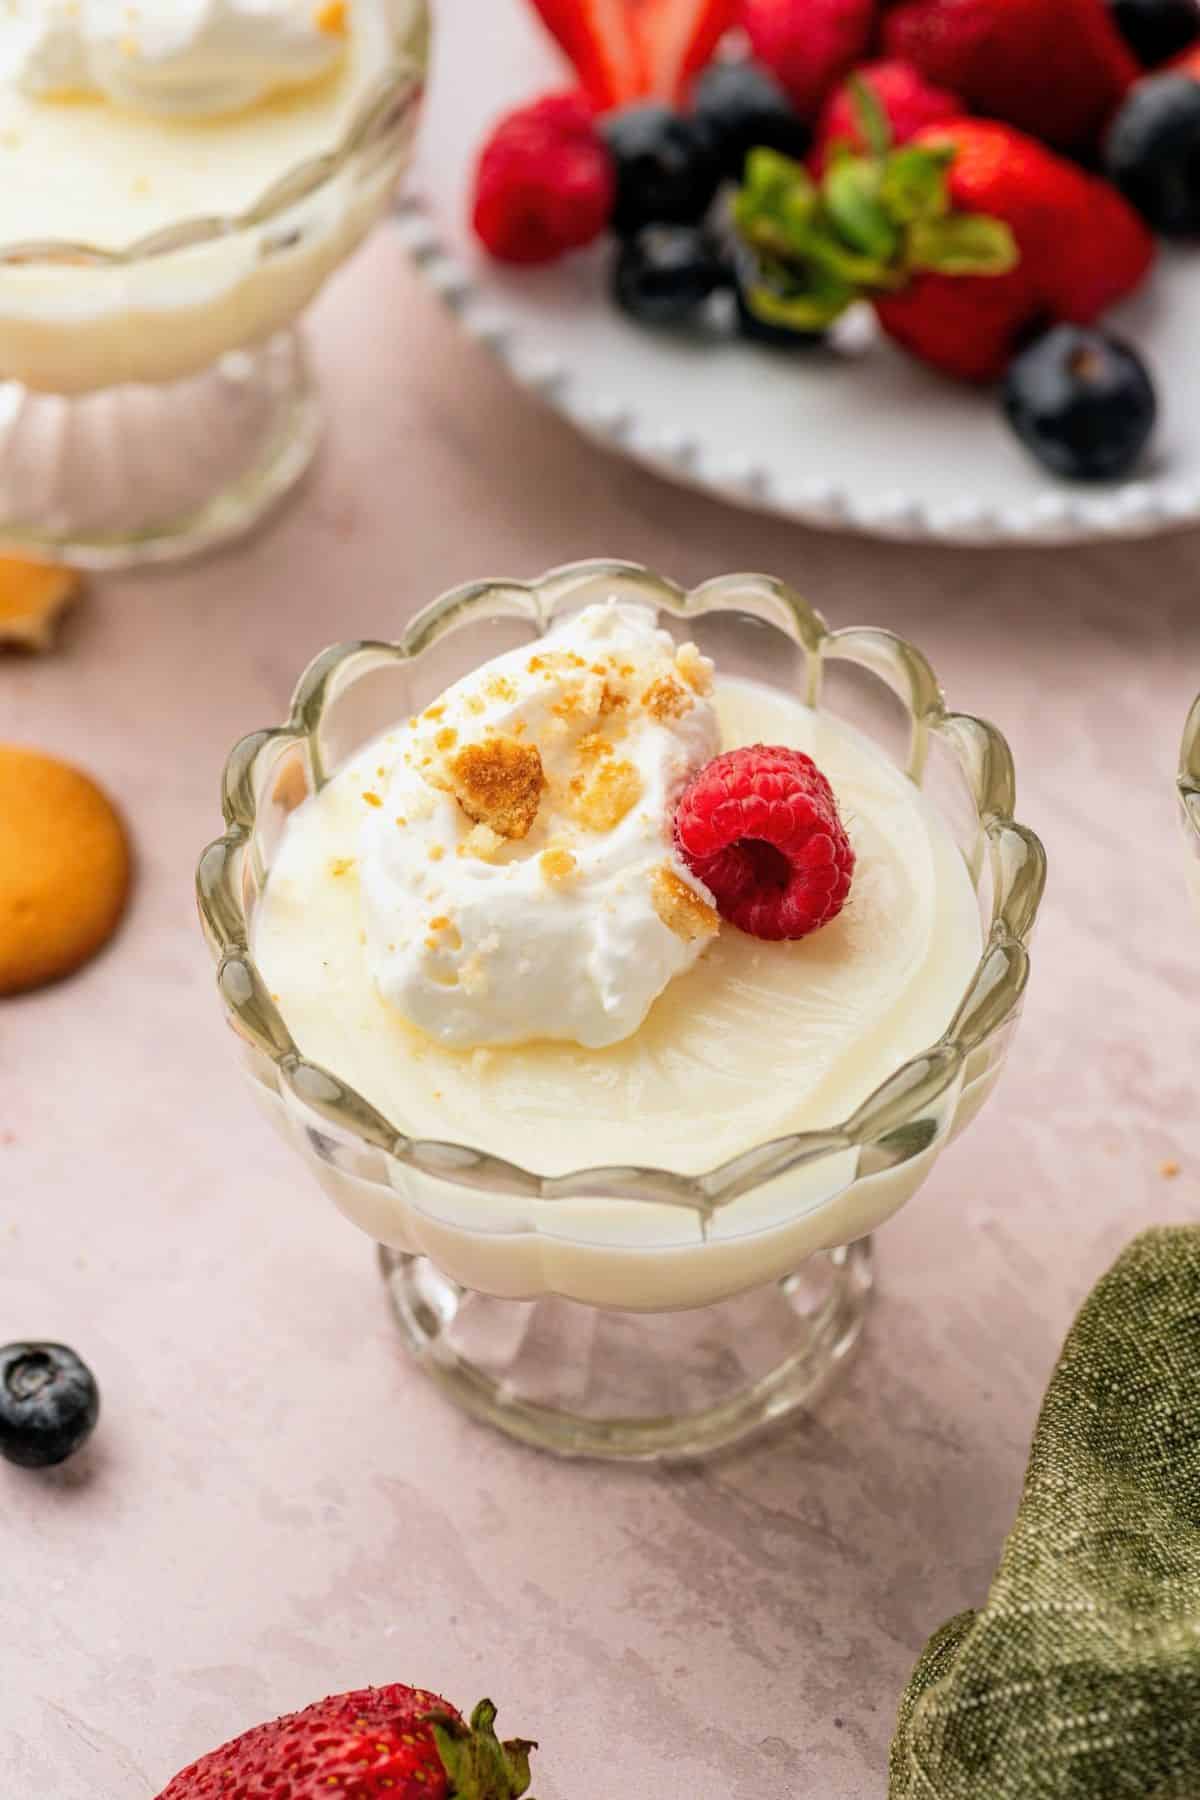
- Add your favorite toppings: Serve the pudding with homemade whipped cream, crushed Nilla wafers, or fresh berries.
Ways to Serve and Use Vanilla Pudding
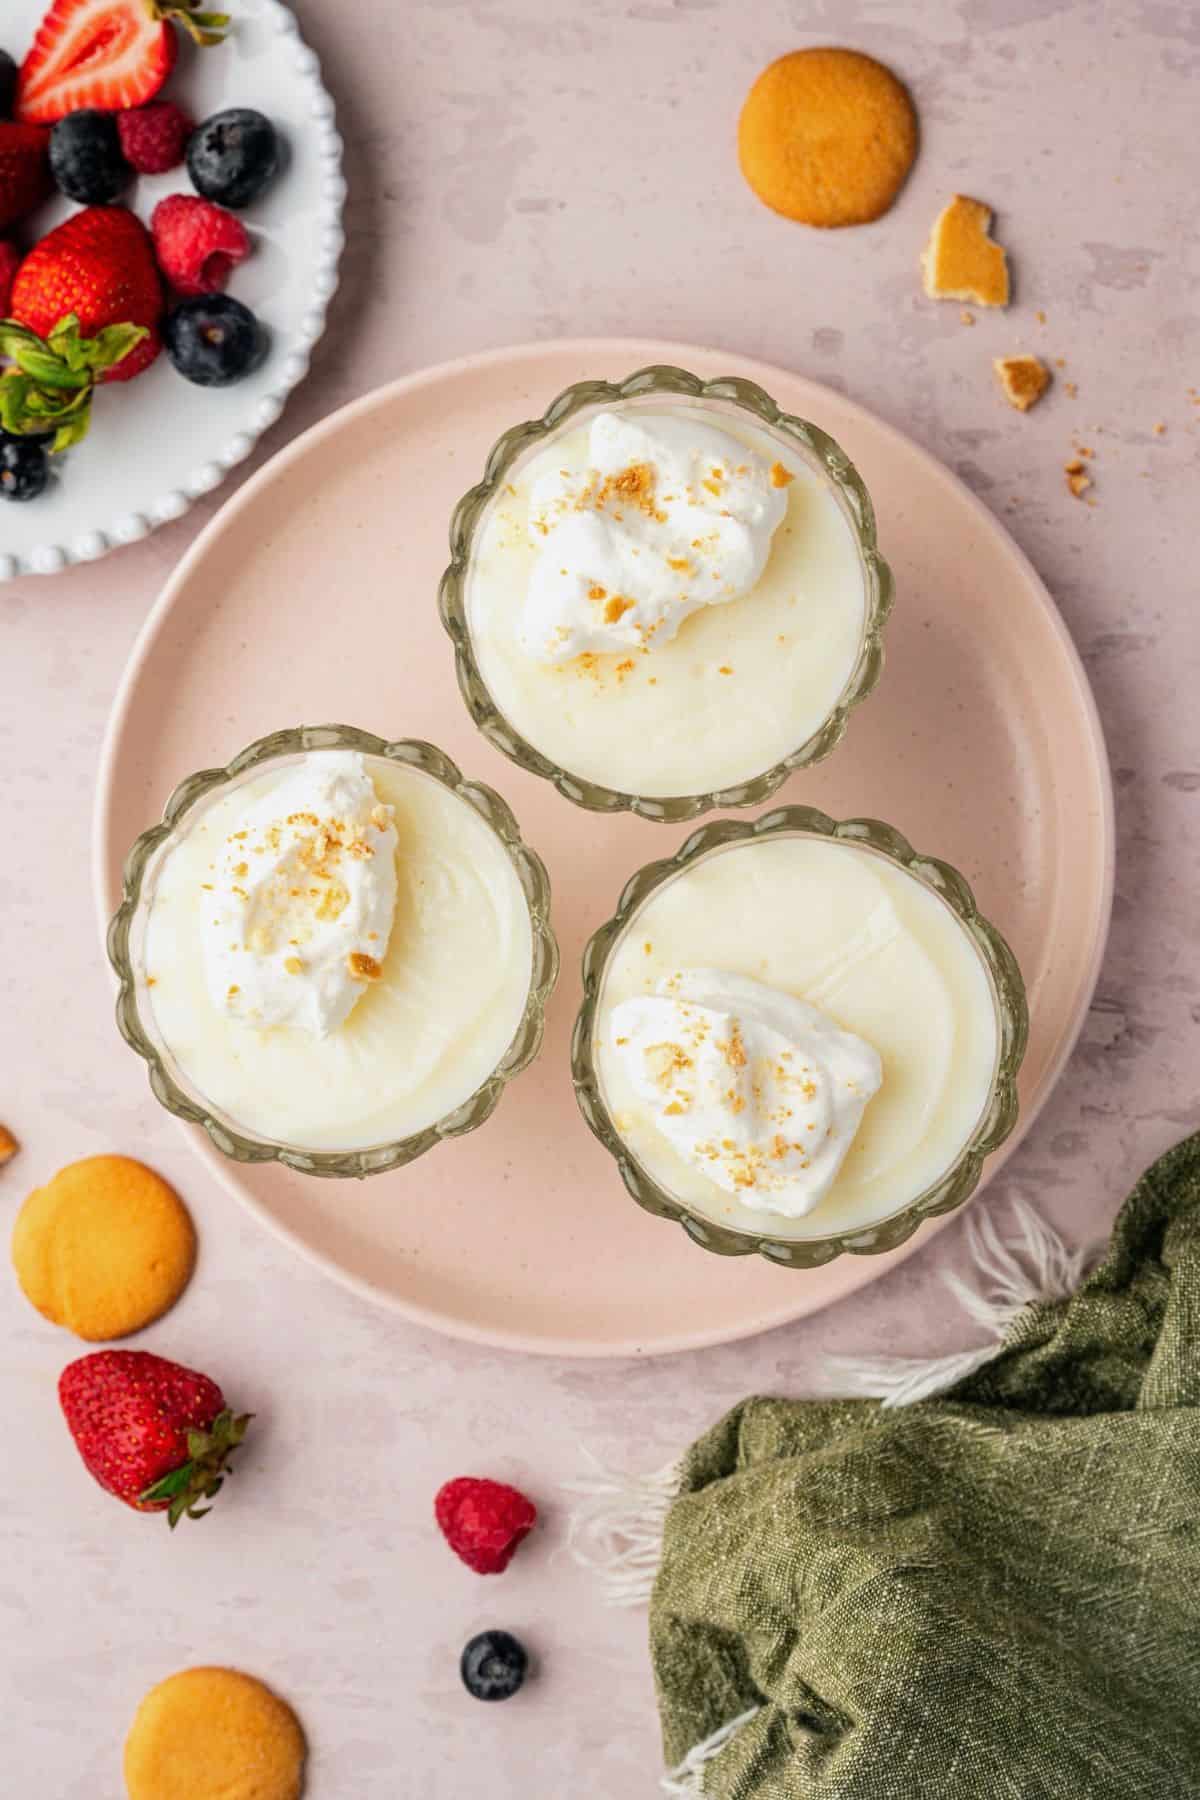
This recipe makes approximately 2 cups of pudding, or four ½-cup servings.
- Enjoy it on its own: Serve warm or chilled with fresh berries, crushed Nilla wafers, or whipped cream.
- Make Banana Pudding: Chill the homemade vanilla pudding completely before using it in my Banana Pudding Recipe.
- Make parfaits: Layer chilled pudding with crushed cookies, berries, and whipped cream.
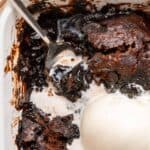
If you’re looking for another easy homemade dessert, try my Chocolate Pudding Cake. It has a soft chocolate cake layer with a warm, fudgy sauce underneath.
How Much Instant Pudding Does This Recipe Replace?
This recipe makes approximately 2 cups of homemade vanilla pudding, the same amount as one 3.4-ounce box of instant vanilla pudding prepared with 2 cups of milk. If you’re making a dessert that calls for that amount of prepared vanilla pudding, you can use this homemade version instead. Just chill it completely before adding it to your dessert.
Storage & Make Ahead
- Make ahead: Prepare the pudding 2–3 days before serving. Keep it refrigerated until you’re ready to use it.
- Store: Keep homemade vanilla pudding covered in the refrigerator for up to 3 days.
- Freeze: I don’t recommend freezing this pudding. Cornstarch-thickened pudding can become watery or grainy after thawing.
- Reheat: Warm individual portions gently in a saucepan over low heat, stirring frequently. Add a small splash of milk if needed to loosen the consistency.
FAQs
The mixture needs to reach a gentle bubble for the cornstarch to fully thicken it. Continue cooking and whisking until it thickens, then cook for another minute. The pudding will also become firmer as it cools.
Whole milk gives this pudding its creamy texture. Lower-fat milk can work, but the pudding may be less rich. You can also experiment with other milk drinks, like eggnog, although the sweetness and consistency may change.
Vanilla Pudding Recipe
Use DRDAVINAHS at checkout to save on some equipment & ingredients!
Ingredients
- 2 cups whole milk
- ⅓ cup White Sugar, granulated
- 3 tablespoons cornstarch
- ¼ teaspoon Natural Ancient Sea Salt
- 1 tablespoon Butter, salted
- 1 ½ teaspoon Vanilla Extract
Instructions
- Combine the dry ingredients: Add the sugar, cornstarch, and salt to a medium saucepan. Whisk until evenly combined.
- Add the milk: Slowly whisk in about ½ cup of the milk until smooth and no cornstarch lumps remain. Whisk in the remaining milk.
- Cook the pudding: Place the saucepan over medium heat. Cook, whisking frequently, for 5–7 minutes, or until the mixture begins to steam and noticeably thicken.
- Finish thickening: Once the pudding begins to bubble gently, reduce the heat slightly. Continue cooking and whisking for 1 minute to fully cook the cornstarch.
- Add the butter and vanilla: Remove the saucepan from the heat. Stir in the butter and vanilla extract until the butter melts and the pudding is smooth and glossy.
- Serve or chill: For warm pudding, let it cool for about 10 minutes before serving. For chilled pudding, transfer it to a bowl and press plastic wrap directly against the surface to prevent a skin from forming. Refrigerate for 2–3 hours, or until chilled and set.
SAVE THIS RECIPE
Recipe Notes
- Boxed pudding equivalent: This recipe makes about 2 cups of pudding, the same yield as one 3.4-ounce box of instant vanilla pudding prepared according to the package directions. Chill the homemade pudding completely before using it in other desserts.
- Optional toppings: Serve with whipped cream, crushed Nilla wafers, or fresh berries.
Nutrition Details
The nutrition facts come from entering the recipe ingredients into a database of food ingredients. They may vary for any recipe based on the exact product used.









Leave a Reply