

This post may contain affiliate links to products I use and highly recommend. You can read my full disclosure . As an Amazon Associate I earn from qualifying purchases.
All Butter Pie Crust is a flaky, buttery homemade pie crust you can use for sweet pies, savory pies, and pot pies. I make it when I want a from-scratch crust that works with simple ingredients I usually have on hand.
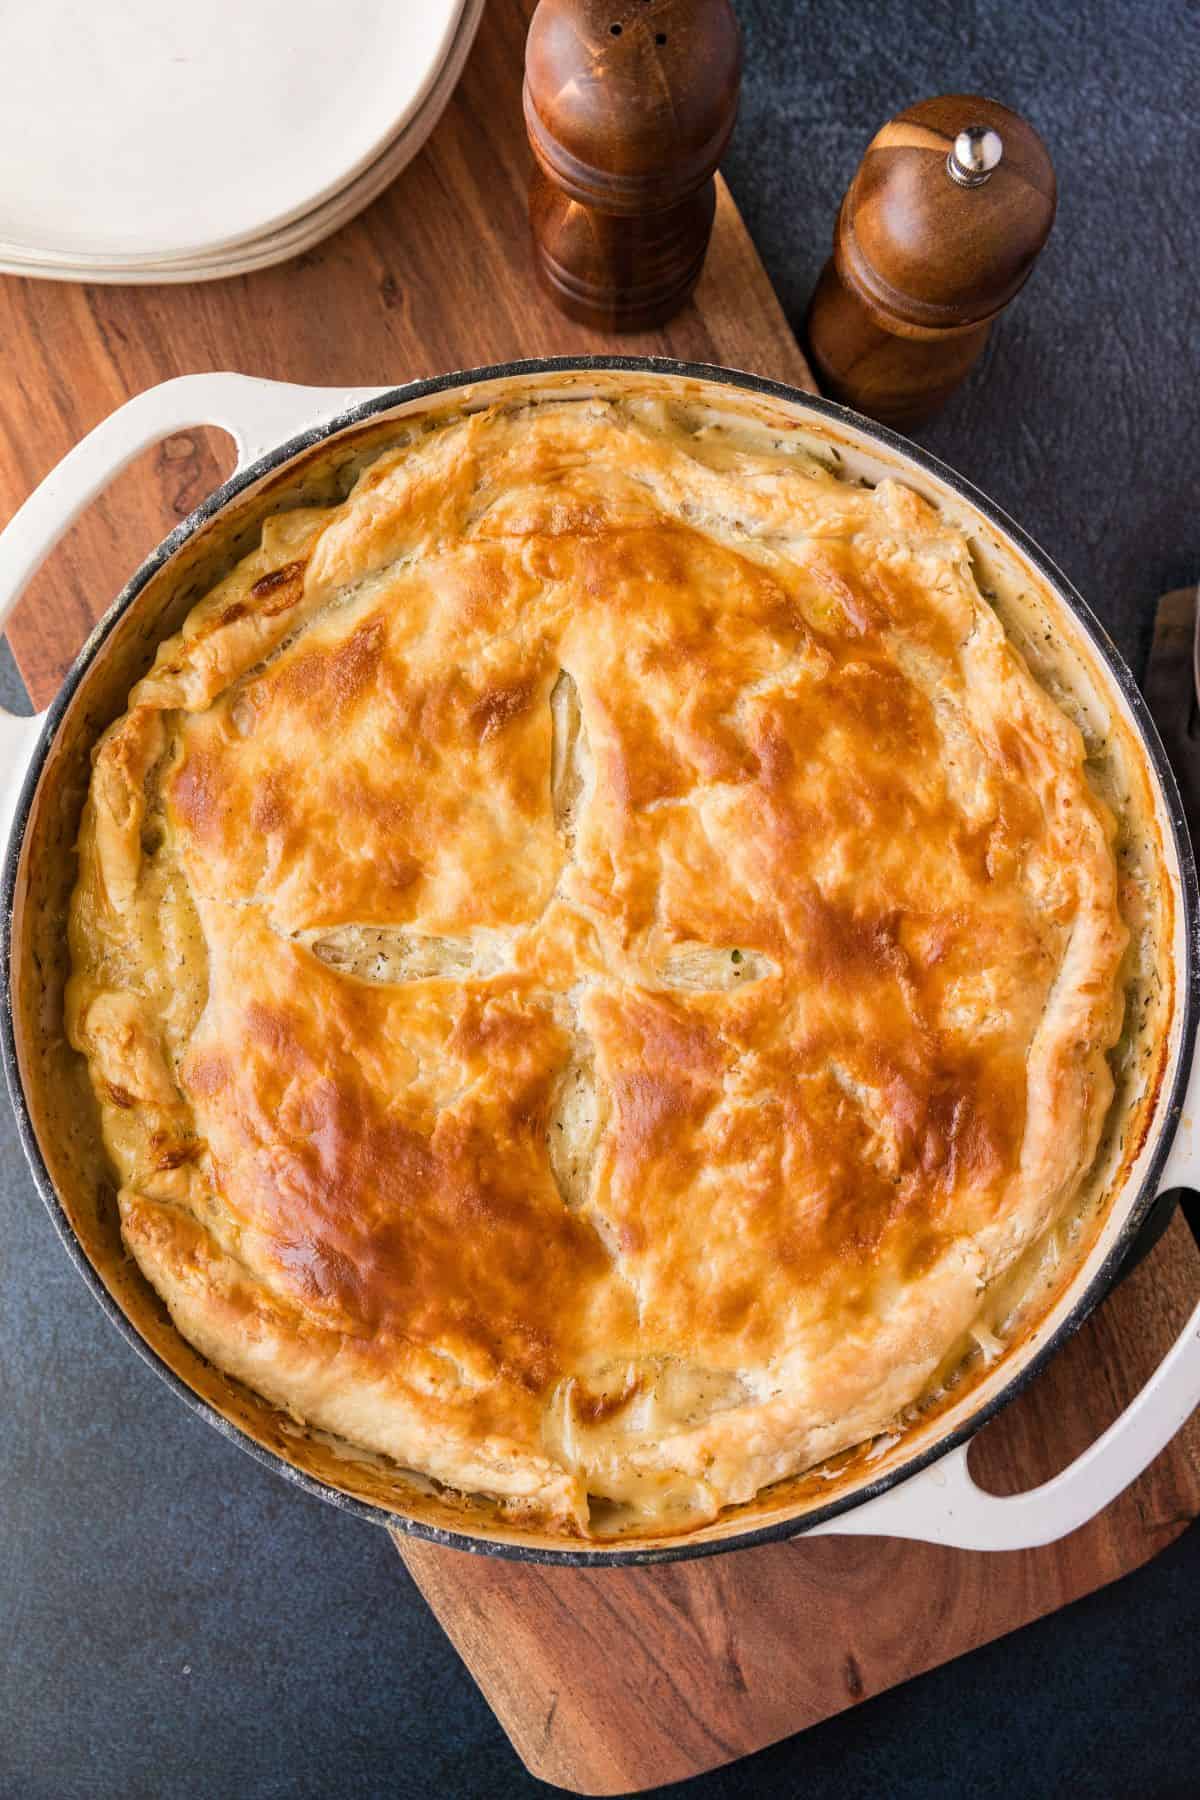
This is the crust to keep ready for holiday baking, especially if you’re making Sweet Potato Pie, Pumpkin Pie with Sweetened Condensed Milk, or Skillet Chicken Pot Pie. It works as a bottom crust, top crust, or double crust, so you can use it for pies, cozy dinners, and Thanksgiving meal prep.
Why You’ll Love This All Butter Pie Crust
- It uses simple ingredients: You only need flour, salted butter, salt, and cold water.
- It has buttery flavor: Salted butter and enough added salt keep the crust from tasting flat.
- It works for sweet and savory recipes: Use it for pies, quiche, pot pies, and holiday baking.
- You can make it ahead: Chill the dough for a few days or freeze it for later.
- It gives you options: Use it as a bottom crust, top crust, or double crust depending on the recipe.
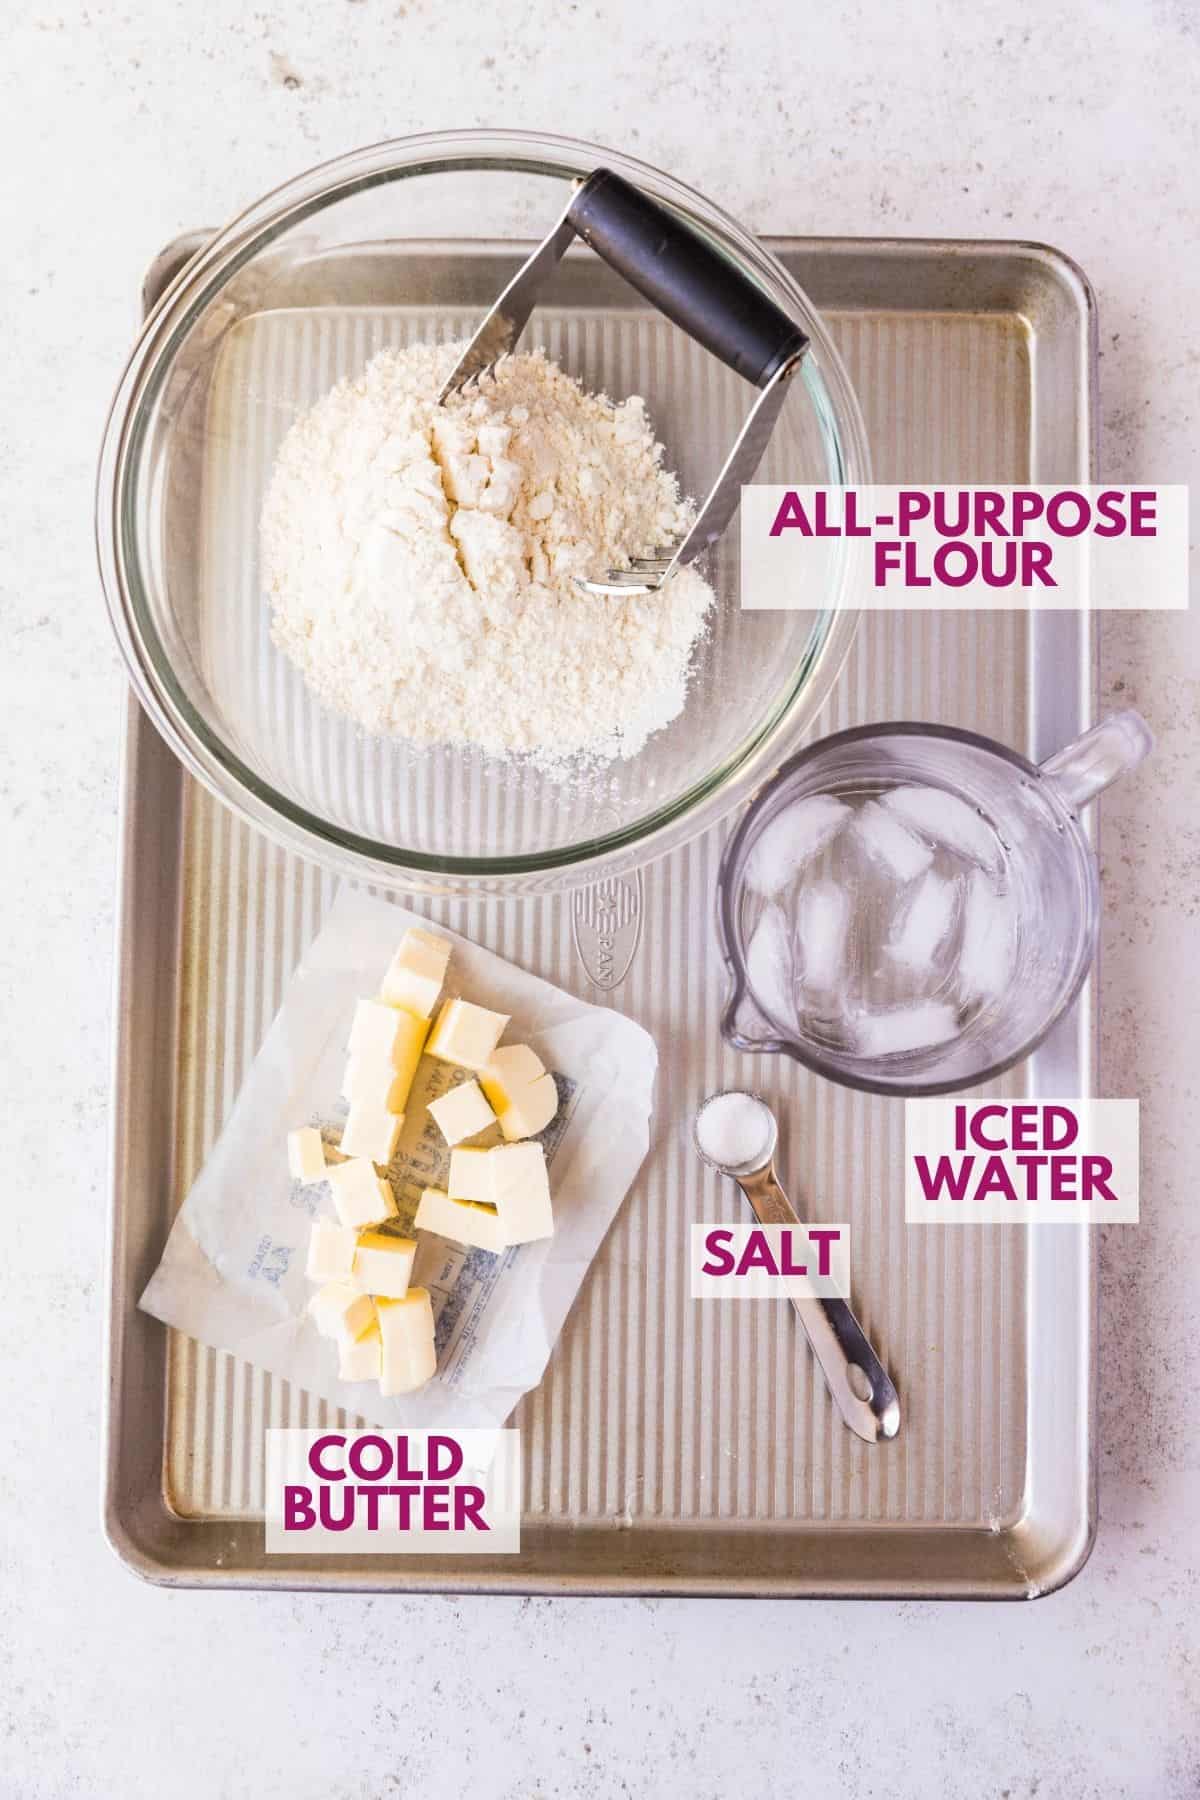
Ingredients You’ll Need
The ingredients are simple, but these small details help the dough come together without overworking it.
- All-purpose flour: Use fresh flour that is not past its expiration date. Flour can taste stale over time. You can sift the flour with the salt to mix them evenly, but whisking works too.
- Salt: I use enough salt to give the crust flavor, even with salted butter. This keeps the crust from tasting flat without making it taste salty.
- Cold salted butter: Keep the butter in the refrigerator until you are ready to cut it. Then cut it into cubes and add it to the flour right away. The cubes are easier to work in quickly, which helps the butter stay cold and leaves small visible pieces for a flaky crust.
- Cold water: Add enough cold water for the dough to gather, but do not worry if it does not form a smooth ball in the bowl. Some loose flour is okay because the dough will finish coming together once you press it into a disk with plastic wrap.
How to Make All Butter Pie Crust
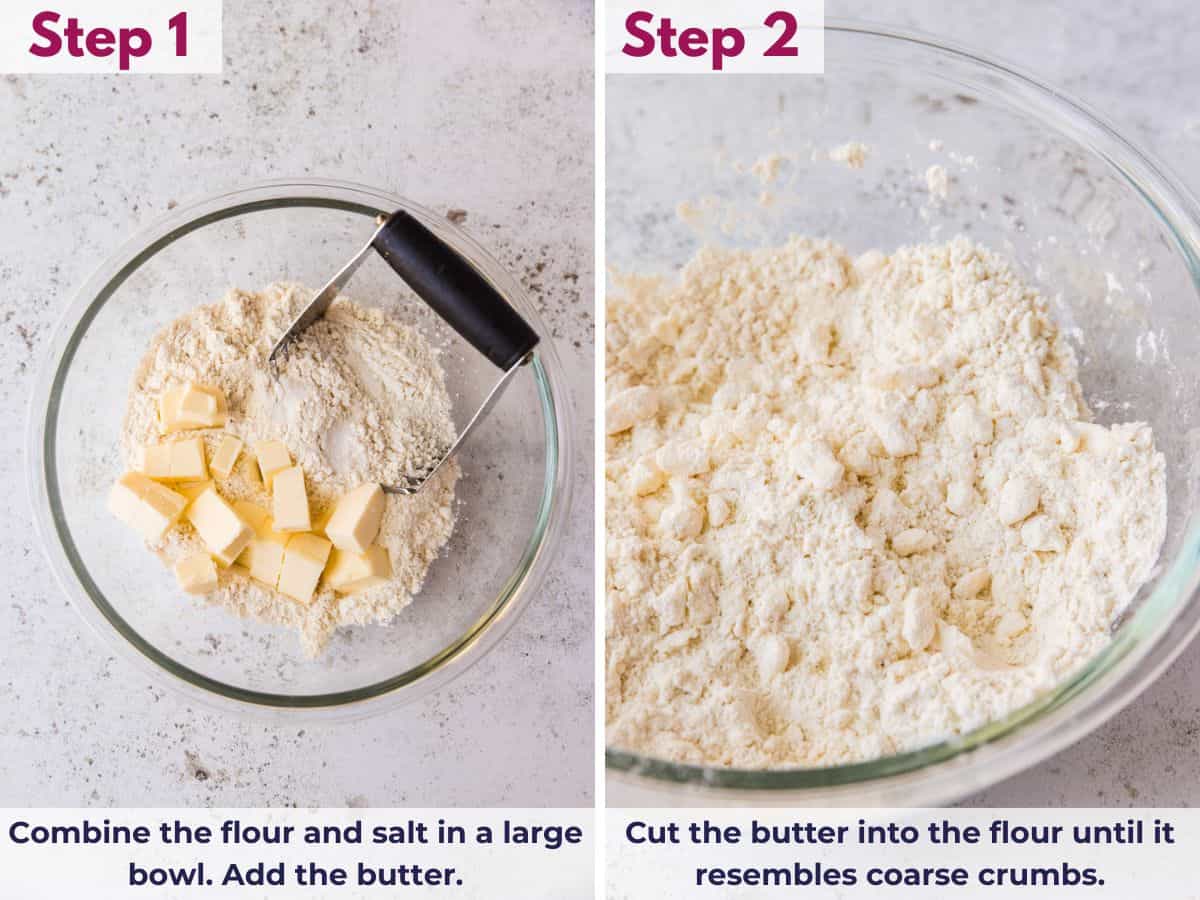
Use the step photos as your guide. At this point, you’re just making the dough and chilling it. Rolling and baking come later.
Mix the flour and salt
Sift or whisk the flour and salt together so the salt is evenly mixed before the butter goes in.
Cut in cold butter
Keep the butter in the refrigerator until you are ready to use it. Cut it into cubes, then work it into the flour until small pea-sized pieces are still visible.
Add just enough cold water
Start with 1/3 cup cold water, then add 1 to 2 tablespoons more only if needed. Some loose flour is okay. The dough just needs to gather enough to pile onto plastic wrap.
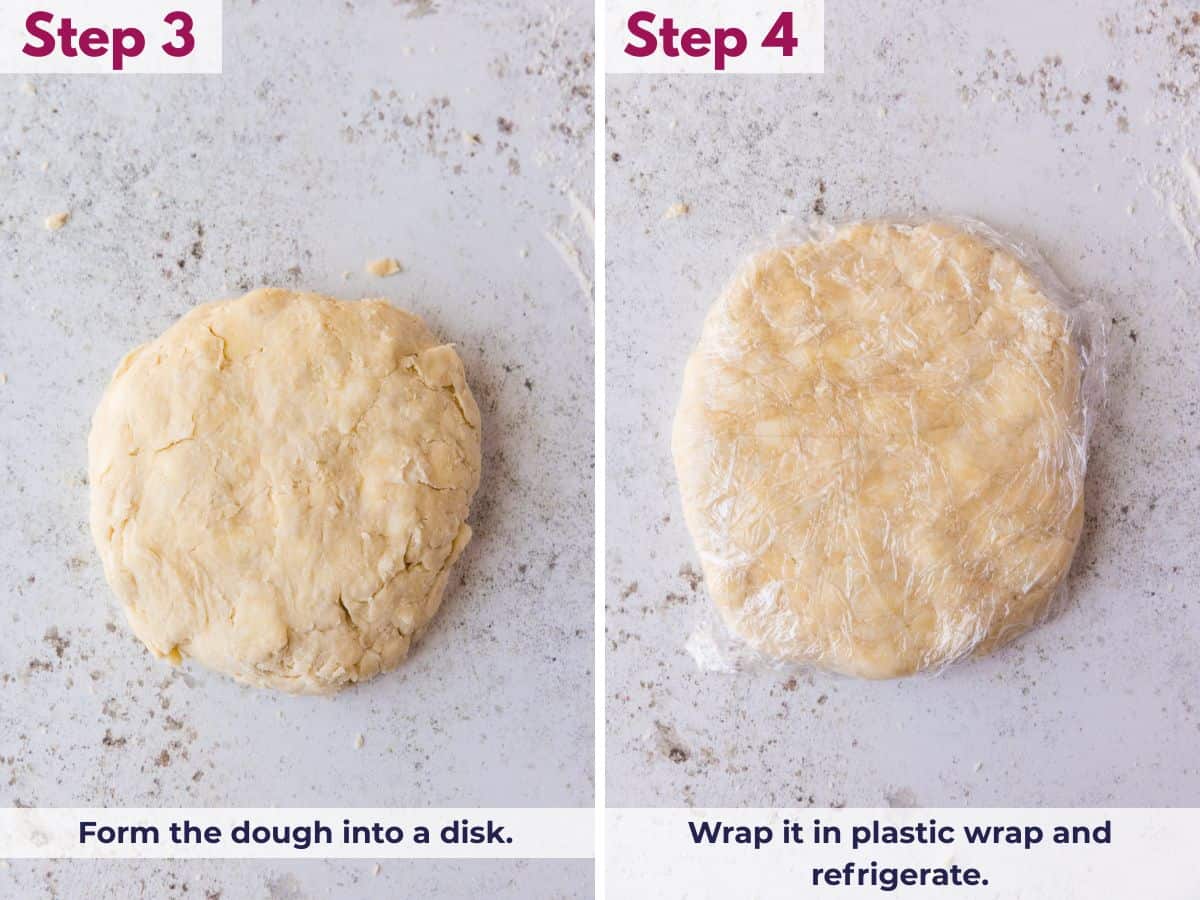
Gather with plastic wrap
Pile the dough and any loose flour onto plastic wrap. Seal it, then press the dough into a disk. This helps bring it together without overmixing.
Chill before rolling
Chill the wrapped dough for at least 30 minutes before rolling. One hour is even better when you have the time.
What the Dough Should Look Like
The dough should look a little shaggy, not smooth like bread dough. You should still see small pieces of butter in it.
Some flour at the bottom of the bowl is fine. The goal is for the dough to gather enough that you can pile it onto plastic wrap, seal it, and press it into a disk.
If the dough will not gather in the plastic wrap, add 1 tablespoon of cold water at a time, up to 1 to 2 tablespoons extra. Stop as soon as it comes together so you do not add more water than you need.
How Long to Chill, Store, and Freeze Pie Dough
Chill the wrapped dough for at least 30 minutes before rolling. One hour is ideal when you have the time because it gives the butter more time to firm back up and helps the dough roll more easily.
You can keep wrapped pie dough in the refrigerator for up to 3 days. If you want to make it further ahead, freeze it instead.
SAVE THIS RECIPE
To freeze pie dough, wrap the disk tightly in plastic wrap, then place it in a freezer-safe bag or container. Freeze for up to 3 months. Thaw frozen dough overnight in the refrigerator before rolling. If it feels too firm after chilling or thawing, let it sit at room temperature for a few minutes.
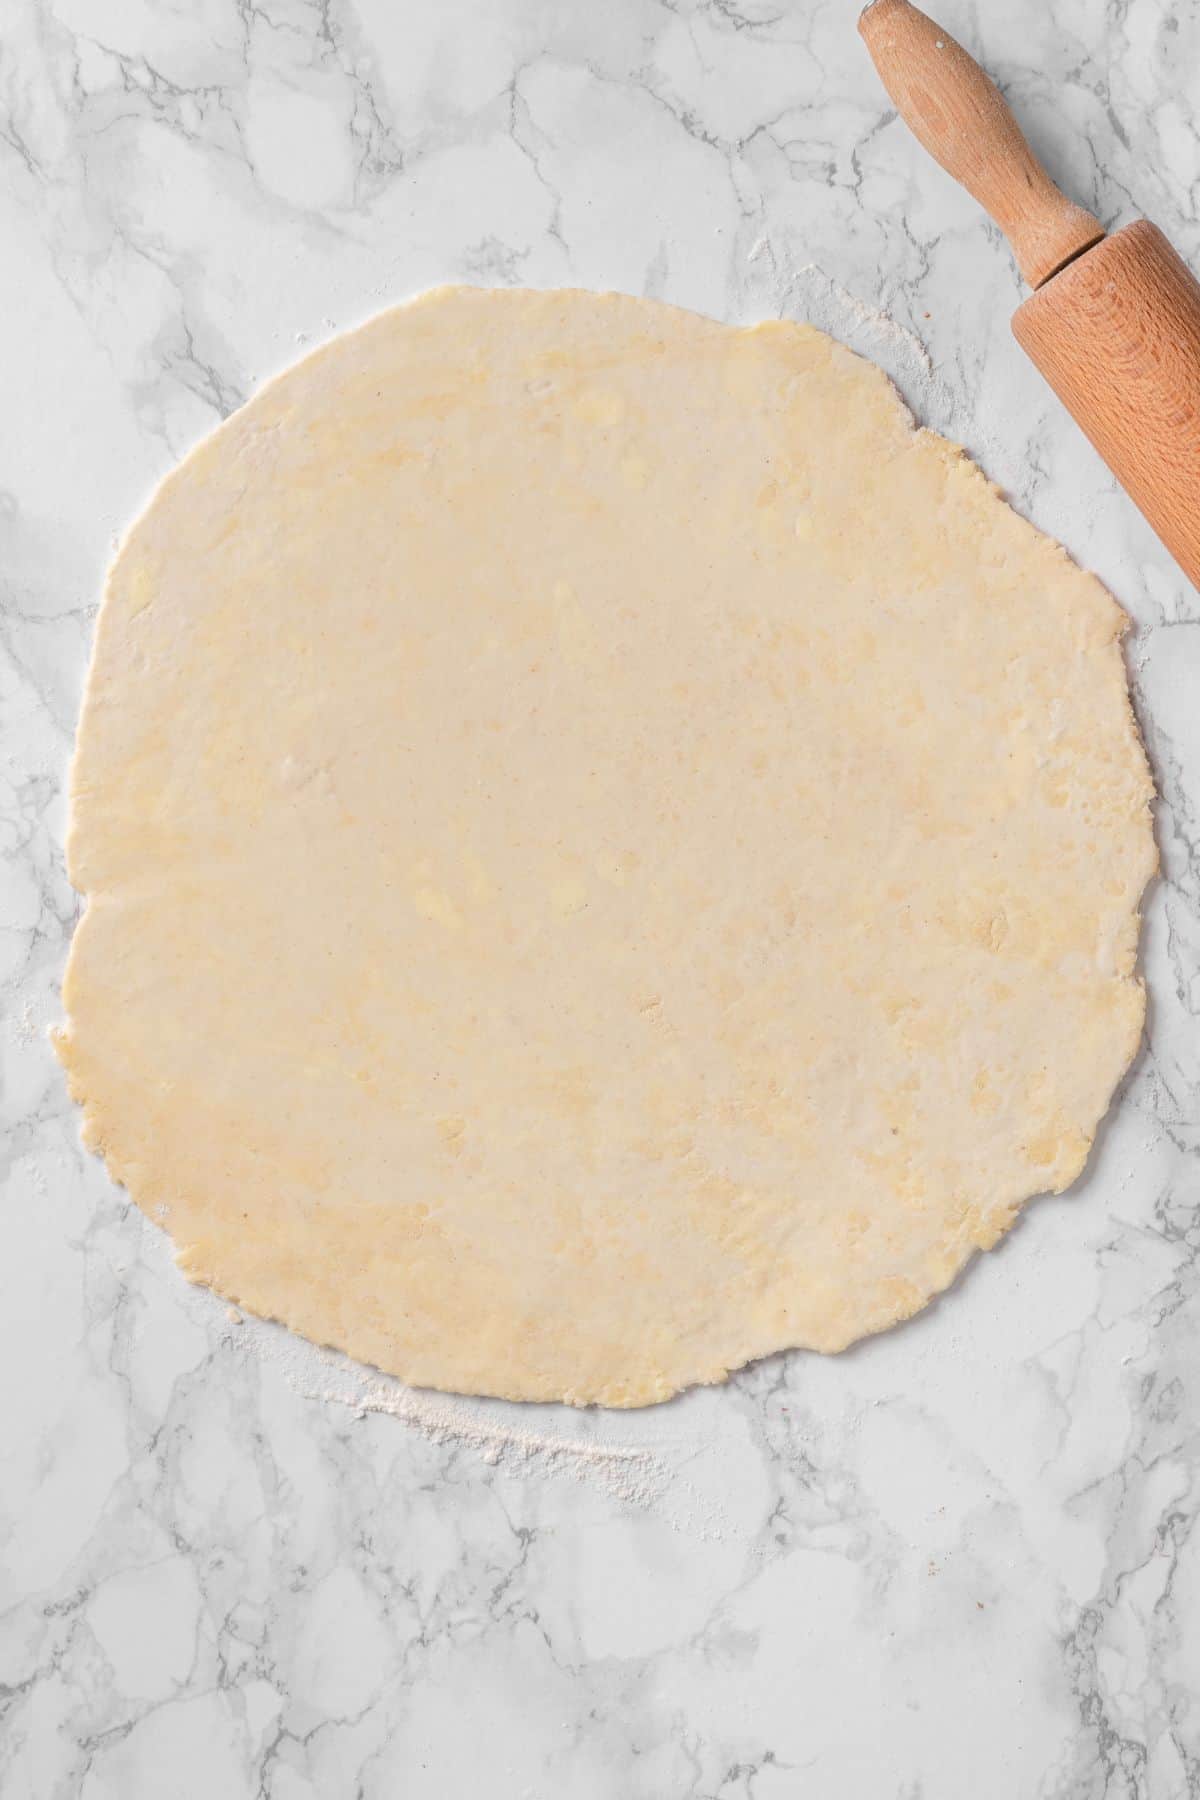
How to Roll Pie Crust for a 9-Inch Pie
For a 9-inch pie plate, roll the chilled dough to about 1/8 inch thick and about 12 inches wide. This gives you enough dough to fit into the pie plate with a little overhang for trimming and crimping.
Lightly flour your surface and rolling pin, then roll from the center outward. Turn the dough as you roll so it stays even and does not stick.
Do not stretch the dough into the pie plate. Gently lift and settle it into the bottom and sides of the dish. Stretching can make the crust shrink as it bakes.
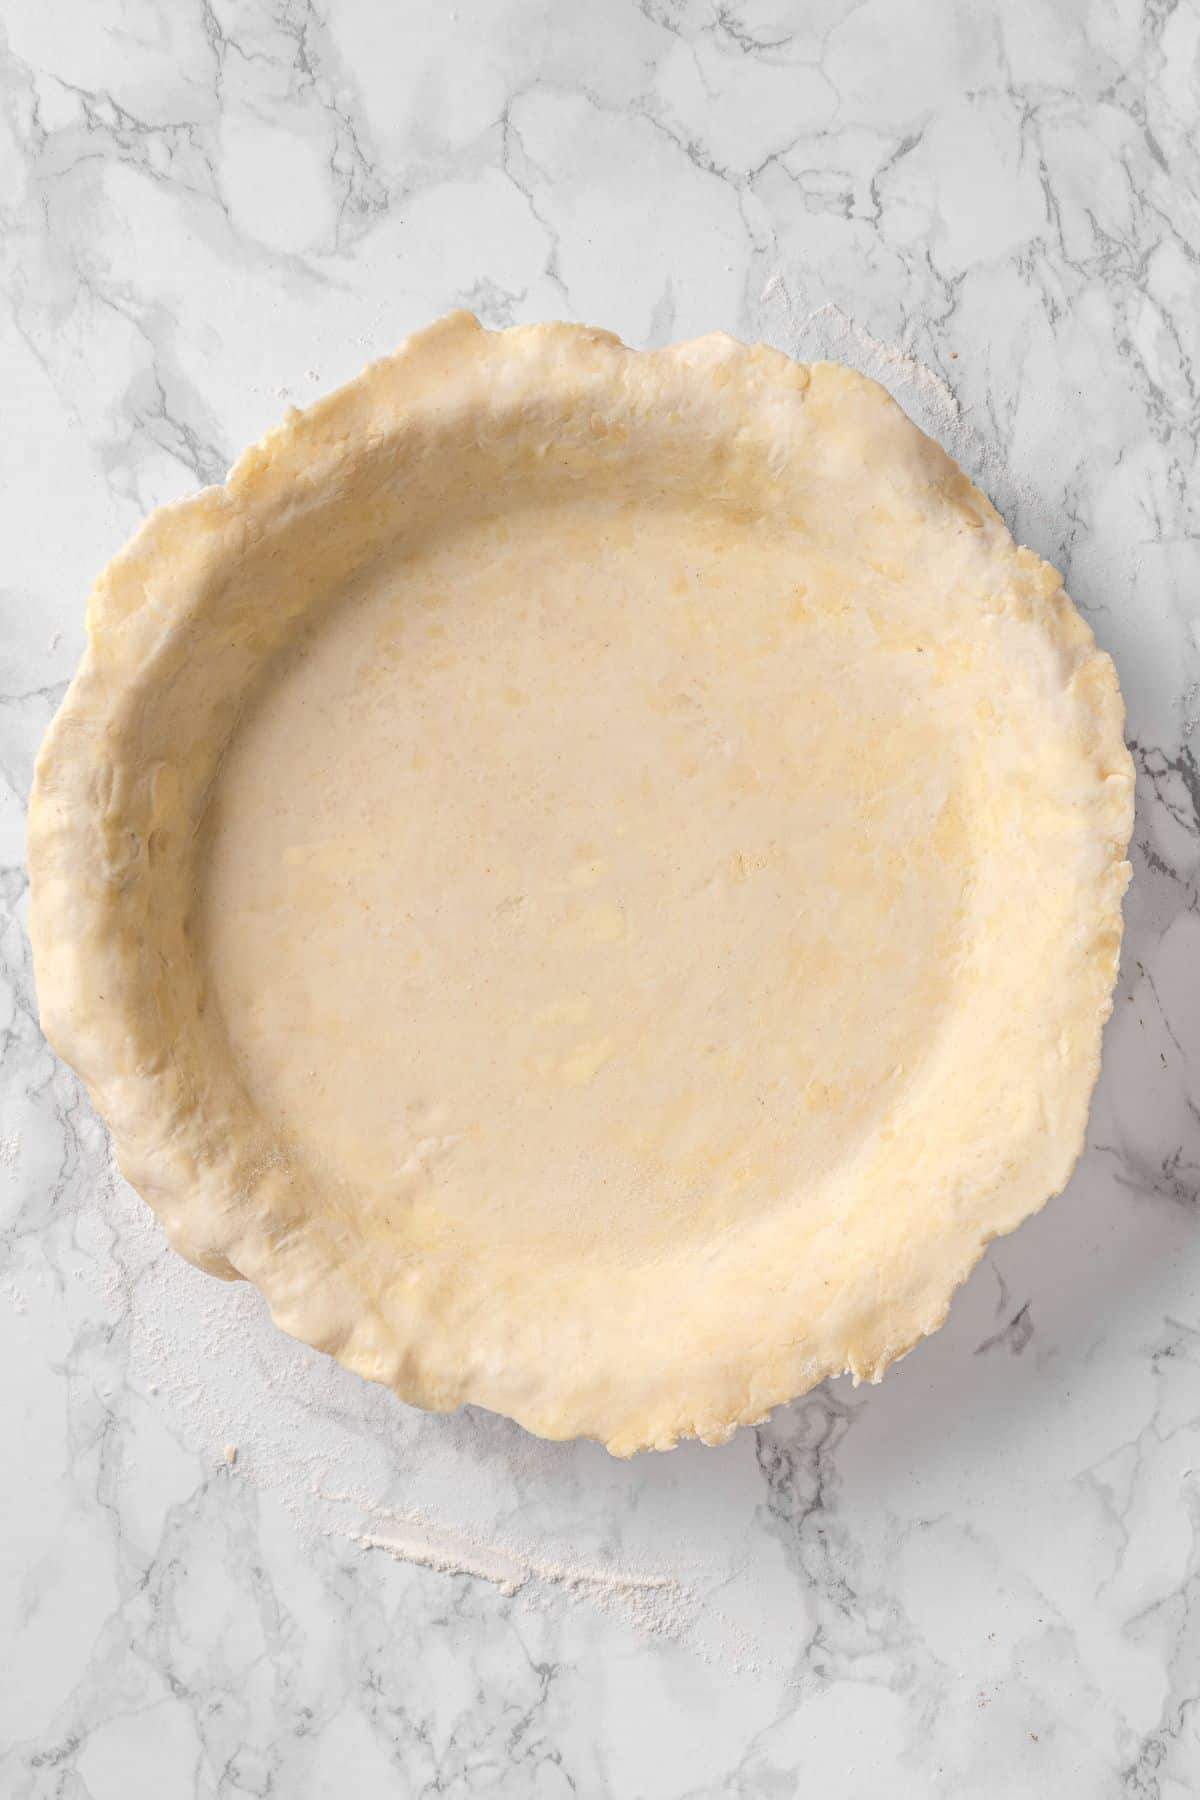
How to Use It as a Bottom Crust, Top Crust, or Double Crust
- For a bottom crust: Roll one disk of dough and fit it into the pie plate. This works for recipes like sweet potato pie, pumpkin pie, quiche, and other pies with filling baked inside the crust.
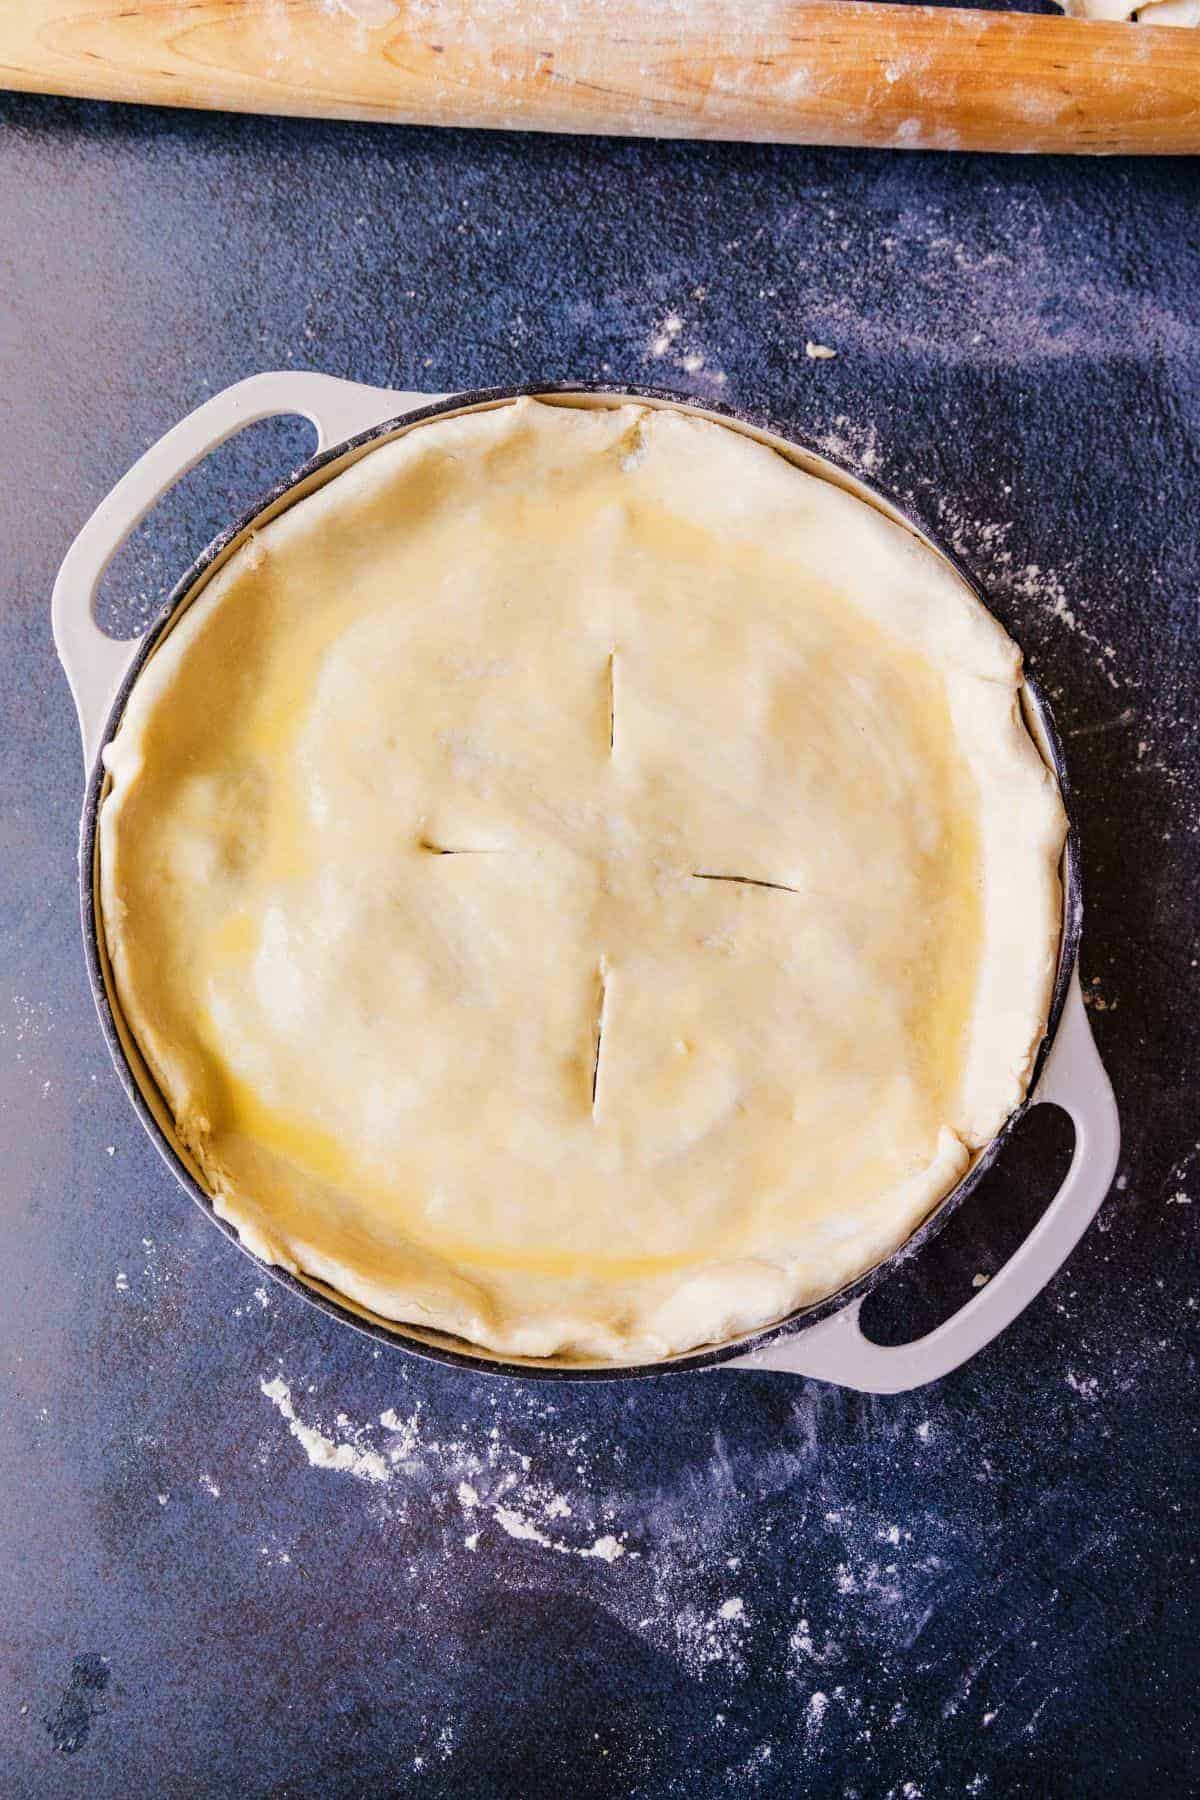
- For a top crust: Roll one disk of dough and place it over the filling. This works well for Skillet Chicken Pot Pie or other pot pies that only need a flaky crust on top.
- For a double-crust pie: Make two separate batches instead of doubling everything in one bowl. This helps keep the butter cold and gives you more room to cut it into the flour evenly. Shape each batch into its own disk, wrap separately, and chill before rolling.
Blind Baking, Docking, and Venting
Blind baking means baking a bottom pie crust before adding the filling. You usually need this for cream pies, no-bake pies, some custard pies, and quiche.
Docking means piercing a bottom crust with a fork before blind baking or partially baking. This gives steam a place to escape so the crust is less likely to puff up in the pie plate.
You do not need to dock every bottom crust. For recipes like Sweet Potato Pie and Pumpkin Pie with Sweetened Condensed Milk, I fit the dough into the pie plate, add the filling, and bake as directed.
For a top crust, cut a few slits in the dough before baking. This is called venting. I vent the crust when I use this dough for Skillet Chicken Pot Pie so steam can escape from the creamy filling.
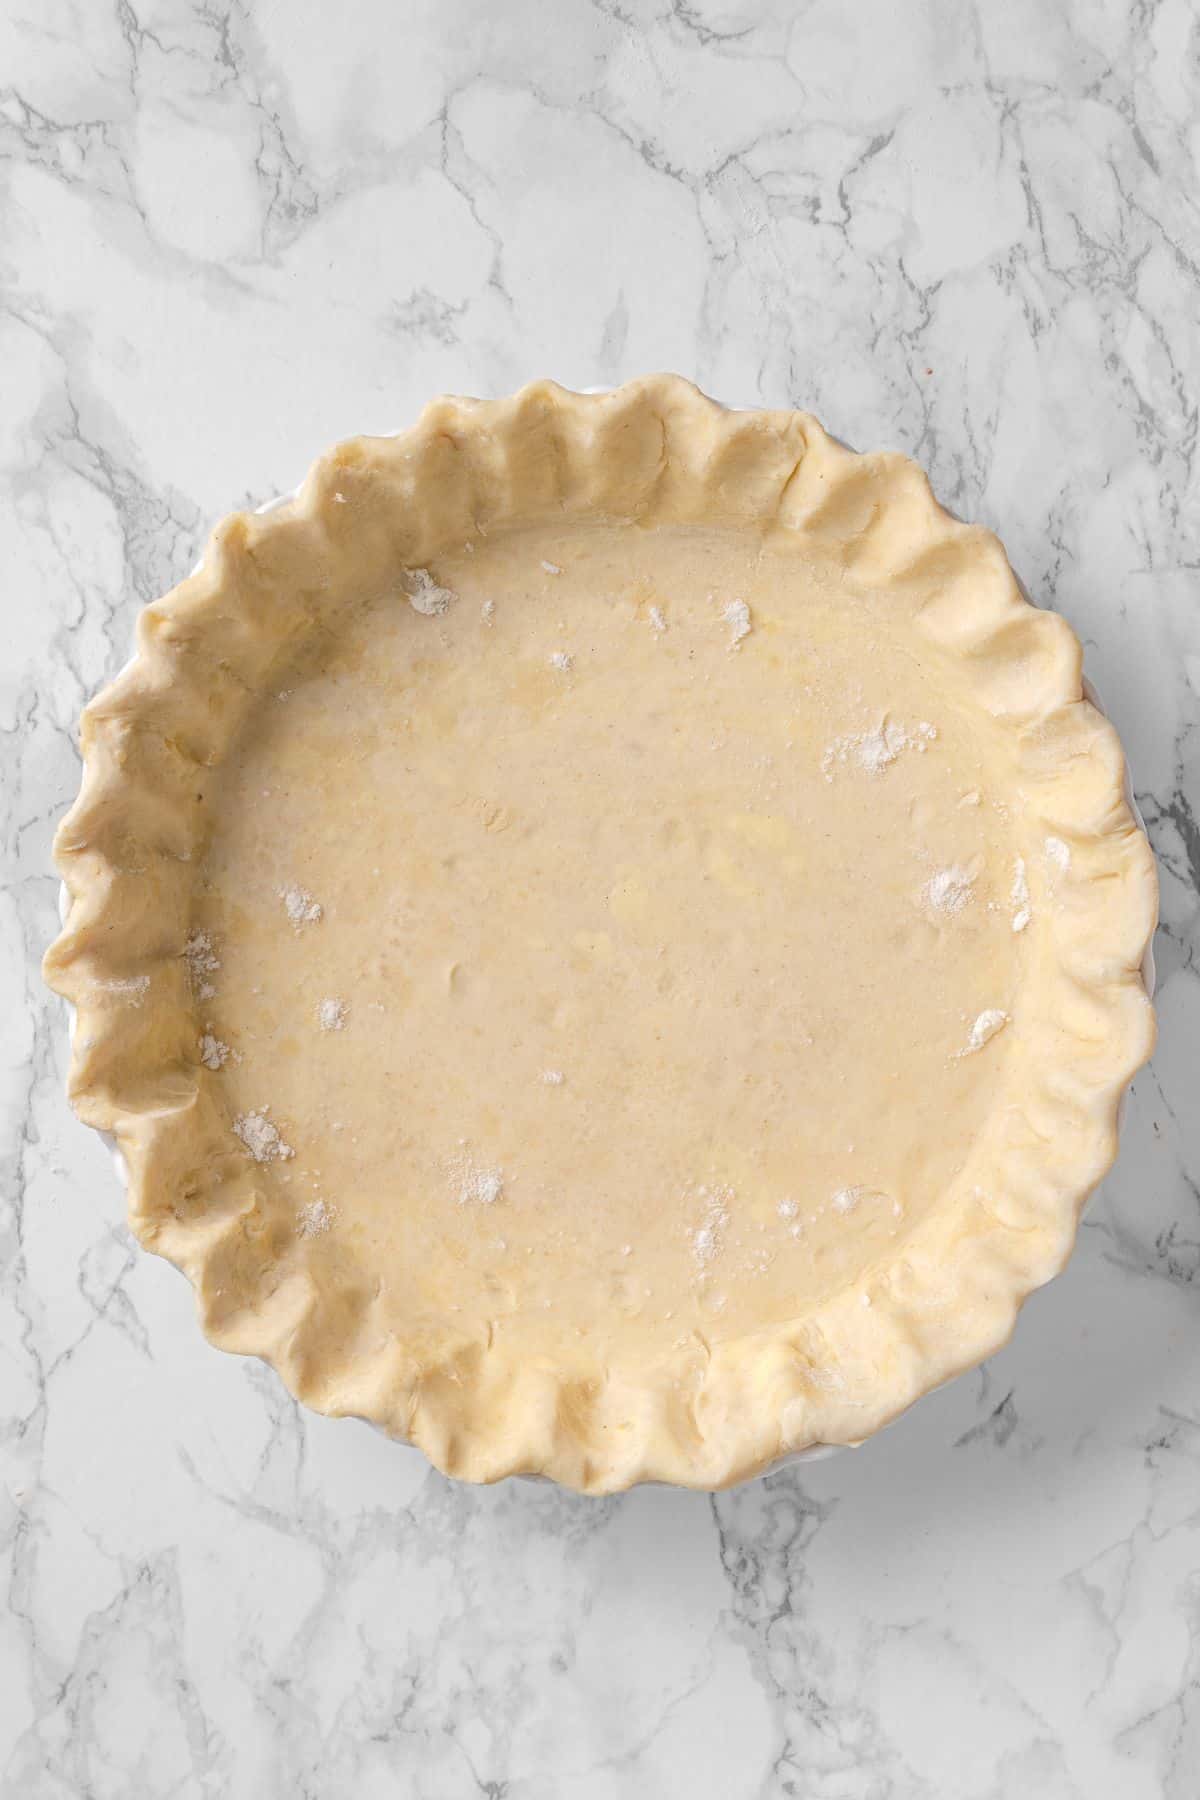
How to Avoid Common Pie Crust Problems
- If the crust shrinks: The dough may have been stretched into the pie plate, too warm before baking, or not chilled long enough. Gently settle the dough into the dish, leave a little overhang, and chill the fitted crust before baking when the recipe calls for it.
- If the crust is dense or tough: The dough may have been overmixed, rolled too much, or made with too much water. Keep the butter cold, stop mixing once the dough can gather, and let the plastic wrap help press it into a disk.
- If the dough is hard to roll: It may be too cold straight from the fridge. Let it sit at room temperature for a few minutes, then try again.
- If the dough sticks while rolling: Use a light dusting of flour on the surface and rolling pin. Add only what you need because too much extra flour can make the crust dry.
- If the bottom crust puffs up: Dock the dough with a fork when blind baking or partially baking, and use pie weights or dried beans if the recipe calls for them.
Ways to Use This All Butter Pie Crust
This crust works for both sweet and savory recipes, so use it anywhere you want a flaky homemade crust.
For holiday pies
Use this crust for Southern Sweet Potato Pie, Pumpkin Pie with Sweetened Condensed Milk, Pecan Pie, or Apple Pie. It is especially helpful for holiday baking because you can make the dough ahead, chill it, and roll it when you are ready.
For savory pies and pot pies
Use it as a top crust for Skillet Chicken Pot Pie, Turkey Pot Pie, or Chicken Pot Pie Casserole. The buttery crust works well with creamy fillings because you get a flaky topping without needing a bottom crust.
For quiche and custard-style fillings
Use this crust for quiche, custard pies, and other fillings that need a sturdy bottom crust. These are the recipes where blind baking or partial baking may matter most.
Easy Swaps and Variations
- Use it for sweet pies: I do not add sugar to this crust because pie fillings are already sweet. The buttery crust works well with pumpkin pie, sweet potato pie, fruit pies, and pecan pie as written.
- Use it for savory pies: This same crust works for quiche, pot pies, and savory pies without any changes.
- Make a double crust: Make two separate batches instead of doubling one large batch. This helps keep the butter cold and makes each disk easier to handle.
All Butter Pie Crust FAQs
I use 3/4 teaspoon salt with 1 1/2 cups flour, even when using salted butter. It gives the crust enough flavor for both sweet and savory pies without making it taste salty.
Roll the dough to about 1/8 inch thick and about 12 inches wide. This gives you enough dough to fit into a 9-inch pie plate with a little overhang for trimming and crimping.
It may need a little more cold water, but some loose flour is okay. The dough only needs to gather enough that you can pile it onto plastic wrap, seal it, and press it into a disk.
The dough may have been overmixed, rolled too much, or made with too much water. Warm butter can also keep the crust from baking up flaky. Mix gently, keep the butter cold, and stop once the dough can gather.
Do not stretch the dough into the pie plate. Gently settle it into place, leave a little overhang, and chill the fitted crust before baking when the recipe calls for it.
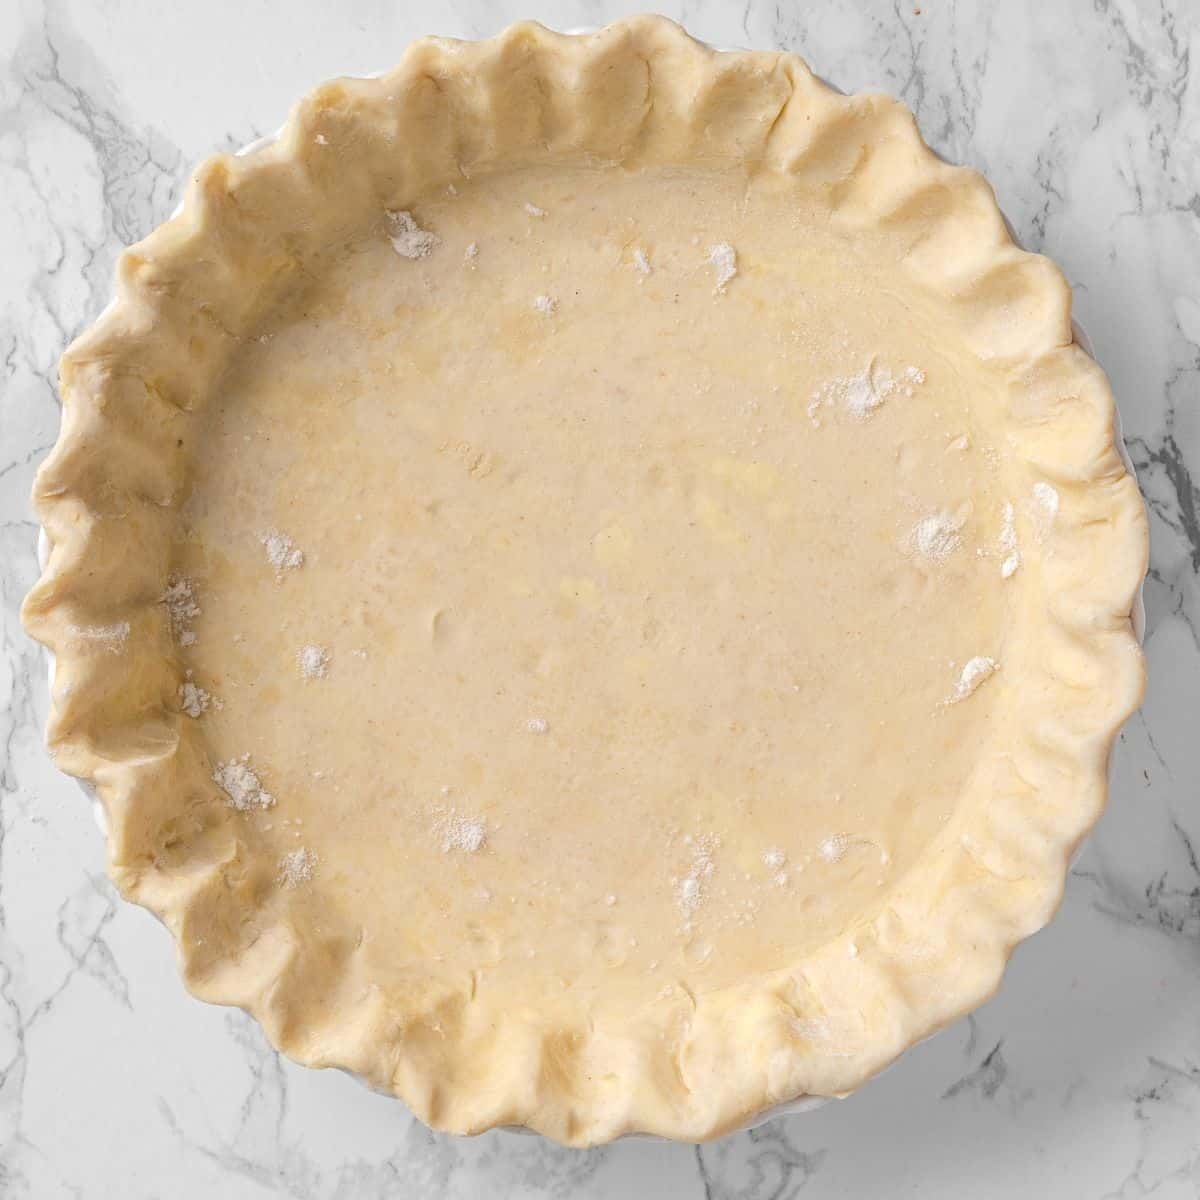
All Butter Pie Crust
Use DRDAVINAHS at checkout to save on some equipment & ingredients!
Ingredients
- 1½ cups all-purpose flour
- ¾ teaspoon Natural Ancient Sea Salt
- ½ cup Butter, salted, very cold, cubed
- ⅓ cup Water, add ice cubes to keep it cold. I also needed about 2 tbsp more of water. Add the water slowly and 1 tbsp at a time so you just use enough to get your dough to come together in a disk.
Instructions
- Combine the flour and salt in a large bowl. Add the cold butter and use a pastry cutter to cut the butter into the flour until the mixture resembles coarse crumbs with pea-sized pieces of butter.
- Slowly add the ice water, about 1 tablespoon at a time, mixing gently with a wooden spoon until the dough comes together. You may need 1-2 more tablespoons of cold water to get your dough to come together.
- Form the dough into a disk
- Wrap it in plastic wrap and refrigerate for at least 30 minutes while preparing the pie filling.
- Roll out the pie crust on a lightly floured surface: Lightly flour a clean work surface and rolling pin. Place the pie dough on the floured surface and roll it from the center outward, turning the dough as you go to help it stay round and prevent sticking. Roll the dough into a 12-inch circle that is about ⅛ inch thick. This gives you enough dough to fit a 9-inch pie plate with some overhang for trimming and crimping.
- Use the dough according to your pie recipe
SAVE THIS RECIPE
Recipe Notes
- Keep butter cold: Leave the salted butter in the refrigerator until you are ready to cut it. Cube it, then add it to the flour right away.
- Use enough salt: I use 3/4 teaspoon salt with 1 1/2 cups flour, even with salted butter, so the crust has flavor without tasting salty.
- Do not overmix: Stop cutting in the butter when small pea-sized pieces are still visible. Those pieces help the crust bake up flaky.
- Add water slowly: Start with 1/3 cup cold water, then add 1 to 2 tablespoons more only if needed.
- Some loose flour is okay: The dough does not need to form a smooth ball in the bowl. Pile it onto plastic wrap and press it into a disk to bring it together without overworking it.
- Chill before rolling: Refrigerate the wrapped dough for at least 30 minutes. One hour is ideal if you have the time.
- Roll and handle gently: For a 9-inch pie plate, roll the dough to about 1/8 inch thick and 12 inches wide. Gently settle it into the pie plate instead of stretching it.
- Make ahead: Refrigerate wrapped dough for up to 3 days or freeze for up to 3 months. Thaw frozen dough overnight in the refrigerator before rolling.
Nutrition Details
The nutrition facts come from entering the recipe ingredients into a database of food ingredients. They may vary for any recipe based on the exact product used.














Leave a Reply