This post may contain affiliate links to products I use and highly recommend. You can read my full disclosure . As an Amazon Associate I earn from qualifying purchases.
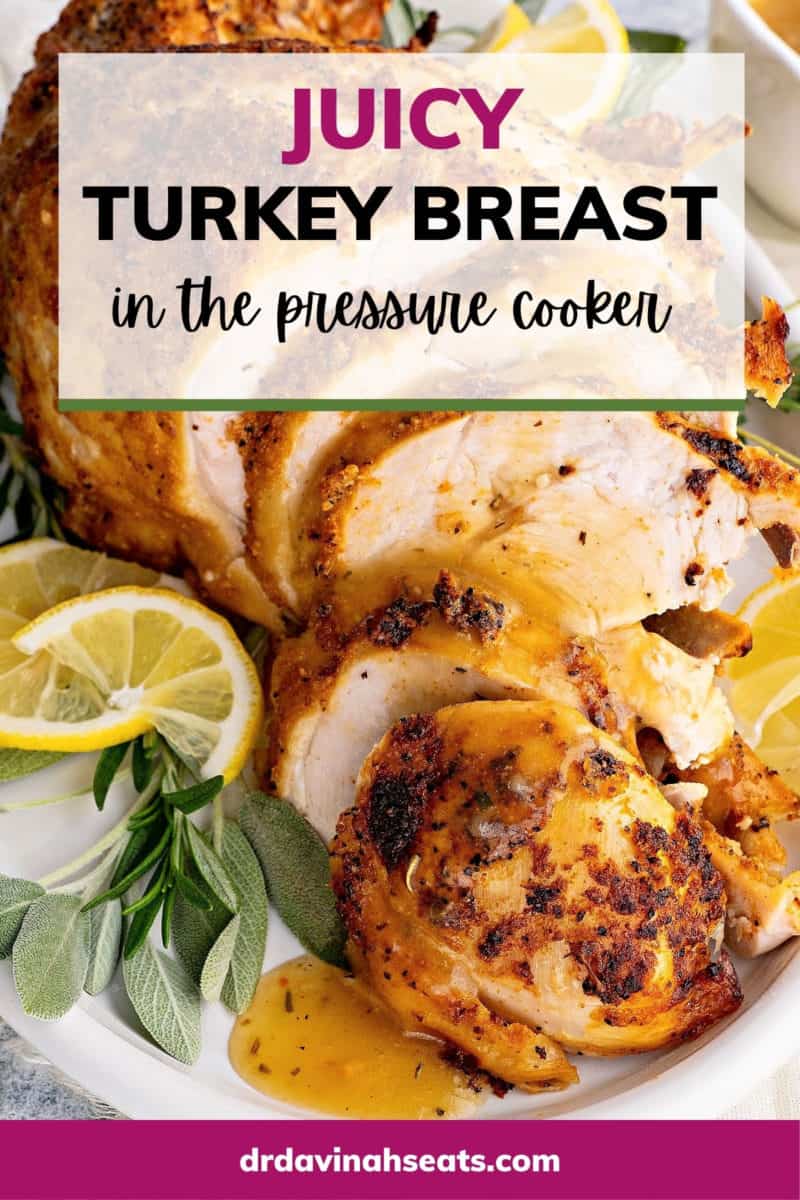
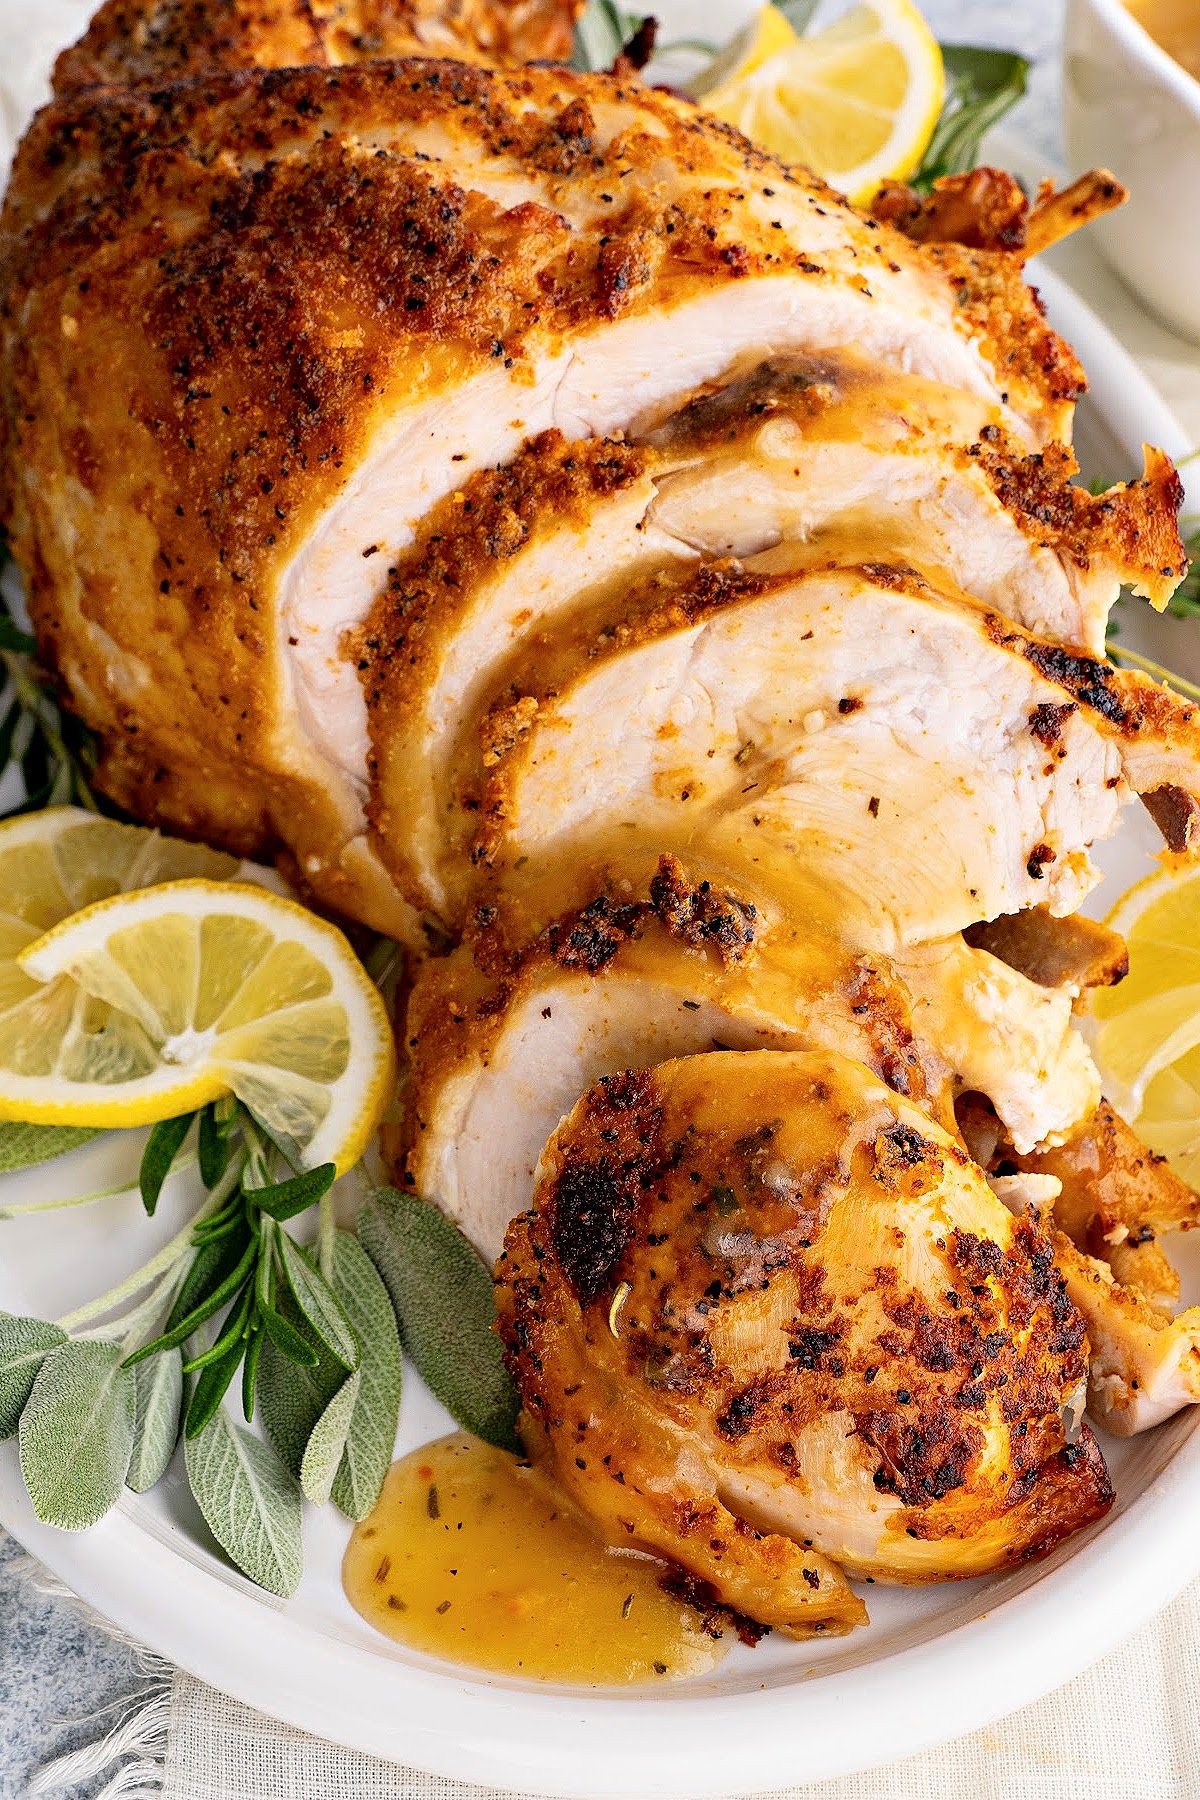
This Pressure Cooker Turkey Breast is tender, flavorful, and perfect when you want turkey for Thanksgiving without cooking a whole bird. I brine the turkey first, pressure cook it with broth, then brown the skin with an air fryer lid or a quick broil.
Pressure cooking a turkey breast saves time and gives you flavorful cooking liquid for gravy. The video tutorial shows how I make this in the Ninja Foodi, but you can also use another electric pressure cooker and broil the skin at the end if needed. If you want a turkey breast that cooks completely in the air fryer, my Air Fryer Turkey Breast is another option with a more roasted-style finish.
Why You’ll Love This Pressure Cooker Turkey Breast
- Great for smaller holidays: You can serve turkey for Thanksgiving or Christmas without making a whole bird.
- Built-in gravy base: The broth and drippings stay in the pot, so you can turn them into gravy after the turkey cooks.
- Flexible finish: Use a Ninja Foodi air fryer lid, crisping lid, or broiler to brown the skin before serving.
- Less oven juggling: Since the turkey cooks in the pressure cooker, your oven can stay available for sides like cornbread dressing, southern baked macaroni and cheese, southern candied yams, or roasted Brussels sprouts with bacon.
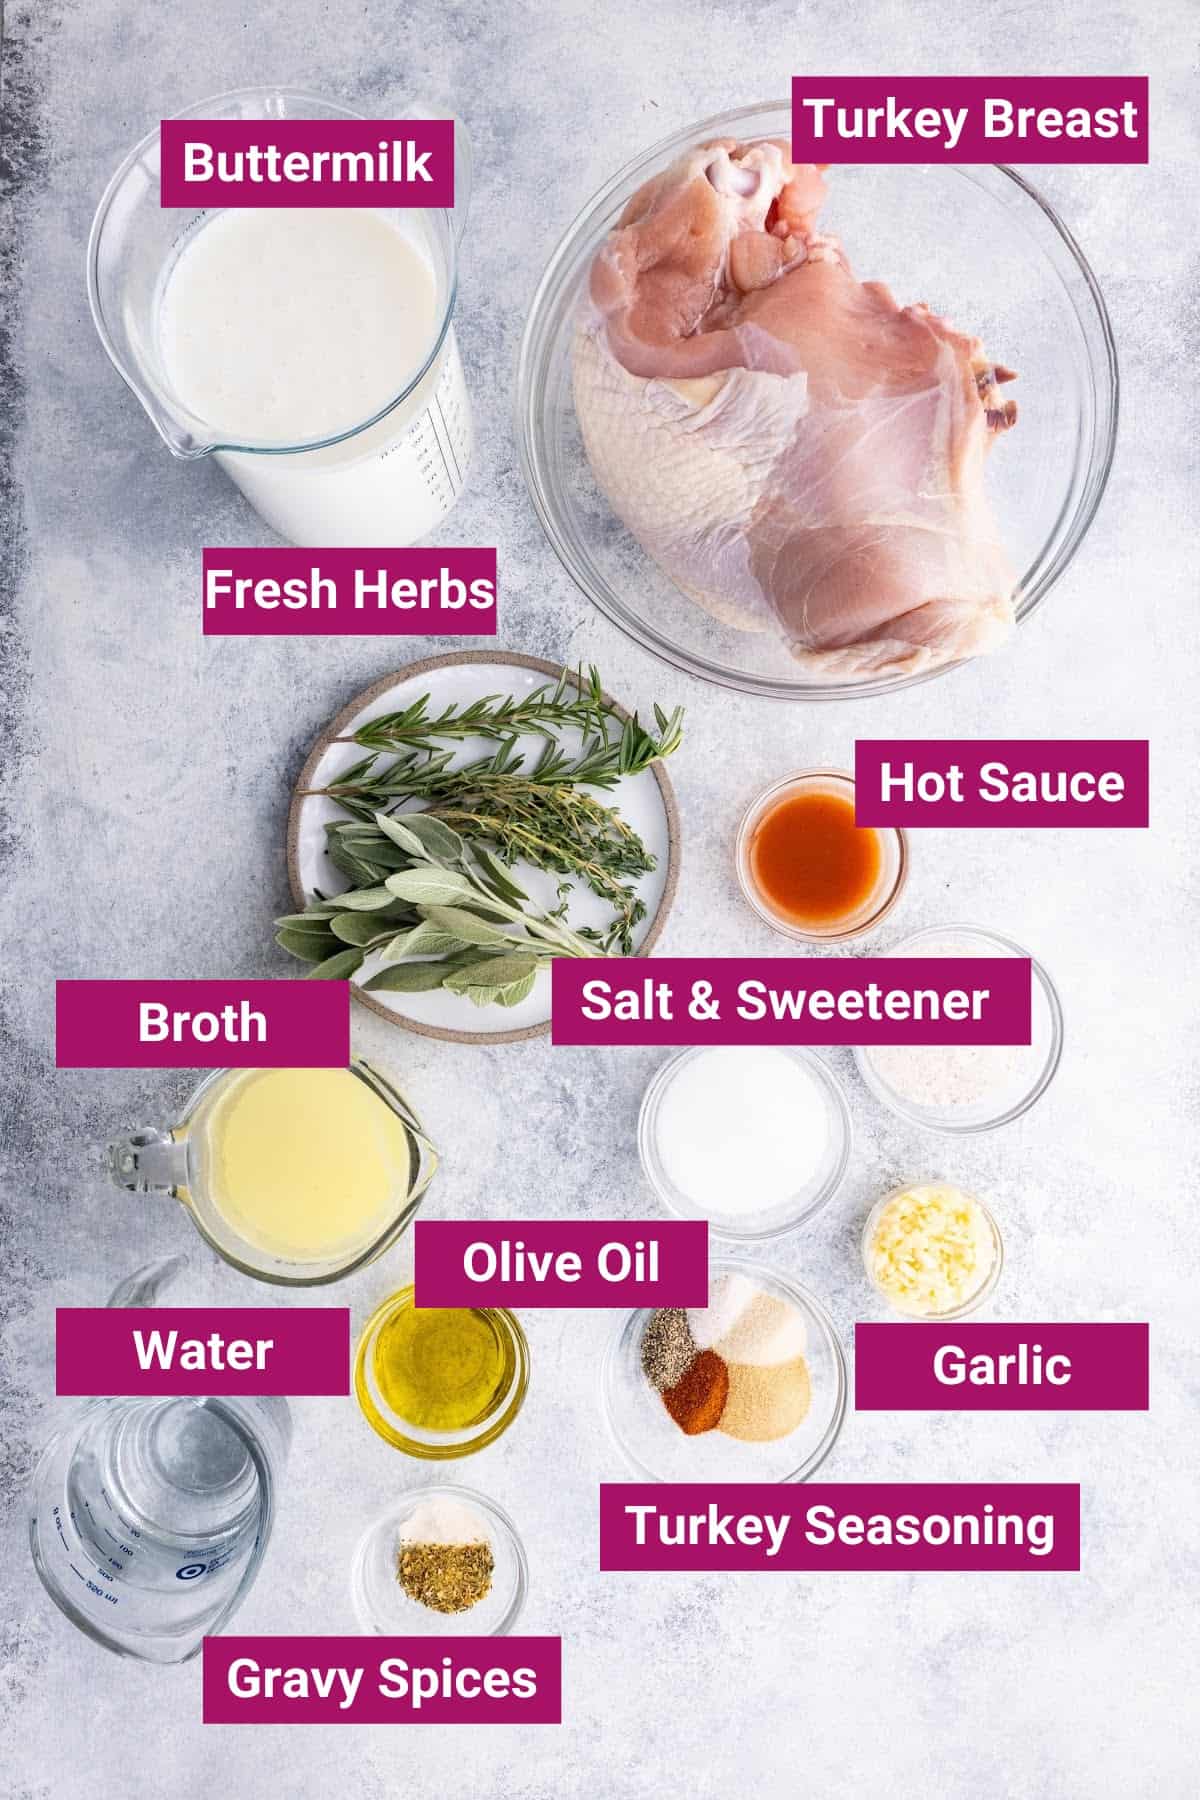
Ingredients Needed
Here’s what you’ll need to make this pressure cooker turkey breast. Scroll to the recipe card for the exact amounts.
For the Buttermilk Brine
- Buttermilk: Helps tenderize the turkey and gives the brine a richer flavor.
- Sea salt: Seasons the turkey before it cooks.
- Granulated sweetener or sugar: Use monk fruit sweetener or regular sugar.
- Hot sauce: Adds flavor without making the turkey taste spicy.
- Fresh herbs: Rosemary, thyme, and sage give the turkey classic holiday flavor. Around Thanksgiving, you can also use a fresh poultry herb pack from the grocery store.
- Garlic: Adds savory flavor to the brine.
For the Turkey
- Turkey breast: I use a 3-pound turkey breast roast. Skin-on turkey breast works best if you want to brown the outside after pressure cooking.
- Seasoning blend: The brine flavors the turkey before it cooks, but you still need to season the outside. Use the sea salt, onion powder, garlic powder, smoked paprika, and black pepper listed in the recipe card. For a different flavor, swap that blend with poultry seasoning for classic holiday flavor or Cajun seasoning for a bolder option.
- Chicken broth: Adds liquid to the pressure cooker and helps create flavorful drippings.
- Olive oil: Helps the skin brown during the final crisping step.
What Kind of Turkey Breast Works Best?
This recipe works best with a 3-pound bone-in, skin-on turkey breast roast. That size gives you enough structure for pressure cooking and lets you brown the skin after the turkey cooks.
Boneless turkey breast can work in a pressure cooker, but it usually cooks faster than bone-in turkey breast. Since this recipe’s timing is based on a bone-in roast, I would not use the full bone-in cook time for boneless turkey breast. Start with less time, check the thickest part after the pressure releases, and finish it with the Air Crisp lid, broiler, or oven if it needs more time.
Before you start, make sure the turkey breast fits on the rack inside your pressure cooker with enough room for the lid to close.
Why Brine Turkey Breast Before Pressure Cooking?
The pressure cooker handles the cooking, but the brine helps flavor the meat before it goes into the pot. The buttermilk, salt, herbs, garlic, and hot sauce season the turkey beyond the surface.
After brining, I still pat the turkey dry and season the outside. That second layer gives the skin and outside of the turkey more flavor once it browns.
If your turkey breast is already brined or injected with a salt solution, skip the homemade brine and go straight to seasoning and cooking.
How to Cook Turkey Breast in a Pressure Cooker
Brine and Season the Turkey
The brine gives the turkey time to take on flavor before cooking. After brining, rinse off the excess, pat the turkey dry, and season the outside. Drying the turkey matters because the seasoning sticks better and the skin browns more easily later.
Pressure Cook Until Tender
Add the broth to the pressure cooker, then set the turkey on the rack so it is lifted out of the liquid. The pressure cooker cooks the turkey quickly while the broth and drippings collect in the bottom of the pot for gravy.
Brown the Skin
Once the pressure releases, check the thickest part of the turkey breast with a meat thermometer. Then use the Air Crisp lid, crisping lid, or broiler to brown the skin. If the turkey still needs more time, finish it gently with the Air Crisp lid, broiler, or oven until it reaches 165 degrees.
Rest and Slice
Let the turkey rest before slicing so the juices have time to settle back into the meat. This helps the turkey stay juicy once it is cut.
How Long to Cook Turkey Breast in a Pressure Cooker
Pressure cook a bone-in turkey breast for about 6 minutes per pound if you plan to brown the skin after pressure cooking. A 3-pound bone-in turkey breast takes about 18 minutes under pressure.
SAVE THIS RECIPE
If you are using a pressure cooker without a crisping or broiling step, cook the turkey breast for about 7 minutes per pound instead.
Once the pressure cooking cycle is done and the pressure has released, open the lid and check the thickest part of the turkey breast with a meat thermometer. The turkey should reach a safe final temperature of 165 degrees after pressure cooking, browning, and resting.
Can I Make This in a Ninja Foodi or Instant Pot?
Yes. The video tutorial shows this recipe in the Ninja Foodi, which works well because you can pressure cook the turkey first, then use the Air Crisp lid to brown the skin in the same appliance.
You can also make this in an Instant Pot, Crock-Pot Express, or another electric pressure cooker. If your pressure cooker does not have an air fryer or crisping lid, transfer the turkey breast to a baking sheet and broil it for a few minutes after pressure cooking.
How to Make Turkey Gravy from the Pan Drippings
After the turkey is done, remove the turkey breast and rack, then use the cooking liquid in the pot as the base for gravy.
Turn on the Sear/Sauté function, add water if needed, then whisk in your thickener and seasonings. I use xanthan gum to make gravy thickened without flour, but the process is similar to any pan gravy: start with the turkey drippings, season the liquid, and thicken it until it reaches the consistency you like.
This is also helpful if you’re serving this turkey with make-ahead turkey gravy and want to add fresh drippings for extra flavor.
Tips for Tender Pressure Cooker Turkey Breast
- Do not double-brine: If the turkey breast is already brined or injected with a salt solution, skip the homemade brine.
- Use the rack: Keeping the turkey lifted out of the liquid helps it cook evenly.
- Dry the turkey before seasoning: Patting it dry helps the seasoning blend stick and helps the skin brown later.
- Start lower for boneless turkey breast: Boneless turkey breast usually cooks faster, so start with less pressure-cooking time and finish it with the Air Crisp lid, broiler, or oven if needed.
- Check after pressure cooking: Once the pressure has released, check the thickest part with a meat thermometer before browning the skin.
- Rest before slicing: This helps keep the turkey juicy when you cut into it.
What to Serve With Pressure Cooker Turkey Breast
This pressure cooker turkey breast works well with sides that can soak up gravy. For a classic holiday plate, serve it with brown butter mashed potatoes, cornbread dressing, cranberry sauce, and collard greens with bacon.
For a Southern-style menu, add southern baked macaroni and cheese, southern candied yams, or homemade cornbread. If you want something green on the table, fresh green beans with bacon and roasted Brussels sprouts with bacon both work well with turkey.
For a few classic-style options with ingredient swaps, try keto green bean casserole or cornbread dressing made with almond flour cornbread.
More Thanksgiving Turkey Recipes
Here are a few more turkey recipes to help you choose the best main dish for your holiday meal:
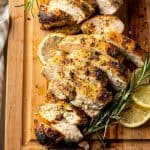
- Air Fryer Turkey Breast: Cooks fully in the air fryer with a roasted-style finish.
- Air Fryer Turkey Tenderloin: A quick boneless turkey option.
- Crockpot Turkey Tenderloin: A hands-off turkey main.
- Air Fryer Turkey Wings: A crispy dark meat option.
- Baked Turkey Wings: A Southern-style turkey recipe that works well with mac and cheese, greens, yams, and gravy.
- Crockpot Turkey Wings: Tender turkey wings with rich pan juices.
- Air Fryer Turkey Thighs Recipe: Another smaller dark meat option.
How to Store, Freeze, and Use Leftovers
Store leftover turkey breast in an airtight container in the refrigerator for up to 4 days.
To reheat it, warm the turkey gently so it does not dry out. Add a little butter, broth, or gravy over the slices before reheating. Sliced turkey reheats best when it has a little moisture with it.
You can also freeze cooked turkey breast in an airtight freezer-safe container for up to 3 months. For the best texture, freeze the turkey in slices or smaller portions so it is easier to thaw and reheat only what you need.
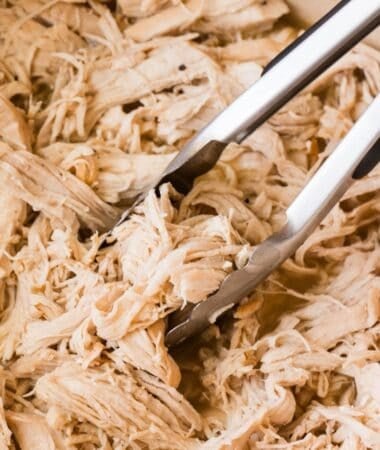
Use leftovers to make leftover turkey salad or leftover turkey soup.
Pressure Cooker Turkey Breast FAQs
Cook a bone-in turkey breast for about 6 minutes per pound if you plan to brown the skin after pressure cooking. If you are not using a crisping or broiling step, cook it for about 7 minutes per pound. After the pressure has released, check the thickest part with a meat thermometer before browning the skin.
This recipe is written for a bone-in, skin-on turkey breast roast. Boneless turkey breast usually cooks faster, so I would not use the full bone-in cook time. Start with less time, then check the thickest part after the pressure releases. If it needs more time, finish it with the Air Crisp lid, broiler, or oven.
I recommend the brine because it adds flavor and helps the turkey stay tender. If your turkey breast is already brined or injected with a salt solution, skip the homemade brine.
Use the air fryer or crisping lid if your pressure cooker has one. If not, transfer the turkey breast to a baking sheet and broil it for a few minutes until the skin browns.
If you try this recipe, please stop back and leave it a star rating and/or a review in the comments. Stay connected & share photos of your creations with me & others on Instagram, Facebook, and Pinterest!
Pressure Cooker Turkey Breast
Use DRDAVINAHS at checkout to save on some equipment & ingredients!
Recommended Equipment
Ingredients
Turkey Breast Brine
- 3 lbs turkey breast, raw, I get a split half breast with the bone-in. This should not have added solutions or brine
- 1 quart buttermilk
- 1/4 cup Natural Ancient Sea Salt
- 1/4 cup Granular Sweetener
- 2 tbsp hot sauce
- 2 sprigs Rosemary
- 2 sprigs Thyme
- 2 sprigs Sage
- 4 cloves Garlic, minced
Turkey Breast Spice Mix
- 1 tsp Natural Ancient Sea Salt
- 1.5 tsp Onion Powder
- 1.5 tsp Garlic Powder
- 1/2 tsp Smoked Paprika
- 1/2 tsp Black Pepper
Pressure Cooking & Crisping Ingredients
- 1 cup Chicken Broth
- 2 tbsp Olive Oil
Instructions
- Add all of the ingredients for the brine into a large bowl. Whisk to incorporate.
- Add the turkey breast into the brine and marinate overnight (up to 24 hours)
- Remove the turkey breast from the brine and rinse off excess brine liquid in cold water
- Pat the turkey breast dry. Mix the spice mix and use it to season both sides of the turkey breast.
- Pour the broth to the bottom of the cooking pot.
- Add the seasoned turkey breast (skin side up) to the cooking rack and place them inside the cooking pot
- Cook the turkey breast on Manual High Pressure for 18 minutes (or 6 minutes per pound). Allow the pressure to quick release (change the setting from "Seal" to "Vent")
- Remove the pressure cooker lid. Drizzle 2 tbsp of olive oil on the turkey breast skin.
- Add the crisping lid. Air Crisp for 10-15 minutes.
SAVE THIS RECIPE
Recipe Notes
- Turn on the Sear/Sauté function to high
- Add 1 cup of water, 1/4 tsp Xanthan Gum and 1/2 tsp 24 Herbs Sprinkle Seasoning (Salt-free) to the cooking pot with the pan drippings
- Use a silicone bottom whisk to combine them. Continue to cook for 2-3 minutes until you get the consistency you prefer.
Nutrition Details
The nutrition facts come from entering the recipe ingredients into a database of food ingredients. They may vary for any recipe based on the exact product used.


Toni Dash says
This is such a perfect holiday meal!! My family loved it!
Dr. Davinah's Eats Team says
Thank you so much for trying our recipe. We’re glad you loved it.
Beth says
This looks so delicious and tasty! My family is going to love this recipe! I can’t wait to make this!
Mirlene says
This turkey breast look so nice and juicy. I cannot wait to try it.
Dr. Davinah's Eats Team says
Thank you for taking the time to leave a review. Hope you enjoy our recipe.
Dannii says
I never would have thought to make turkey in my pressure cooker. This is such a great idea.
Katherine says
Such a great idea to make this turkey breast in the pressure cooker. And a buttermilk marinade is awesome.
Irina says
WOW! To make a turkey breast in a pressure cooker! It is geniously! What an easy approach to cooking a festive meal you offer. I love it and cannot wait to give it a try!
Dr. Davinah's Eats Team says
Thank you for taking the time to leave a comment. Hope you enjoyed our recipe.
Liz says
OMG! I can’t believe how fast this cooks! This would save so much time and energy this year, especially since it’ll just be me and my husband!
Dr. Davinah's Eats Team says
Easy but healthy! Thank you for taking the time to leave a review.
Tara says
I love this! Such a wonderful idea for the holidays this year since it is just the four of us and the turkey would be perfect for leftover sandwiches. Beautiful color too.
Dr. Davinah's Eats Team says
We really appreciate you stopping back to write such a thoughtful review.
Ashley says
Oh yum!! This recipe is fantastic! Thanks for sharing!
Dr. Davinah's Eats Team says
We’re so happy that you enjoyed this recipe.
Bintu | Recipes From A Pantry says
This turkey looks so tender and juicy! That brine and spice mix sound absolutely incredible too!
Dr. Davinah's Eats Team says
Thank you for taking the time to leave a review.
christi lynn says
Is there something I can use in place of the buttermilk to be dairy free but still taste delish? Thank you!
Davinah says
Hi Christi,
You can make “buttermilk” at home with regular milk and dairy-free milk. Just add 1 tbsp of lemon juice or vinegar for every cup of almond milk that you use. I’ve never tried this with coconut milk, but have read that it works as well.
Hope that helps!