This post may contain affiliate links to products I use and highly recommend. You can read my full disclosure . As an Amazon Associate I earn from qualifying purchases.
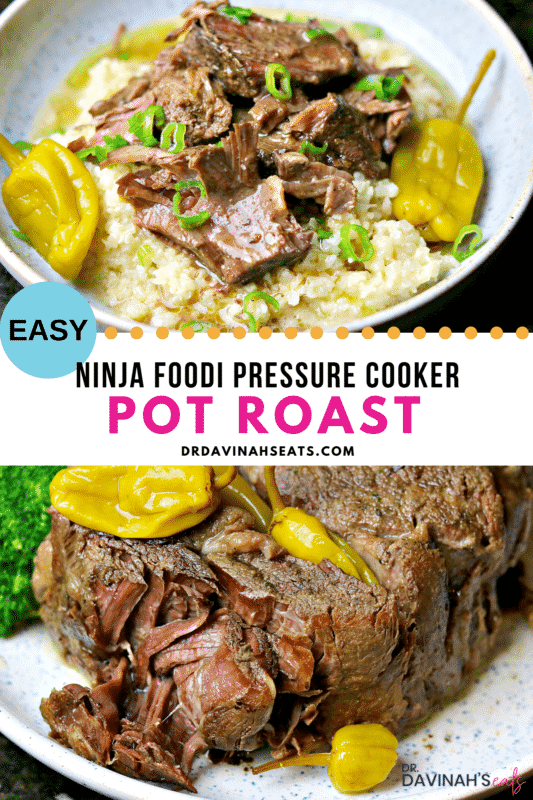
This Ninja Foodi Pot Roast with gravy is tender and easy to make with 5 ingredients for dinner or a meal prep. It uses all the benefits of the Ninja Foodi like the pressure cooker, air fryer, and sear and sauté functions. Enjoy this with vegetables or side dishes like cauliflower mashed potatoes.
Why Make Ninja Foodi Pot Roast
- Easy Recipe: This Ninja Foodi Pot Roast recipe includes just 5 ingredients. You simply dump your meat in the Ninja Foodi and it does all the work to tenderize it. Plus, you make the gravy in the same cooking pot.
- Great for meal prep: This Mississippi pot roast is perfect for a keto meal prep, when making meals to store in the freezer, or feeding your whole family.
- Quicker comfort food: Pot roasts are one of my favorite comfort food dishes. They are easy to make and juicy, but they take all day. Thanks to the Ninja Foodi (or your favorite pressure cooker), this doesn’t have to be the case. Get juicy, tender pot roast meat with brown bits in a fraction of the time (compared to slow cooking).
Ingredients Needed
If you love large chunks of delicious pot roast, this Ninja Foodi pot roast recipe is for you. Here’s what you’ll need to gather:
- Beef Roast: I’m using a Beef Bottom Round Roast. But you can see the section below on the best cuts of meat for pot roasts if you need an alternative.
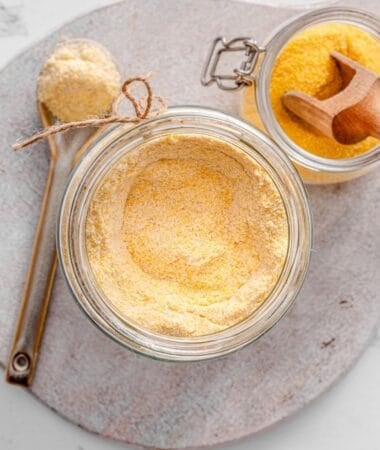
- Ranch Seasoning: I’m using my Homemade Ranch Seasoning Mix. A recent update of it includes buttermilk powder, but this is not necessary for this recipe to taste great!
- Warm Water: to easily mix the bouillon with the water, I microwaved mine in a mug for 1 minute
- Beef Bouillon Paste: you can use regular beef bouillon cube, but I prefer the Better Than Bouillon paste.
- Butter: I use salted butter, but you can use unsalted butter if you prefer to be able to salt the final pot roast to taste.
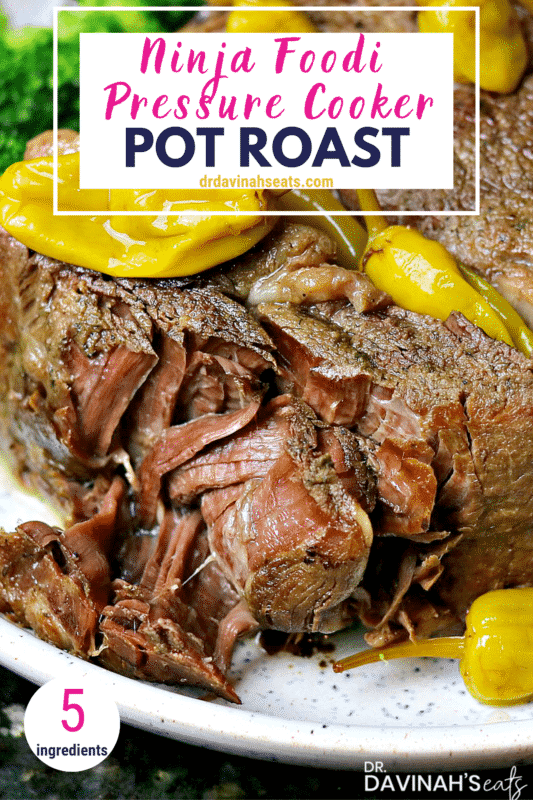
- Greek Pepperoncini Peppers: This adds a bit of spice to the final dish. When I have a taste for pot roast with vegetables, I simply swap these out for yellow onions.
Cuts of Meat for Pot Roast
One great thing about my easy pot roast recipe is it doesn’t require a specific cut of beef. In fact, I almost always buy the meat for my recipe based on what’s on sale. But, there are some cuts that are a great option for pot roasts:
- Beef Chuck
- Bottom Round
- Blade Roast
How to Make a Pot Roast in the Ninja Foodi:
One of the reasons why I love pot roast is because of its easy cooking process.
For this recipe, you can use the slow cooker or pressure cooker functions.
Here are the simple steps:
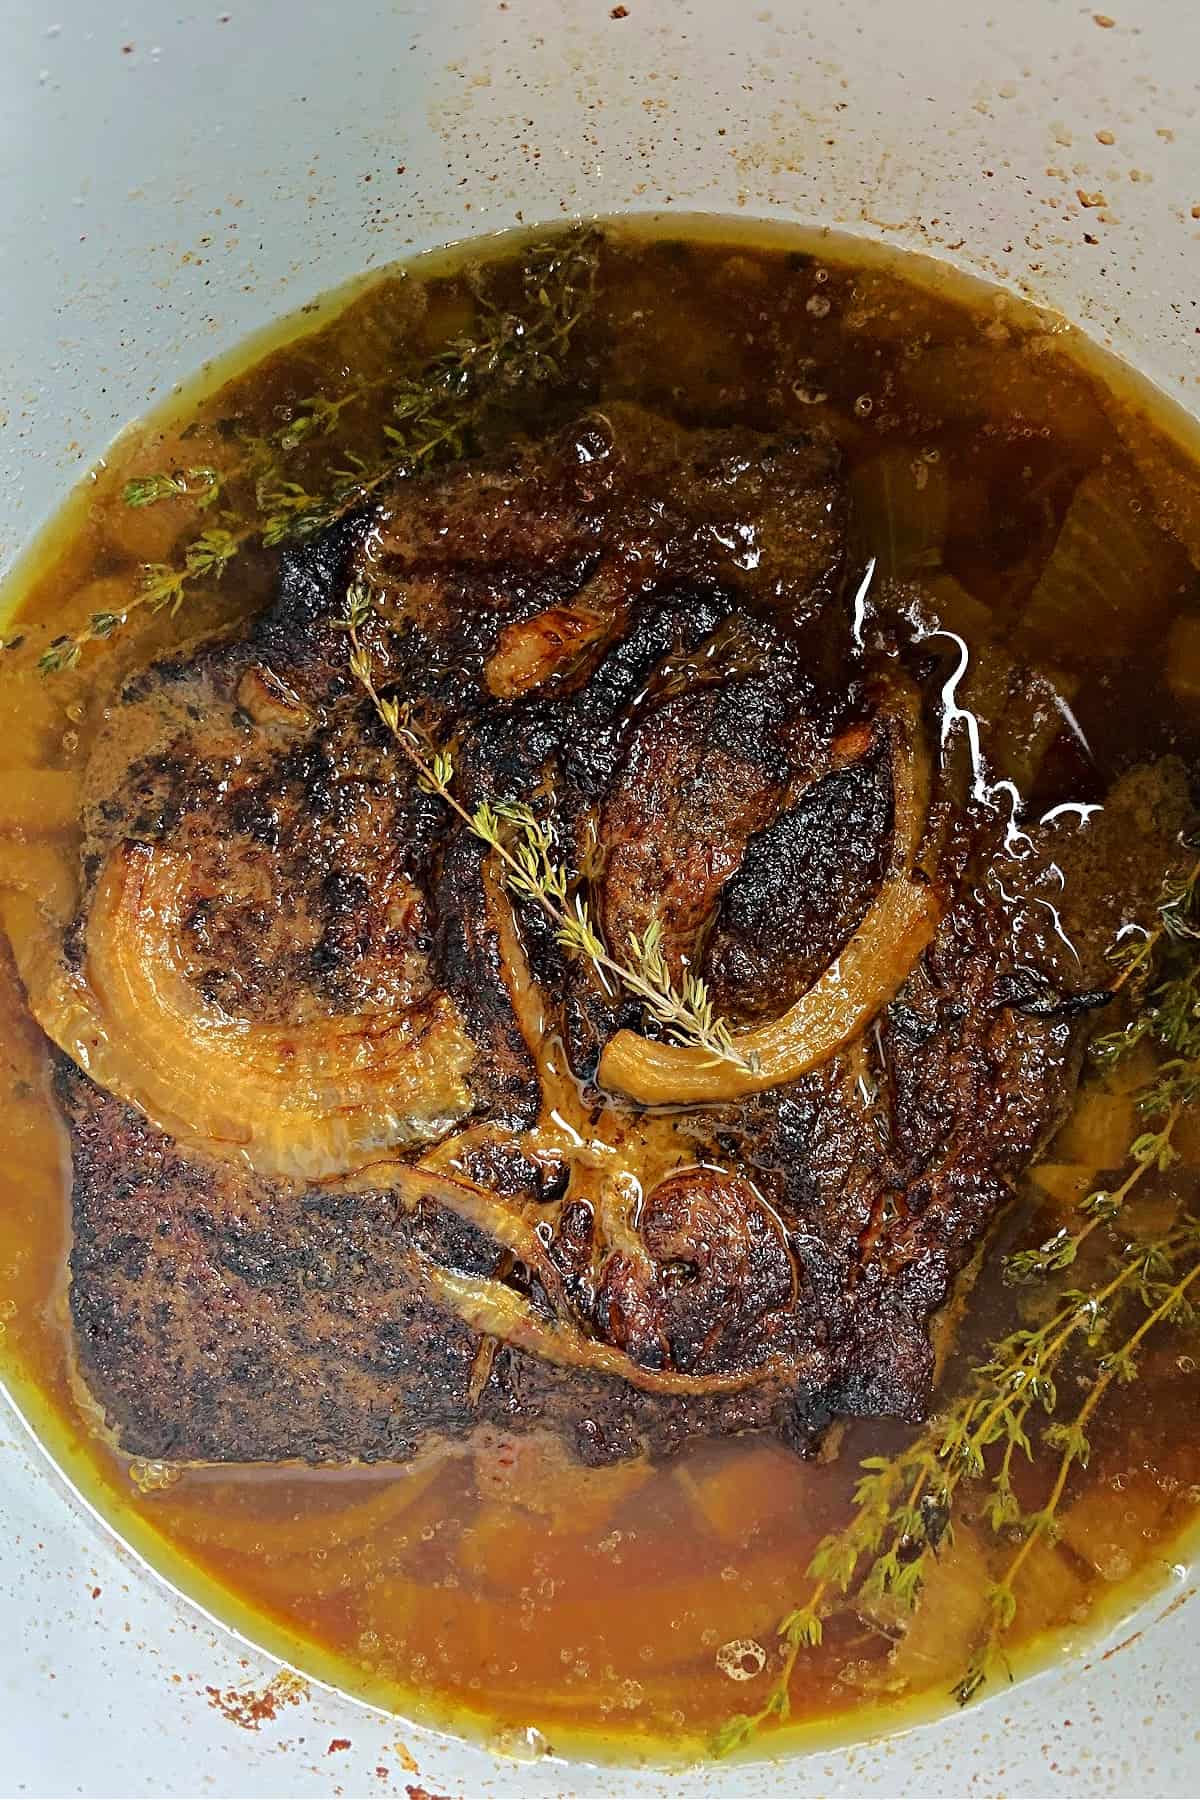
- Add all ingredients to the pot: You can simply place the roast and all the ingredients in the inner pot and go, which creates extra flavor. As someone who is generally very busy, this gives me the chance to prepare a healthy meal, but also complete my other daily goals. For more details, review the recipe card.
- Add the pressure cooker lid and set it to the seal position.
- For all day cooking, use the slow cooker function: if your timing is going to be off due to your busy schedule, or you love the way a cooking roast makes your house smell, or you don’t have a Ninja Foodi (or Instant Pot), you can use the slow cooker feature or a traditional slow cooker. On low, this roast takes 6-8 hours to finish.
- For speed, use the pressure cooker function: To achieve melt-in-your-mouth pot roast with a pressure cook time of under 2 hours, you can cook it on high pressure.
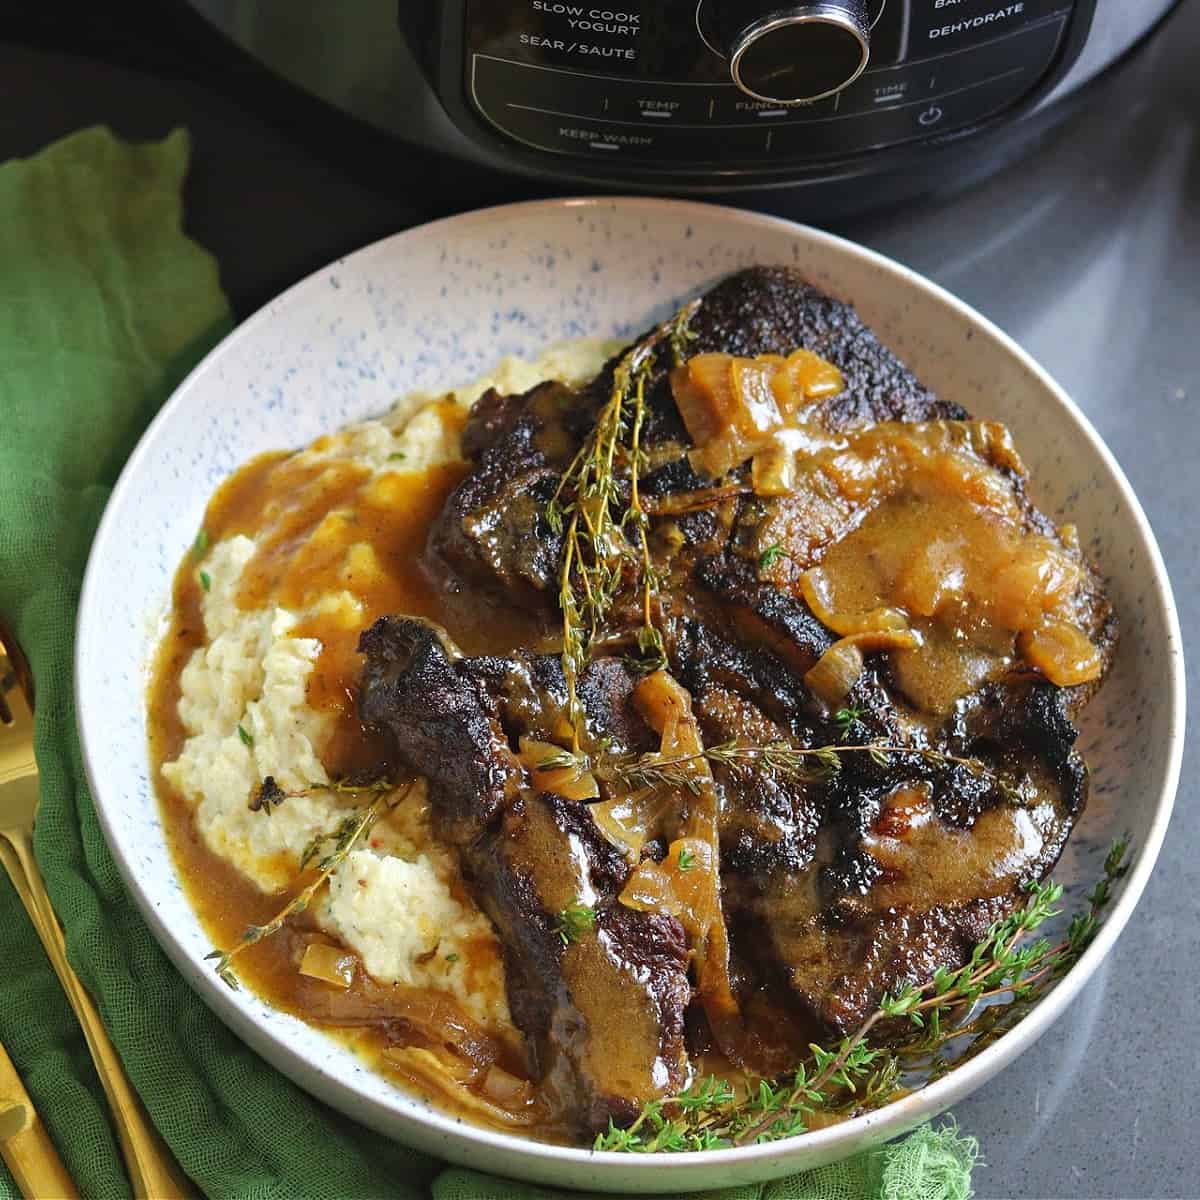
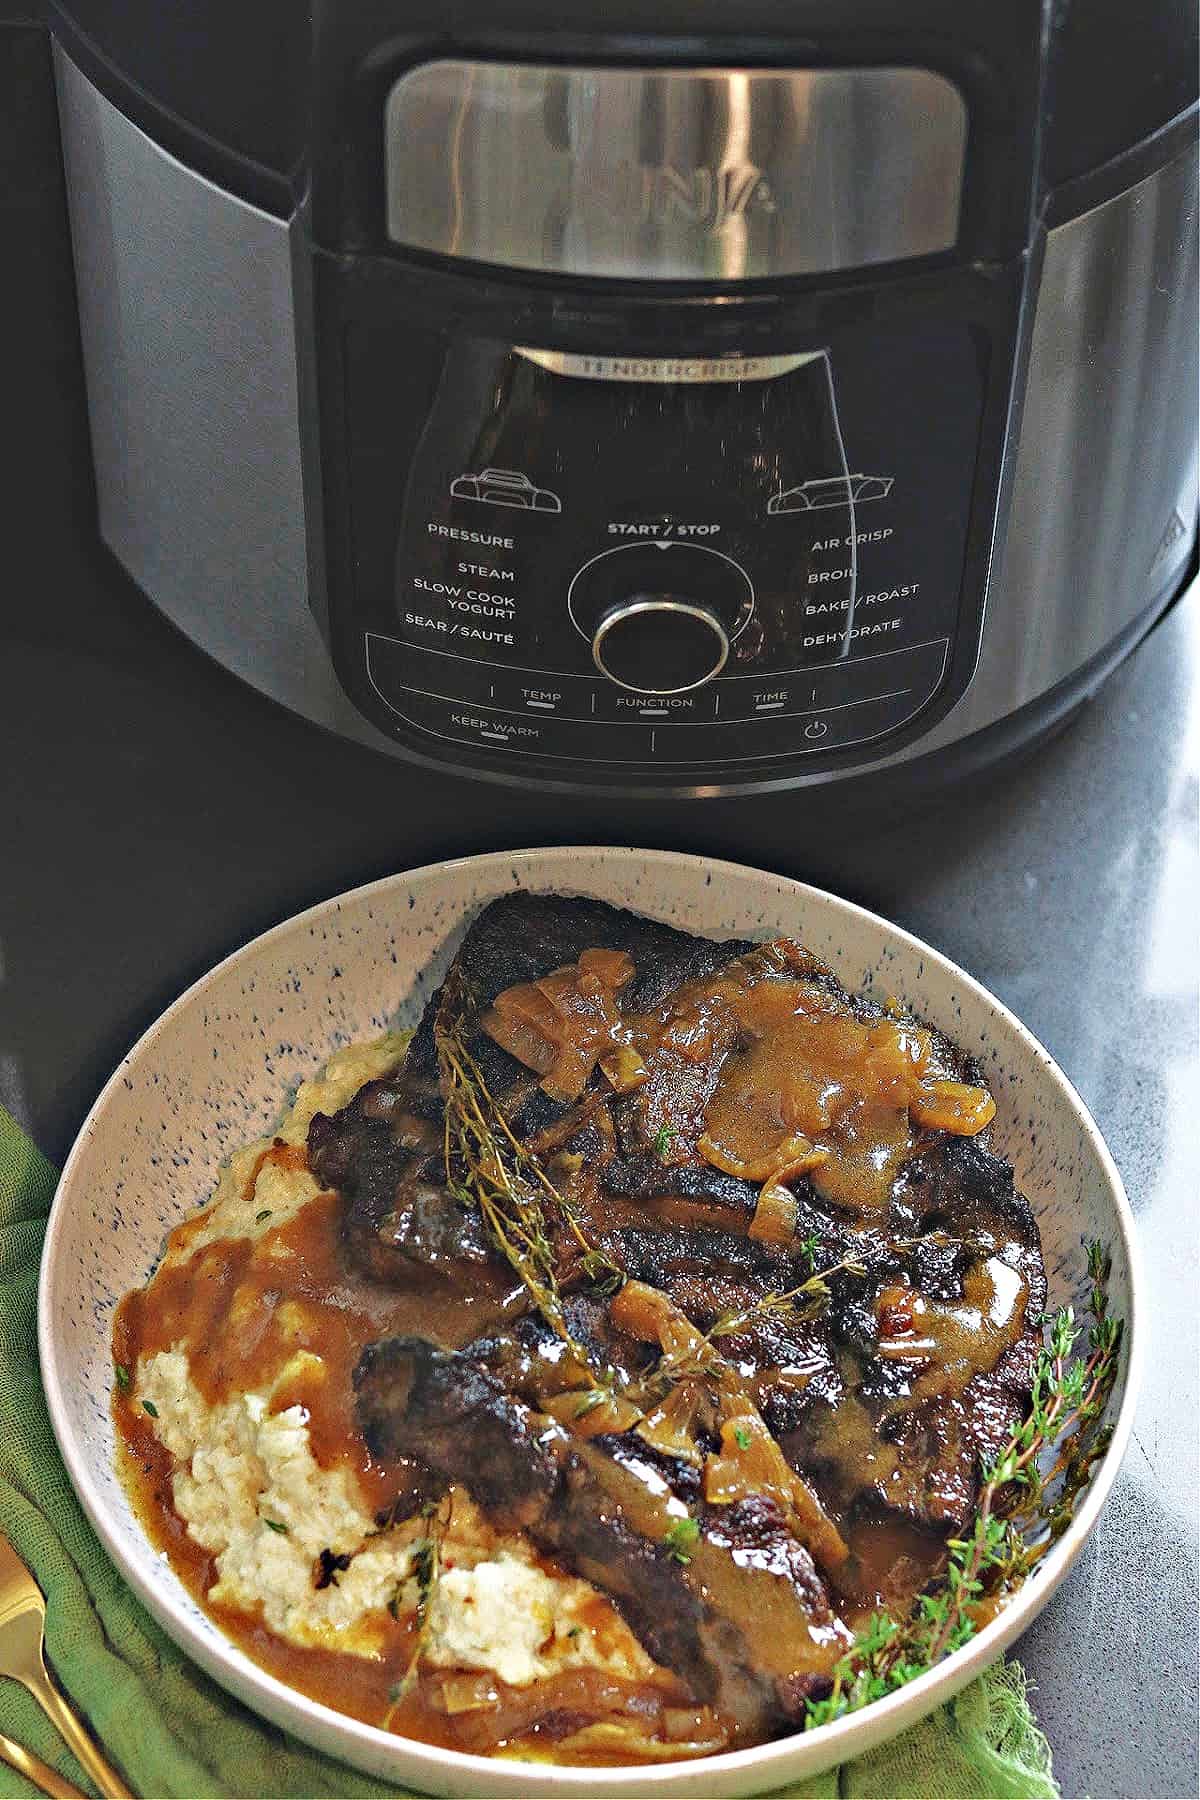
- Use the sauté function to make the gravy: After your roast is complete, you might want to make an easy gravy. Simply remove your roast, and add 1/2 tsp Xanthan Gum (or one of Xanthan Gum’s substitutes) to the pan drippings. Cook on the “sauté/sear” function on the “high” temperature until the gravy thickens (about 3-4 minutes).
Top Cooking Tips & FAQs
Benefits of Ninja Foodi for Roasts
The Ninja Foodi is an amazing hybrid of a pressure cooker, slow cooker, steamer and air fryer. Because of that, it offers easy ways to pressure cook, slow cook, and air fry chuck roast, beef roast, and more.
The Ninja Foodi is one of my favorite tools because it:
- Tenderizes any cut of meat you cook in it
- Dramatically shortens the cooking time
- Makes one-pot cooking easier as you can switch between settings to make side dishes or even gravy
In this Ninja Foodi recipe, I’m using both the pressure cooker and air fryer functions to tenderize and crisp the roast. Then, I select the sear and sauté function to make a gravy from the roast drippings.
How to season a pot roast? Substitutions for Seasoning
When cooking a pot roast, the seasonings are simple. I use a beef bouillon paste, butter, and my Ranch Seasoning.
SAVE THIS RECIPE
But, if I don’t have the Ranch seasoning ready to go, I choose other options that I have around my pantry like Italian seasoning, garlic powder, black pepper, and onion powder.
Some spice packets I often have on hand are:
You will need two tablespoons of the spice mix.
How Long to Cook a Pot Roast in Your Ninja Foodi
After making this dish several times, I realize that, for the best results, you need about 20-30 minutes of pressure cooking time per pound of roast.
Most cuts of meat for pot roasts get more tender the longer they cook, so you generally don’t need to worry that you’ll overdo it.
Difference between regular and quick release on a pressure cooker
You’ll often see pressure cooker recipes talk about the pressure release valve. Some are very specific, telling you to wait ten minutes before using the quick release, and turning the seal to the vent position. Others might tell you to vent right away.
So what does this all mean?
Using a Pressure Cooker creates lots of steam in the pot
Since the food is cooked under high pressure, a lot of steam builds up in the pot. With some foods and recipes, you can release the remaining pressure immediately using the quick venting knob, which is on the pressure lid.
If you do this, just be careful! It will shoot up a jet of pressurized steam so you want to make sure your hand is not directly over the vent.
Sometimes, quick venting prevents overcooking
For some recipes, quick venting is needed to stop the cook time. For example, if you pressure cooked cauliflower or other vegetables, you want to quick release the steam to avoid additional cooking.
But, if it’s not listed in your recipe, feel free to do the natural release, it just extends the cook time.
For my pressure cooker pot roast, you can either let it sit and release slowly or you can quick release the steam. Either method will produce amazingly tender meat. It really just depends on how big of a hurry you are in to eat the delicious meal.
Keto-Friendly Pot Roast Sides
Traditionally, pot roast is served with carrots, onions, and potatoes. This mix of vegetables isn’t keto-friendly. But, you’ll never miss those old standards when you serve this melt in your mouth pot roast with keto risotto or cauliflower mash. I also love to use the sauce as part of keto gravy or with a slice of keto cornbread.
I love having this roast as part of a meal prep. To add variety to the dish and the week, you can add any of these keto side dishes. Feeling a bit more inspired? Use the pot roast as barbacoa style beef and pair it with my Keto Spanish Cauliflower Rice or cilantro lime cauliflower rice to make a burrito bowl!
Other Ninja Foodi Pressure Cooker Recipes
If you love this recipe, you should check out some of my other easy Ninja Foodi recipes. They include reader favorites like my pressure cooker pulled pork and instant pot keto BBQ ribs.
If you try this recipe, please stop back and leave it a star rating and/or a review in the comments. Stay connected & share photos of your creations with me & others on Instagram, Facebook, and Pinterest!
Ninja Foodi Pot Roast Recipe
Use DRDAVINAHS at checkout to save on some equipment & ingredients!
Recommended Equipment
Ingredients
- 3.5 lb Beef Bottom Round Roast
- 2 tbsp Homemade Ranch Seasoning Mix, click for the recipe
- 1/2 cup warm water, I microwaved mine in a mug for 1 minute
- 2 tsp Beef Bouillon
- 8 tbsp Butter
- 7 Greek Pepperoncini Peppers, you can also swap this out for 1 cup of yellow onions
Instructions
- Add the roast to the Ninja Foodi pot
- Warm your water in the microwave for 1 minute. Then, stir in the beef bouillon
- Sprinkle the roast with the spice mixture and pour on the bouillon broth. Top with a stick of butter and the peppers.
- Sit the cooking pot in the Foodi base and twist & lock the pressure cooker lid. Double check that your vent on the lid is turned to "seal"
- Select "Pressure Cooker", and cook on “High” for 1.5 hours.
- Once the clock reaches zero, you can allow the pressure to release normally (~15 minutes). If you’re in a rush, you can release the pressure quickly by turning your vent on the lid from "seal" to "vent".
- Optional: For a crispier finish, add the air fryer lid and crisp the outside of the roast for 10 minutes on 400 degrees.
SAVE THIS RECIPE
Recipe Notes
Nutrition Details
The nutrition facts come from entering the recipe ingredients into a database of food ingredients. They may vary for any recipe based on the exact product used.


Jen says
Absolutely delicious! I love that the meat is lean, but moist due to the butter.
Dr. Davinah's Eats Team says
We’re so happy that you enjoyed this recipe.
James says
Great Recipe. The pan gravy at the end was awesome.
Dr. Davinah's Eats Team says
We’re so happy you liked it. Thanks for taking the time to leave a comment.
Mike says
Awesome recipe, very tender and great flavor.
Dr. Davinah's Eats Team says
We really appreciate you stopping back to write such a thoughtful review.
Carolyn says
First time to try cooking pot roast in my ninja and I followed the recipe for our dinner and it’s so YUMMY! 😋
Thank you so much 😄😘👍
Dr. Davinah's Eats Team says
Thank you so much for trying our recipe. We’re glad you enjoyed it.
Cindy says
I made this last night. My roast was frozen & starting to get freezer burn. I crossed my fingers & hoped for the best. Oh my goodness, it was good! So was the gravy. My family raved over it. Now I’m going to search the freezer to see if I have another one.
Dr. Davinah's Eats Team says
We’re so happy that you enjoyed this recipe.
Adam says
Great recipe, worked very well.
Only complaint is how many ads this website has. Ad banner up top, and on the bottom, ads between text, and popup ad videos… Its a bit ridiculous.
Davinah says
Hi Adam,
I’m so happy that you enjoyed this. Thanks for sharing the feedback about the number of ads – I always monitor them so that they’re comparable to other sites on the Internet. While I hate ads too, right now, the ads that you see allow me to: 1) buy ingredients to test these recipes over and over to make sure that they work in my kitchen and yours; 2) write the blog posts that allowed you to find this recipe on Pinterest and/or Google; 3) Take photos with my super expensive camera and lights that looked so good you clicked; 4) support the freelancers that handle things like website coding to make sure there are options that allow you to scroll with ease and print; and 5) offer these recipes for free all while supporting my family!
I hope that helps you understand why you see ads. Appreciate you for taking the time to share your thoughts.🙂
Thanks,
Davinah
Pamela Warner says
Can you use a chuck roast!?
Davinah says
Yes! Any roast or stew beef will work. I have a list of cuts that work well in this post.
Ellie says
What is the time alteration for smaller roasts. I.e. 1.5 pounds
Davinah says
Hi Ellie,
When I’ve used roasts that are about 1.5lbs, they cooked in about 40-45 minutes.
Thanks,
Davinah
Jules says
I don’t have the peppers or beef bouillon Cubes (I will use sodium free beef stock), but did make your ranch dip and will make this roast tonight and add an onion, a few carrots and maybe a potato or two. I hope it turns out as good without the peppers!
Davinah says
Hi Jules!
These are all great substitutes and will work great!
Thanks,
Davinah
Dhys says
Pressure cook on high or low??
Davinah says
Hi Dhys,
I always use manual pressure and that has a default of “high”.
Thanks,
Davinah
Amanda says
Do you Brown on the stove top first?
Davinah says
Hi Amanda,
Nope. Just place the roast in the pot like in the video. If you do choose to brown the meat, you can easily do that using the saute/sear function on the Foodi.
Hope that helps!
Best,
Davinah
Ashley says
What’s the cook time if its frozen? Or do you want to use the slow cooker option for frozen?
Davinah says
Hi Ashley,
I’ve made this dish from frozen and fresh. I don’t adjust the time. What I’ve found is that when the meat is frozen, it simply takes more time to come to pressure. The countdown clock doesn’t start on the Foodi until pressure is reached. Hope that helps!
Best,
Davinah
Josef Pausch says
Hi Davinah,
Thank you for this pot roast recipe. I’m a Ninja Foodi junkie..I use mine everyday and am also a Keto guru. I made the pot roast per your instructions and it turned out perfect
Matthew says
I am a Ninja Foodi Deluxe knot I use it everyday I love it. Any recommendations with pressure cookering a roast is welcomed. Sometimes it falls apart and other times it doesn’t put is still better than putting in the oven.
Lisa Brown says
What pan did you use? Do you just put it in the gray pan, or do you put the liquid in first and then put the roast in the pan with the holes?
TIA
Davinah says
Hi Lisa,
When I use the pressure cooker function, I just use the gray pan. I only use the pan with holes when I’m going to be air frying. I think the video in this post will be helpful. Check it out & feel free to let me know if you have other questions!
Best,
Davinah
Cassi Petersen says
It was the most tender roast I’ve ever made! I used an English roast and added a quartered onion, sliced mushrooms and large (for even cooking) carrot chunks. Rubbed the roast down with the seasonings and let sit until room temp. Worcestershire sauce or a little lite soy would be a great addition to the beef broth. I lightly drizzled Worcestershire sauce over the roast right after cooking while it rested on the cutting board. My husband was greatly impressed with this meal!
Davinah says
Hi Cassi!
I’m so happy that you enjoyed this and was able to add some vegetables to the pot to have a ready-made side dish! Thanks a lot for taking the time to come back and let me know.
Have an awesome day!
Davinah
harry potter says
marvelous! taste in mouth yummy
Davinah says
Happy you enjoyed this dish! 🙂
Sharing crunchy says
Delicious. I really love this recipe.
Davinah says
Thank you!