This post may contain affiliate links to products I use and highly recommend. You can read my full disclosure . As an Amazon Associate I earn from qualifying purchases.
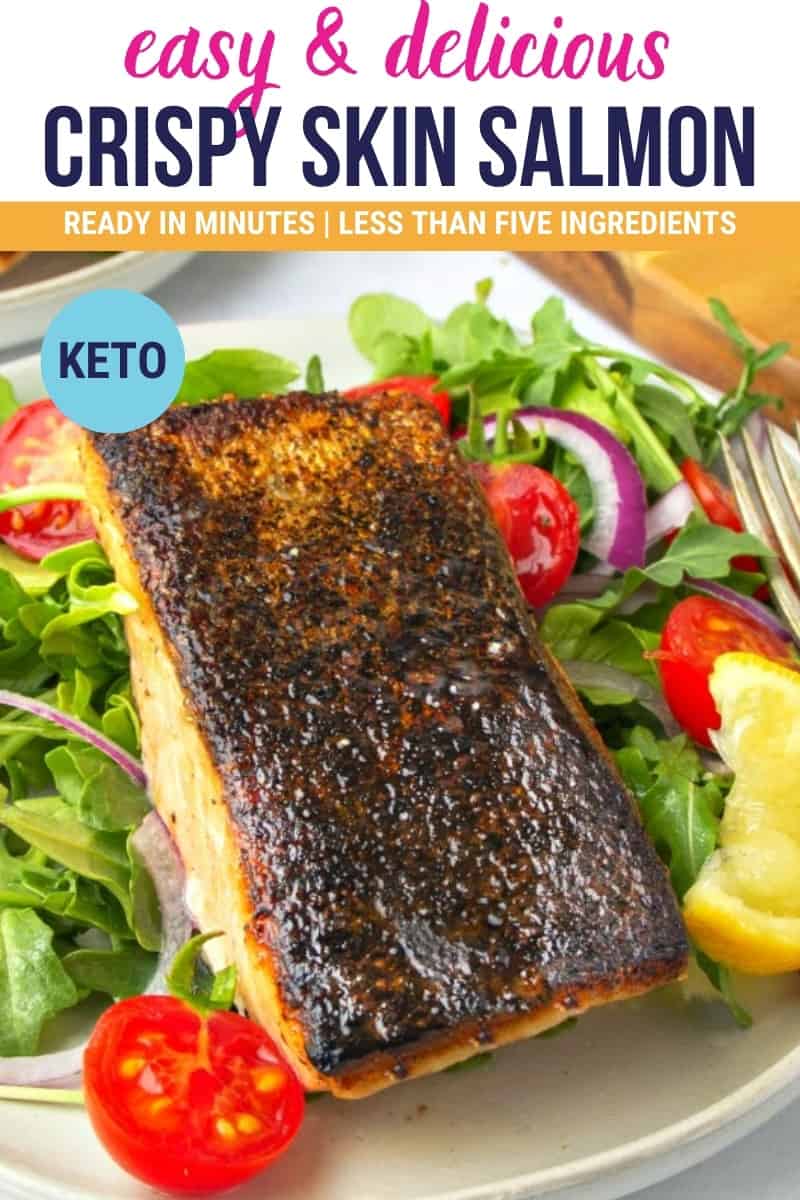
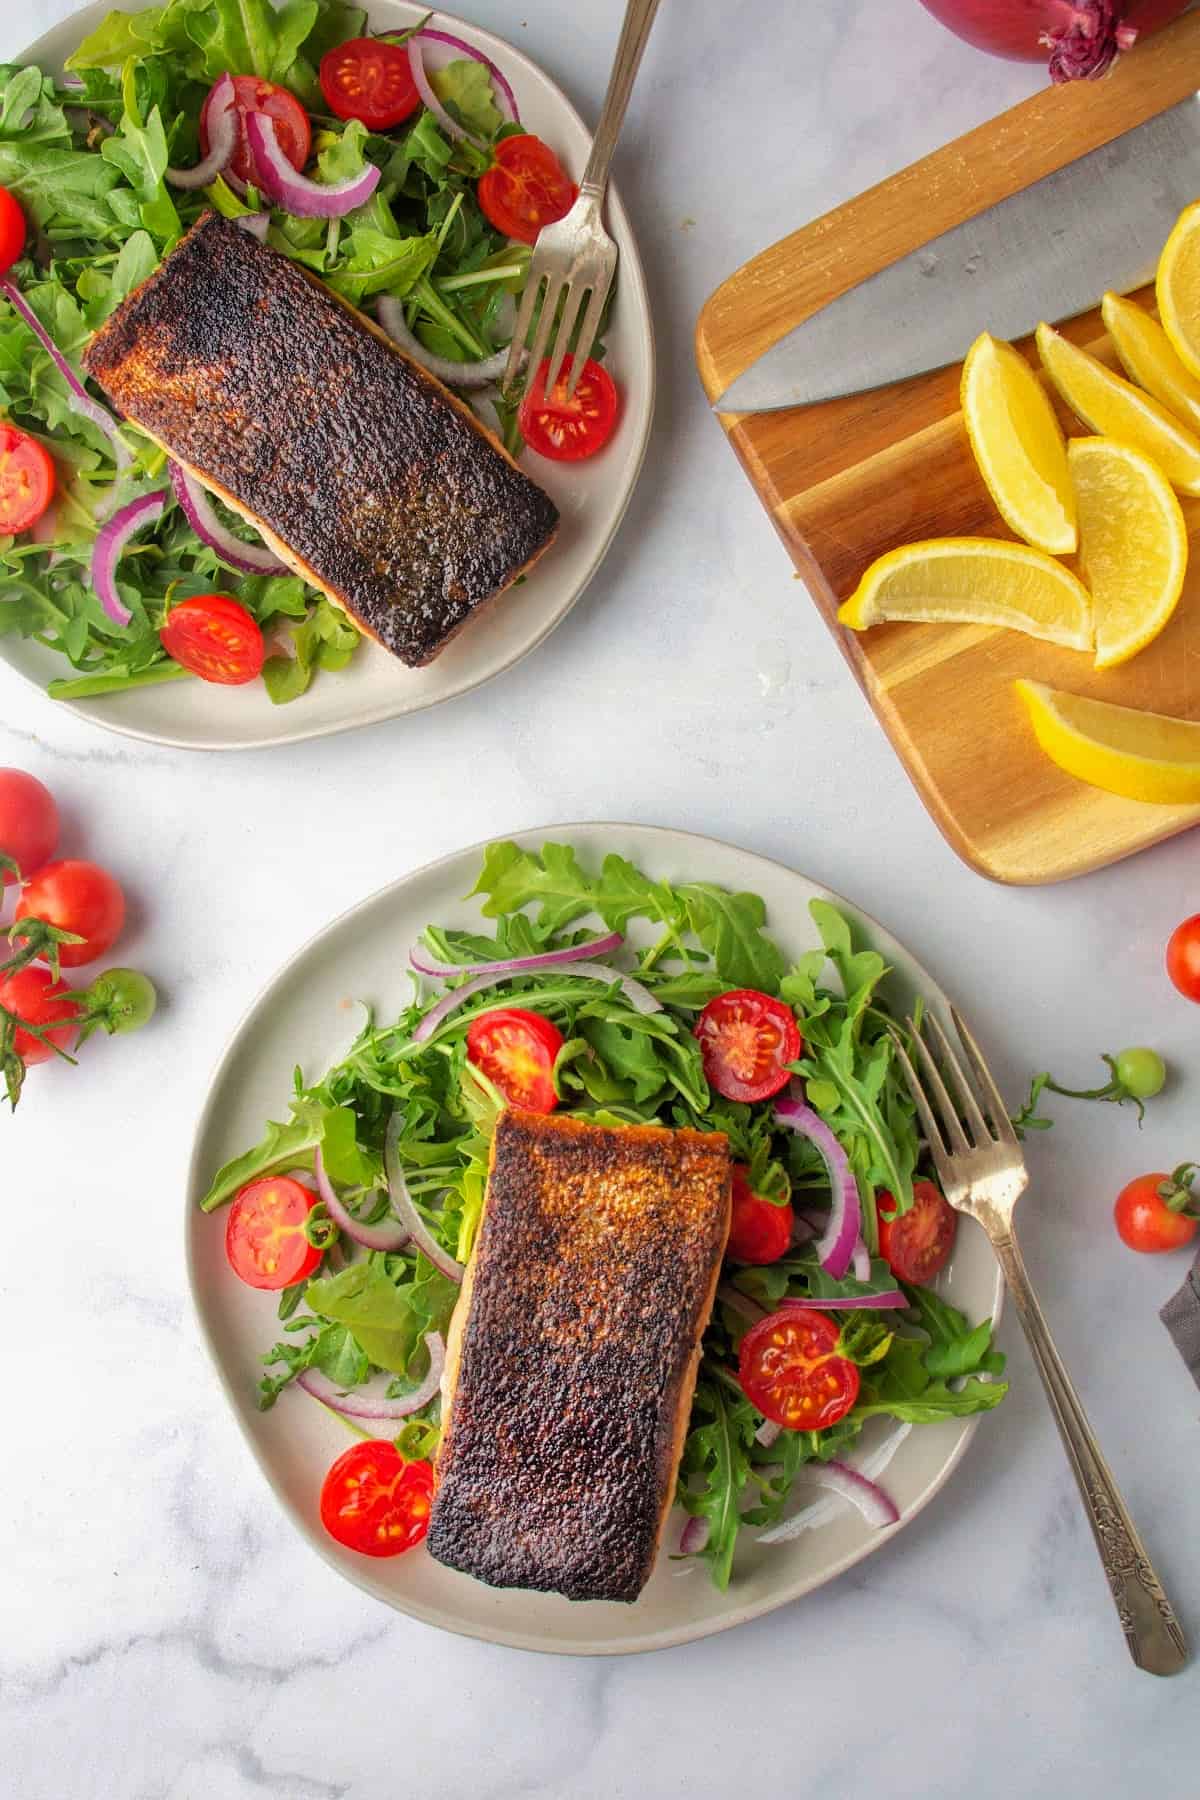
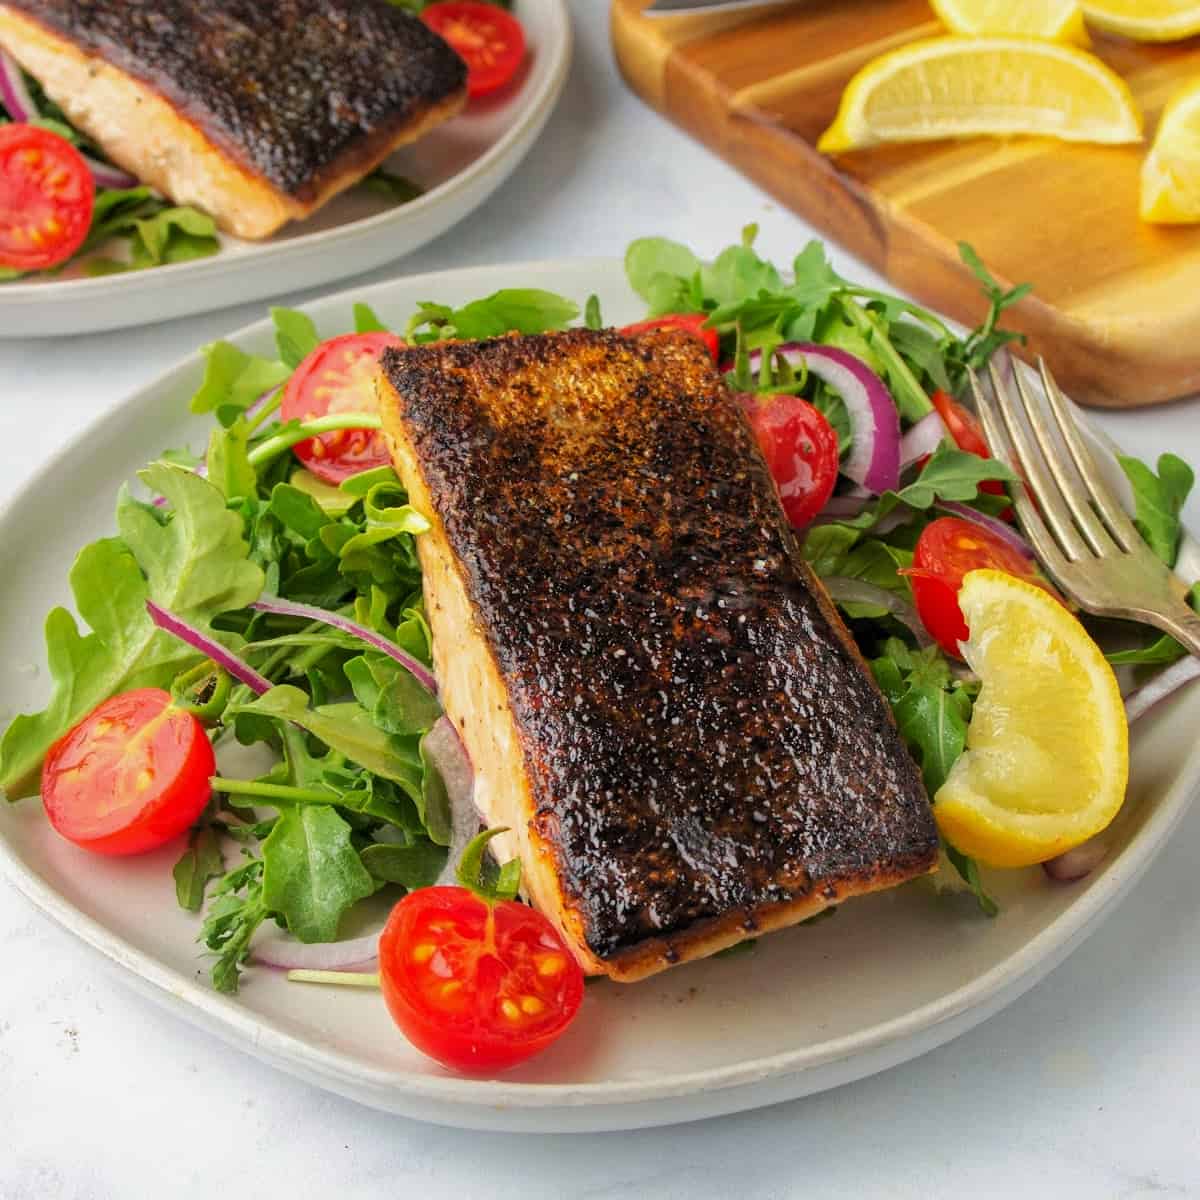
This pan seared salmon has super crispy skin with tender, flaky salmon inside. I make it in a hot cast iron skillet with just a few simple ingredients, and the skin gets crisp without breading or deep frying.
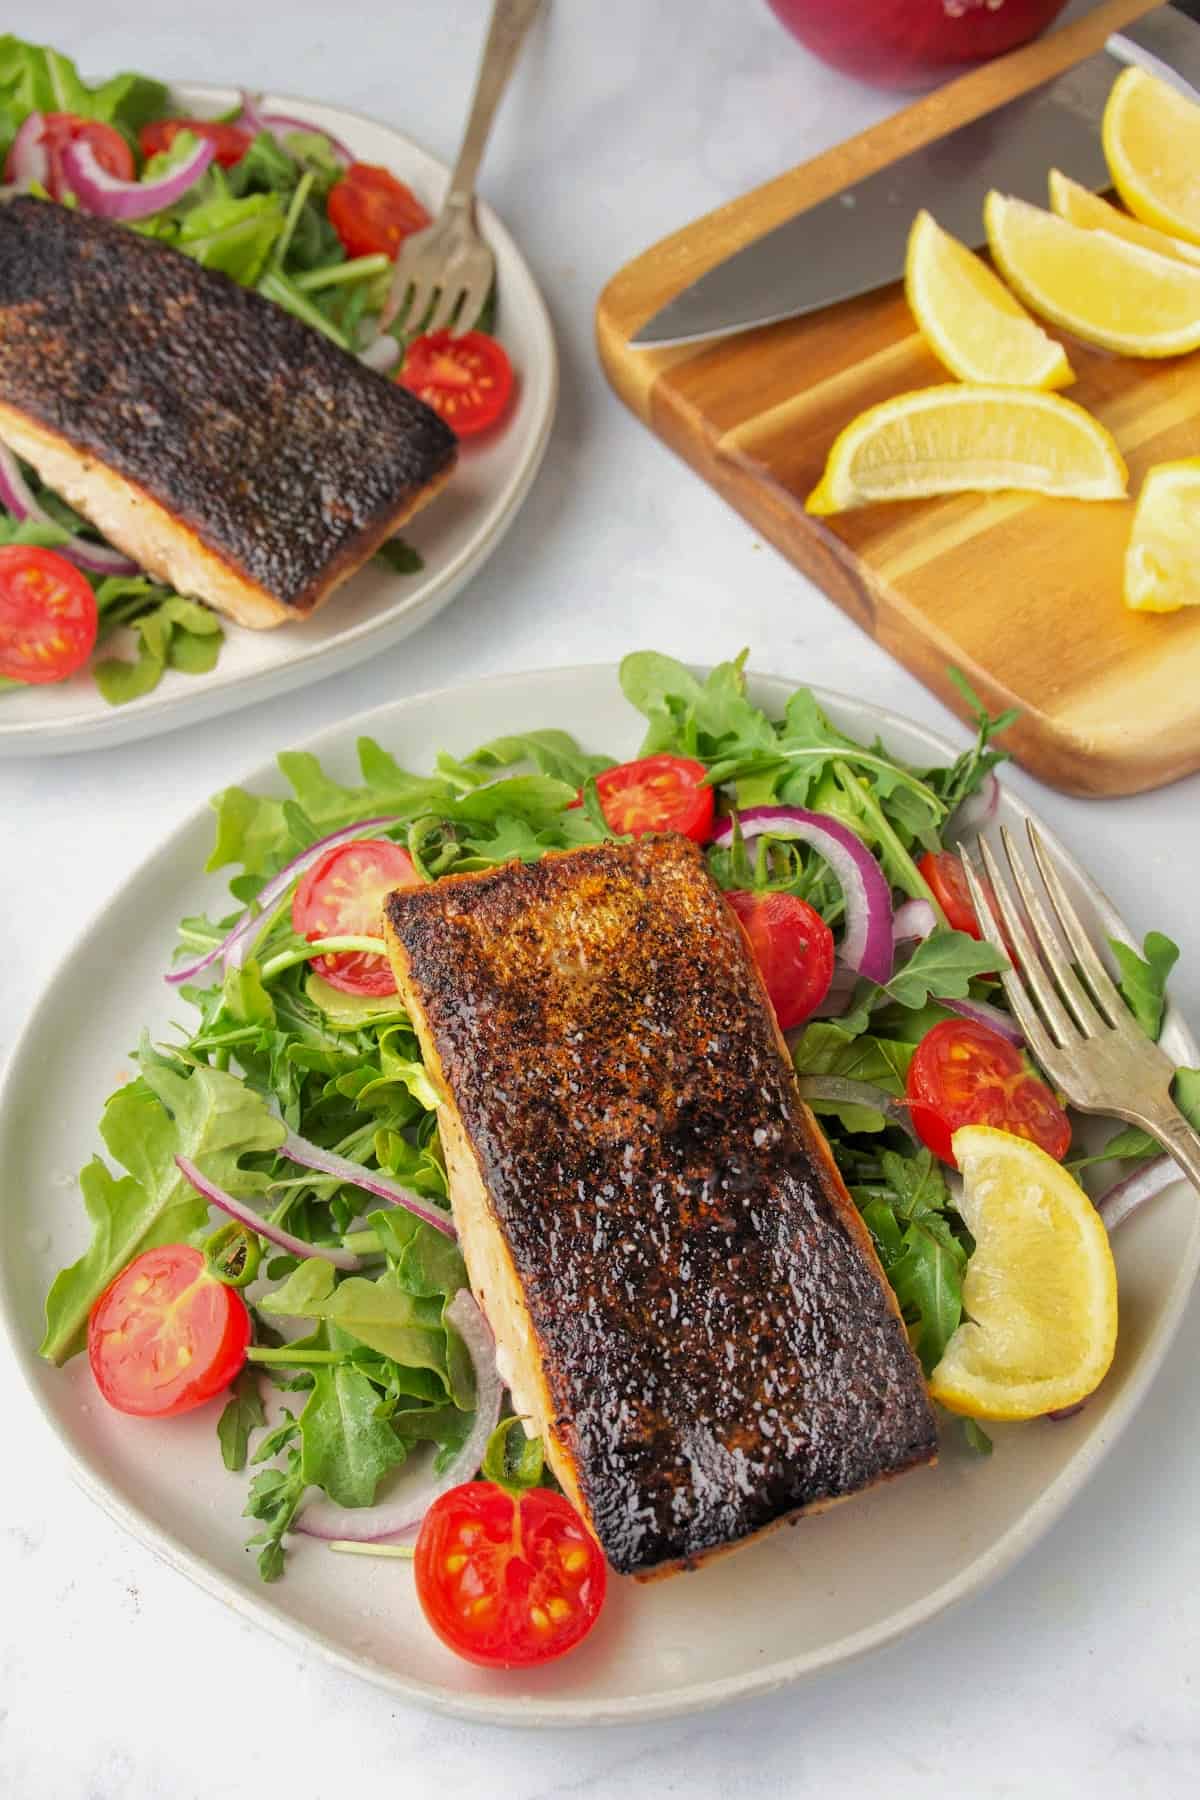
The key is starting with dry salmon and a properly heated pan. Serve this crispy skin salmon with Garlic Butter Rice, Air Fryer Green Beans, or Air Fryer Roasted Broccoli. For another easy way to cook salmon, try my Air Fryer Salmon or Lemon Butter Baked Salmon.
Why Make This Pan Seared Salmon
- Crispy skin: Starting with dry salmon and a hot skillet gives the skin time to crisp while the fish stays tender and juicy.
- Versatile: Finish it simply with lemon or add one of your favorite sauces.
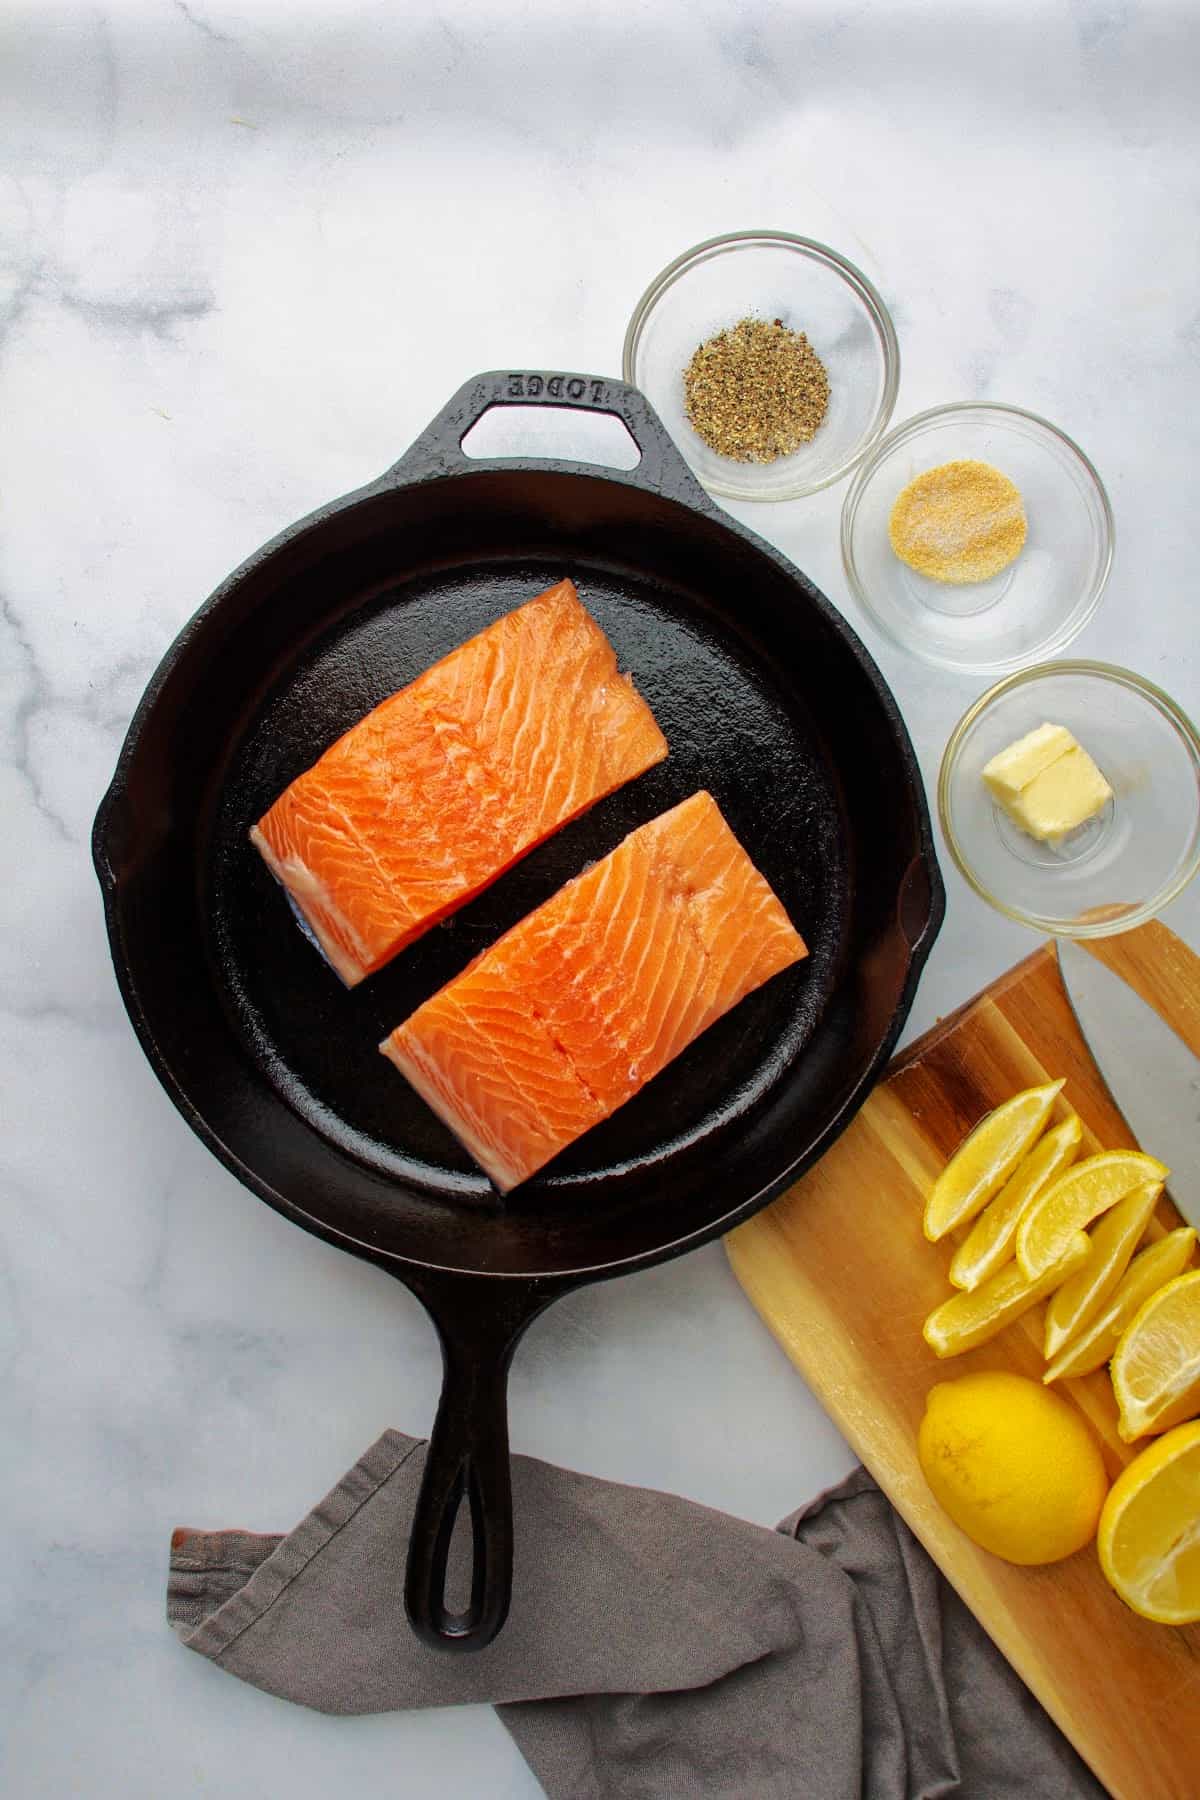
Ingredients Needed
- Skin-on salmon fillets: Choose similarly sized fillets so they cook evenly.
- Butter: I use salted butter to keep the skillet slick and add flavor.
- Garlic salt: Adds simple garlic flavor and seasoning.
- Black pepper
- Lemon: Optional, but I love a squeeze of fresh lemon over the finished salmon.
For another option, use my Salmon Seasoning in place of the garlic salt and black pepper.
How to Pan Sear Salmon in a Cast Iron Skillet
This technique is similar to the one I use for my Pan Seared Scallops and Pan Seared Shrimp: a properly heated pan makes all the difference.
Dry the salmon
Pat the salmon dry well with paper towels, especially the skin. Removing surface moisture helps the skin crisp instead of steam.
Heat the skillet
Preheat your cast iron skillet for 2–3 minutes. Add the butter and wait until it starts to sizzle. That’s your cue that the pan is ready.
Sear skin-side down
Add the salmon skin-side down and leave it in place. Giving the skin uninterrupted contact with the hot pan helps it become crisp.
SAVE THIS RECIPE
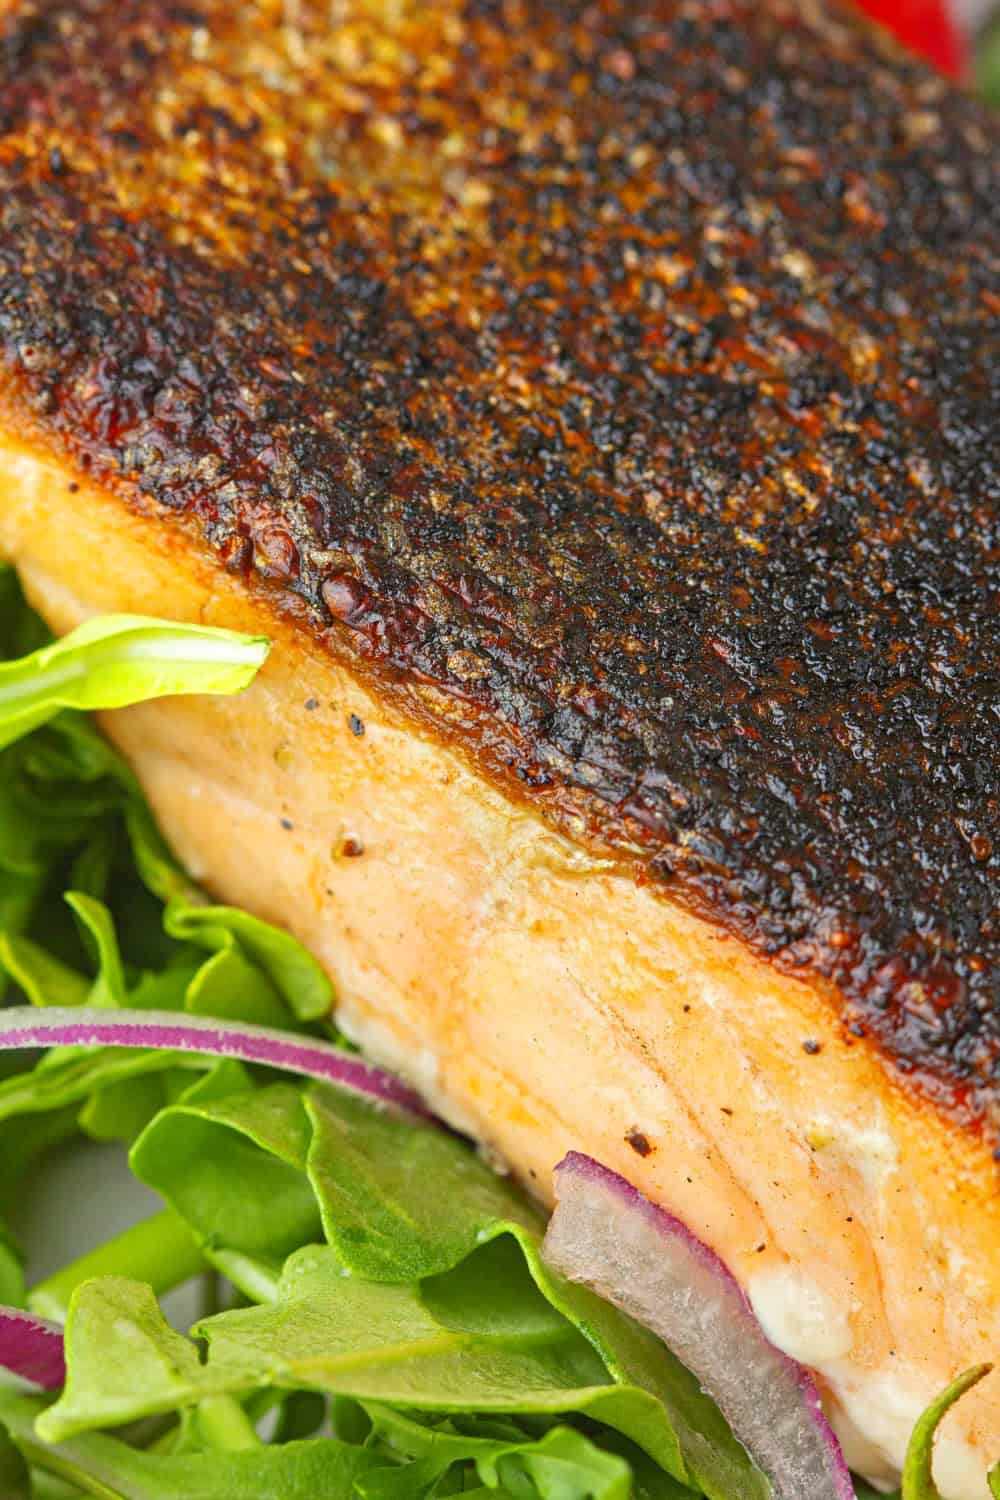
Flip and finish
Once the skin is crisp and releases easily from the pan, carefully turn the salmon with a fish spatula and finish cooking the other side.
Tips for the Best Results
- Use similarly sized fillets: They’ll cook at about the same rate.
- Use enough butter or oil: You can substitute olive or avocado oil if you prefer.
- Add sauces after cooking: Spoon them over the flesh or serve them on the side so the skin stays crisp.
Can I Use Fresh or Frozen Salmon?
Yes. I’ve made this crispy skin salmon with both. If using frozen salmon, thaw it completely and pat it very dry before cooking. Either fresh or frozen works well as long as the skin is dry before it goes into the hot skillet.
Pan Seared vs. Pan Fried Salmon
Pan seared salmon uses a hot skillet and a small amount of butter or oil to brown the salmon and crisp the skin. Pan fried salmon can use more oil, and some recipes also add flour or breading before cooking. For this recipe, I’m keeping it simple: no breading and just enough butter to get the skin nice and crisp.
What to Serve With Pan Seared Salmon
Serve it with Garlic Butter Rice, Lemon Orzo Pasta, Sautéed Asparagus, Air Fryer Green Beans, or Air Fryer Roasted Broccoli. You can also use the salmon as the protein for a Caesar salad with my Creamy Caesar Dressing.
Sauces & Toppings for Pan Seared Salmon
A squeeze of lemon is all this salmon really needs, but you can also add Peruvian Green Sauce, Chimichurri Sauce, Lemon Garlic Butter Sauce, Cajun Garlic Butter Sauce, Mango and Peach Salsa, or Bang Bang Sauce. Serve sauces on the side or spoon them over the flesh just before serving so the crispy skin stays crisp.
Storage & Leftovers
Store leftover salmon in an airtight container in the refrigerator for 3–4 days. The skin will soften during storage, so this recipe is best right after cooking.
Crispy Skin Pan Seared Salmon
Use DRDAVINAHS at checkout to save on some equipment & ingredients!
Recommended Equipment
Ingredients
- 10 oz Salmon Fillets, I used two that were about 5 oz each
- 1 tbsp butter
- 1 tsp garlic salt, I use about half of this amount when I'm topping the salmon with the sauce at the end.
- ½ tsp black pepper
- 1 lemon, optional, quartered
Instructions
- Season both sides of the salmon with the garlic salt and pepper
- Preheat your pan to medium-low heat. It usually takes about 2-3 minutes for the pan to be hot enough.
- Add the butter and allow it to sizzle across the pan. It should sizzle, but not burn.
- Add the salmon skin-side down for 3 minutes. Larger pieces of fish will take an additional minute. The skin will release easily when it's ready to be flipped.
- Use a fish spatula to turn your fish and cook for an additional 2-3 minutes, or until your fish flakes easily with a fork.
- To keep the skin crispy, serve it skin-side up. Add a squeeze of lemon over the top if you'd like.
SAVE THIS RECIPE
Recipe Notes
- Dry the salmon well: Pat the skin very dry before cooking so it crisps instead of steaming.
- Preheat the skillet: The pan should be hot before you add the salmon.
- Don’t flip too soon: Let the skin crisp and release easily from the skillet before turning.
- Frozen salmon works: Thaw completely and pat very dry before cooking.
- Seasoning option: Use my Salmon Seasoning in place of the garlic salt and black pepper.
- Keep the skin crisp: Add sauces or toppings to the flesh or serve them on the side.
Nutrition Details
The nutrition facts come from entering the recipe ingredients into a database of food ingredients. They may vary for any recipe based on the exact product used.











Michelle says
I’ve always been too afraid to eat the salmon skin, but this recipe is so good! Won’t eat it any other way now!
Dr. Davinah's Eats Team says
We’re so happy you enjoyed our recipe.
Angela says
I love salmon! This is a great recipe.
Dr. Davinah's Eats Team says
We really appreciate you stopping back to write such a thoughtful review.
Alison says
This salmon is super simple yet super flavorful.
Dr. Davinah's Eats Team says
We really appreciate you stopping back to write such a thoughtful review.
Amanda Wren-Grimwood says
The crispy skin is one of the best bits so it’s great to know how to get that perfect. Thanks!
Toni Dash says
This was a sure hit at my house!! I love how easy it is to make!